
User's Manual
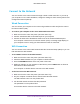


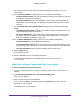
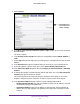
Table Of Contents
- N300 Wireless Router
- Contents
- 1. Hardware Setup
- 2. Connect to the Network and Access the Router
- 3. Specify Your Internet Settings
- 4. Networking
- View or Change WAN Settings
- Set Up a Default DMZ Server
- Change the Router’s Device Name
- Change the LAN TCP/IP Settings
- Specify the IP Addresses that the Router Assigns
- Disable the DHCP Server Feature in the Router
- Reserve LAN IP Addresses
- Use the WPS Wizard for WiFi Connections
- Specify Basic WiFi Settings
- Change the WiFi Security Option
- Set Up a Guest Network
- Control the Wireless Radio
- Set Up a Wireless Schedule
- Set up a Wireless Access List
- Specify WPS Settings
- Wireless Distribution System
- Static Routes
- View Devices Currently on the Network
- Improve Network Connections with Universal Plug and Play
- 5. Manage Your Network
- 6. Troubleshooting
- A. Supplemental Information
Specify Your Internet Settings
18
N300 Wireless Router
Manually Set Up the Internet Connection
You can view or change the router’s Internet connection settings.
Specify an Internet Connection Without a Login
To specify the Internet connection settings:
1. Launch a web browser from a computer or wireless device that is connected to the
network.
2. T
ype http://www.routerlogin.net or http://www.routerlogin.com.
A login screen displays.
3. Enter the router user name and password.
The user name is admin.
The default password is password. The user name and
password are case-sensitive.
The BASIC Home screen displays.
4. Select Internet.
You might need
to scroll to view
all the settings.
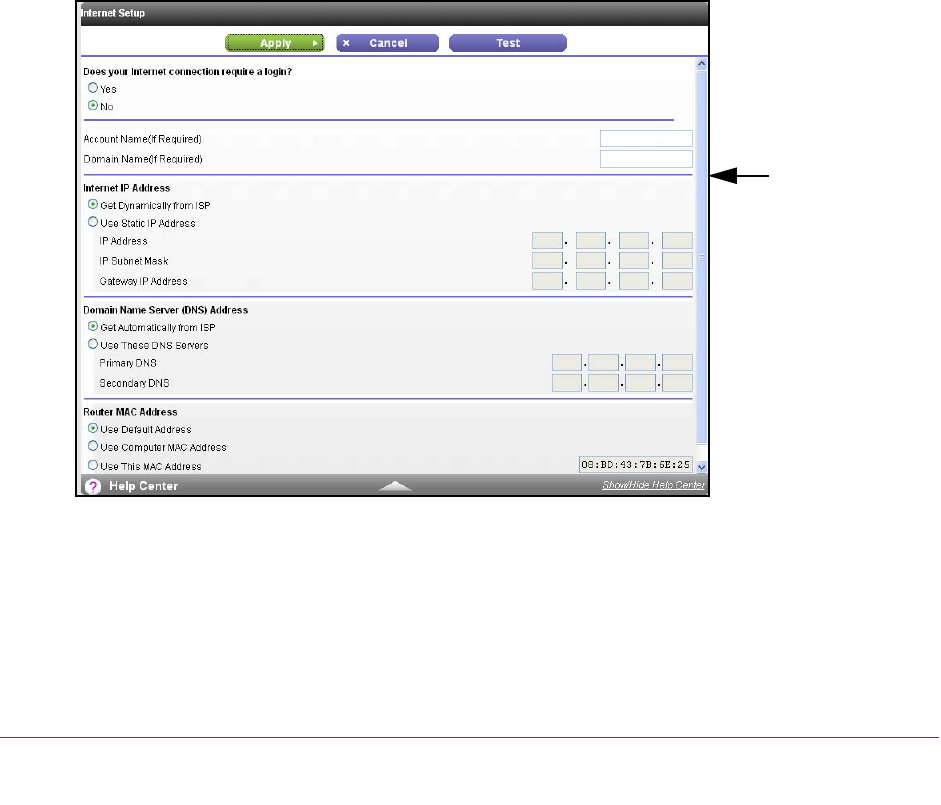
5. For the Does your Internet connection require a login setting, leave the No radio
button selected.
6. If your Internet connection requires an account name or host name, type it in the Account
Name (If Required) field.
7. If your Internet connection requires a domain name, type it in the Domain Name (If
Required) field.