
User Manual

33
Chapter 4 Gettings Items Into Neat 5: Scanning, Importing and Sending
4
Gettings Items Into Neat 5: Scanning, Importing
and Sending
Importing a Quicken Account
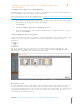
1. In the Folder Navigation pane, click on a folder. (This is where the imported item will be
stored. You also have the option of creating a new folder.)
2. Click Import.
3. Choose Quicken Accounts.
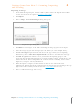
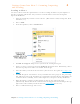
4. Click Import. The Quicken import dialog box displays.
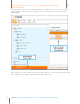
Quic ken Im port Dialog Box
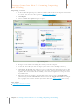
5. Navigate to the folder containing the Quicken Account you want to import.
6. Click Import. The Queue icon animates to let you monitor the importing progress. The
processing time for importing will vary based on the amount of content being imported.
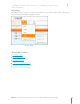
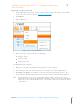
A NOTE ABOUT QUICKEN FILE FORMATS
Different versions of Quicken use different file formats, such as QFX, QIF, and QDF. Neat only uses
QIF file formats. Because Neat uses only the QIF file format, it’s necessary to perform a simple
workaround to ensure Neat and Quicken can work together using same format.
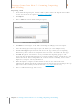
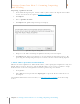
1. Start Quicken.
2. Under File choose Export and then Export QIF to export the file in a format Neat can
then import.
For additional information and screenshots, see Exporting Data to Quicken on the Neat Help
Center.