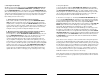
Nady wireless systems are type accepted under FCC rules parts 90, 74, and 15. This device complies with RSS-210 of Industry & Science Canada. Operation is subject to the following two conditions: (1) this device may not cause harmful interference and (2) this device must accept any interference received, including interference that may cause undesired operation. NADY XR-61 VHF DigiTRU Diversity™ System XR PRO SERIES WIRELESS MICROPHONE SYSTEM OWNER’S MANUAL NADY SYSTEMS, INC.
CONTENTS CONTENTS ........................................................................................2 INTRODUCTION ................................................................................3 SYSTEM FEATURES..............................................................................4 OPERATION ......................................................................................5 XR-61 RECEIVER ..............................................................................
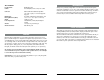
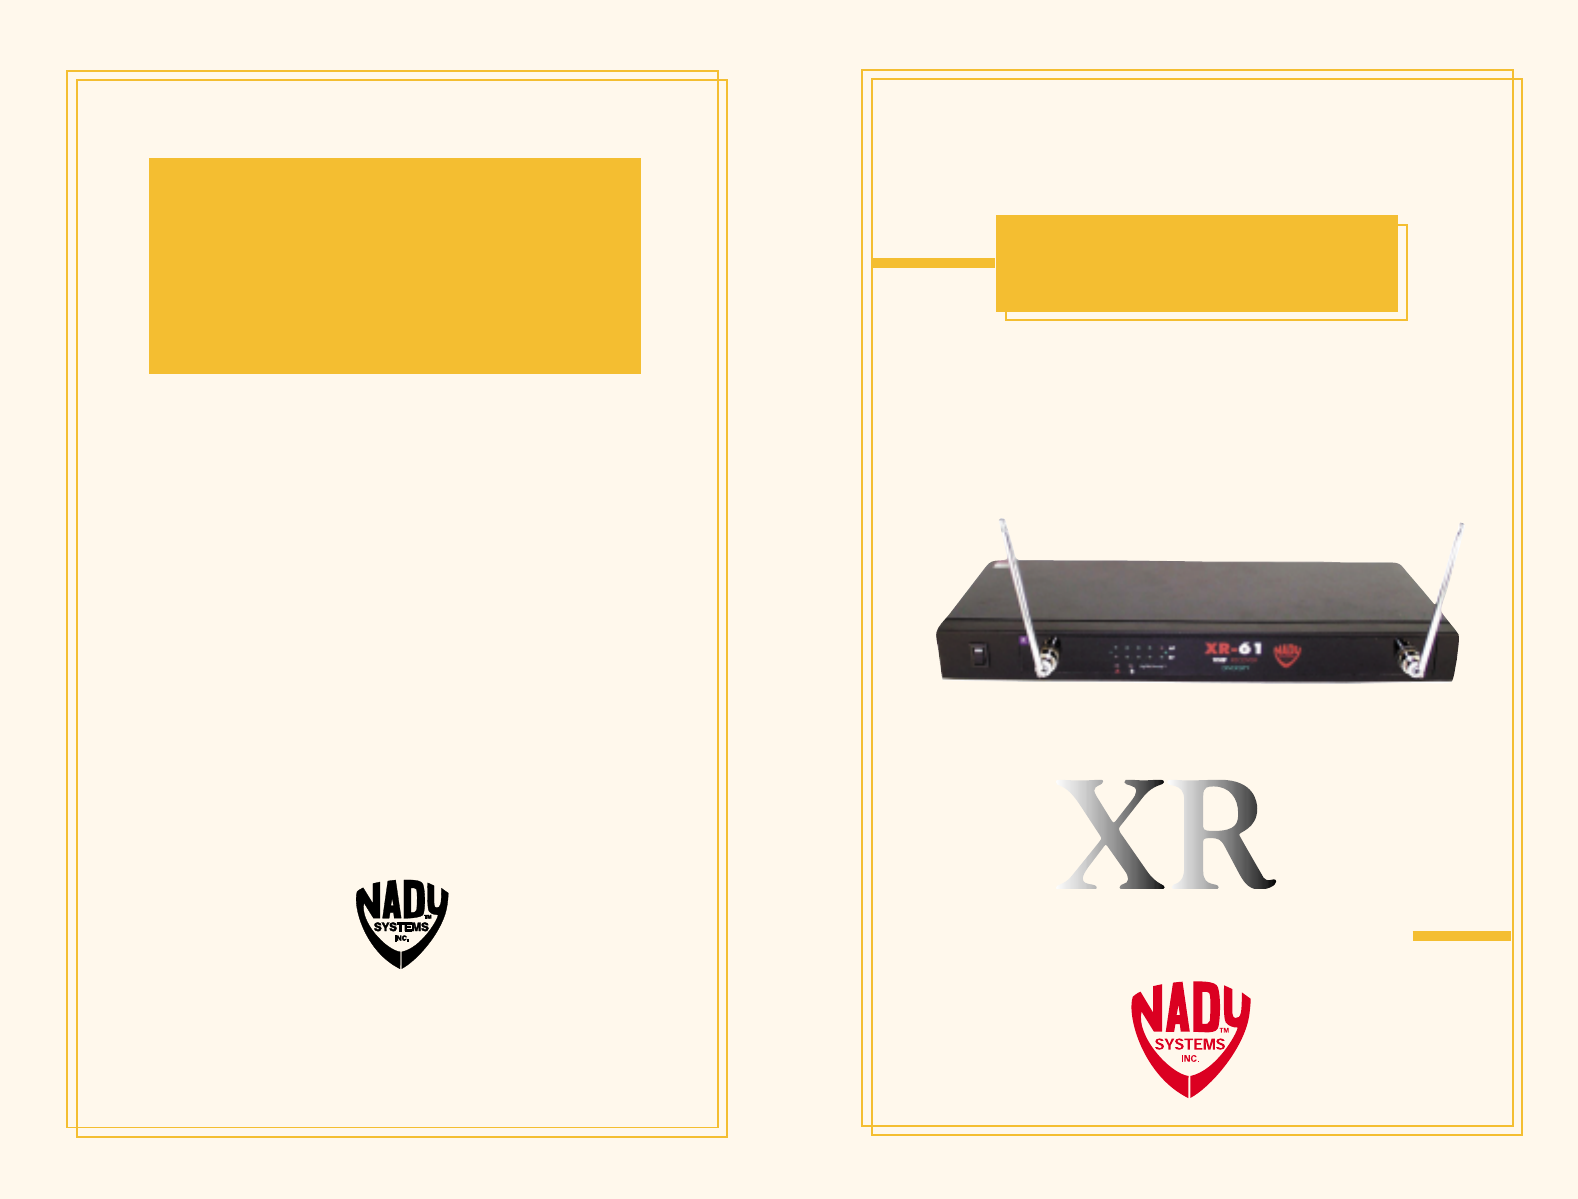
INTRODUCTION XR-61 RECEIVER Reception Mode Controls DigiTRU Diversity™ Power ON/OFF, volume control, mute control Connectors Balanced XLR and unbalanced adjustable 1/4" audio out jacks, 2.1 mm barrel-type DC input jack Power ON, 5-LED RF & AF level displays, A/B 1.75" x 7.5" x 16.5" (4.4 x 19 x 42 cm) 3.82 lbs (1.73 kg) 12V @ 400mA, nominal, AC/DC adapter supplied 11.2" (28.5 cm), dual telescopic dual SO-239 jacks LED Indicators Diversity Dimensions (Max.
SYSTEM FEATURES • • • • Available on selected frequencies in the VHF high band (171-216 MHz) for interference-free, long-range performance Proprietary companding circuitry for an industry-best 120dB Dynamic Range, and the clearest, most natural sound available Operating Range: Up to 250 feet typical (depending on site conditions)-up to 500+ feet line-of-sight Noise-free transmitter ON-OFF operation XR-61 RECEIVER • Rugged single rack space metal housing • Dual antennas and Nady’s advanced DigiTRU Diversit
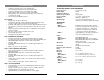
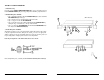
OPERATION XR-61 RECEIVER 38 1. Rackmounting the Receiver The XR-61 receiver is supplied with RACK EARS (1) which can be attached with the screws provided on the front of the side panels to enable rackmounting the receiver. (Note: Do not mount the receiver in a rack directly above an amplifier or other source of high heat-this could degrade the performance of the XR-61/62. Always ensure adequate airflow and heat dissipation in any rack configuration.) 44 2.
5. Connecting the Audio Output The XR-61 receiver provides both a fixed mic level BALANCED AUDIO OUTPUT XLR (10) and an adjustable line level UNBALANCED AUDIO OUTPUT 1/4” JACK (11). The level from the UNBALANCED OUTPUT is controlled by the rear panel VOLUME CONTROL (12). (Note: As when making any connection, make sure the amplifier or mixing board volume is at the minimum level before plugging in the receiver to avoid possible sound system damage.
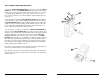
THE LINK 2™ PLUG-IN TRANSMITTER 1. Transmitter Set-Up First, slide open the BATTERY COMPARTMENT DOOR (43) to expose compartment. Insert a fresh 9V ALKALINE BATTERY (45), observing polarity. Close the battery compartment door. 2. Handheld Microphone Installatio • Step 1 - Rotate the transmitter’s threaded LOCKING RING (37) clockwise toward the XLR CONNECTOR (36) until it stops. • Step 2 - Hold your mic in one hand and The Link 2 in the other. • Step 3 - Plug your mic into the XLR CONNECTOR.
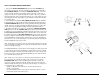
WHT-15 HANDHELD MICROPHONE TRANSMITTER 1. Unscrew the BATTERY COMPARTMENT COVER (17) and remove, exposing the BATTERY HOLDER (18). Insert a fresh 9V ALKALINE BATTERY (19), observing the correct polarity as marked, and screw the cover back on to the microphone. Make sure the cover is screwed on completely. A fresh alkaline battery can last up to 16 hours in use, but in order to ensure optimum performance, it is recommended that you replace the battery after every 10 hours of use. 2.
WGT-15 INSTRUMENT BODYPACK TRANSMITTER 1. Snap open the BATTERY COMPARTMENT (30) and insert a fresh 9V BATTERY (31), observing the correct polarity. Close the compartment. The WGT-15 is provided with a 3.5 mm LOCKING JACK (32) for connecting the INSTRUMENT CABLE (35). To secure the connection, turn the metal slip ring on the plug clockwise to thread it on to the jack. To unplug, reverse the process. Slip the transmitter into a pocket or clip on to your clothes or instrument strap.
WLT-15 LAVALIER/LAPEL OR HEADWORN MICROPHONE BODYPACK TRANSMITTER 1. Snap open the BATTERY COMPARTMENT (22) and insert a fresh 9V BATTERY (23), observing the correct polarity. Close the compartment. 2. The WLT-15 is provided with a 3.5 mm LOCKING JACK (24) for connecting the microphone. Plug in either the LAVALIER/LAPEL (25) or the HEADWORN MICROPHONE (26), as supplied. To secure the connection, turn the metal slip ring on the plug clockwise to thread it on to the jack. To unplug, reverse the process.