
User`s guide


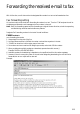


5.14
For F-320:
1
Press MENU, 3, 8, 3, ENTER.
2
Use the cursor key to select “On” and press ENTER.
3
Enter e-mail address using a one-touch key, a speed-dial number or a mail group number.
Note: You cannot use the numeric keypad to enter e-mail address.
To add each number, press BROADCAST between each one to insert a comma, then enter the number.
You can specify up to 200 numbers for a remote unit.
4
Press ENTER to save the settings. The LCD shows:
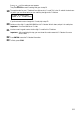
The machine asks for the type of TTI you want to appear on the faxes that are relayed to other callers.
• Sender — Relay the document with sender unit’s TTI (don’t send your TTI).
• Both — Relay the document with both the sender unit’s TTI and your TTI.
• Yours — Relay the document with your TTI instead of the sender unit’s.
5
Press or until the mode you want appears.
6
Press ENTER to save the settings. The LCD shows:
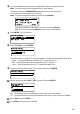
ON: The machine prints the received document and relays it to the e-mail address.
OFF: The machine does not print the received document, but only relays it to the e-mail address.
7
Press or until the mode you want appears. Then press ENTER to save the settings.
8
Press STOP to finish and return to standby.
Auto Print :Off
/
/Enter
Select TTI :Sender
/
/Enter
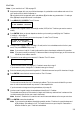
ABC Shoji
To :[01]_
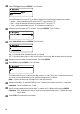
Enter Mail Address
To :_
Default Relay :Off
/
/Enter