
User Guide Network Device MT5600BAV.92, MT5600BAV.90, MT5600BLV.90
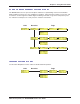
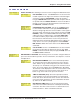
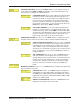
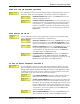
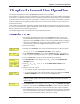
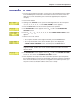
Table Of Contents
- Table of Contents
- Chapter 1 - Description and Features
- Chapter 2 - Installation
- Chapter 3 - Using the Front Panel
- Modem Configuration
- LED Indicators
- Liquid Crystal Display (LCD)
- Option Selection
- Menu Structure
- Menu Overview
- Status Trunk
- Basic Options Trunk
- Advanced Options Trunk
- Remote Configuration Options Trunk
- Diagnostic Options Trunk
- Phone Number Memory Options Trunk
- Caller ID Options Trunk
- Menu Options
- Status
- Basic Options
- Advanced Options
- Remote Configuration Options
- Diagnostic Options
- Phone Number Memory Options
- Caller ID Options
- Chapter 4 - Leased Line Operation
- Chapter 5 - Remote Configuration
- Chapter 6 - Callback Security
- Chapter 7 - Troubleshooting
- None of the Indicators Light
- The Modem Does Not Respond to Commands
- The Modem Cannot Connect When Dialing
- The Modem Disconnects While Online
- The Modem Cannot Connect When Answering
- File Transfer Is Slower Than It Should Be
- Data Is Being Lost
- There Are Garbage Characters on the Monitor
- The Modem Doesn't Work with Caller ID
- Fax and Data Software Can't Run at the Same Time
- Appendix A - Regulatory Compliance
- Appendix B - Technical Specifications
- Appendix C - Warranty, Service, and Technical Support
- Appendix D - Upgrading the Firmware
- Appendix E - Installing a Modem Under Linux
- Appendix F - Pin Descriptions
- Index
Chapter 4 - Leased Line Operation
30
Multi-Tech Systems, Inc. MT5600BA/BL Series User Guide
1. For four-wire leased line operation, connect one of the provided four-wire cables
to the LEASED jack on the back of the modem. Connect the other end of the
cable to a four-wire leased line jack or terminals supplied by the telephone
company.
2. Turn on the modem.
3. Starting at the STATUS screen, press the following buttons on the front panel:
â, à, â, â, â, à, à, à, à. The SYNC, NORM? screen appears.
4. Press the Enter button to select normal synchronous operation.
5. The OPTION SET screen appears. Press á
ß
to exit to the SYNC/ASYNC
OPTIONS screen.
6. Press á
ß
, á
ß
, á
ß
, à, à, à, à, à, à. The 4 WIRE LEASE? ORIG screen
appears.
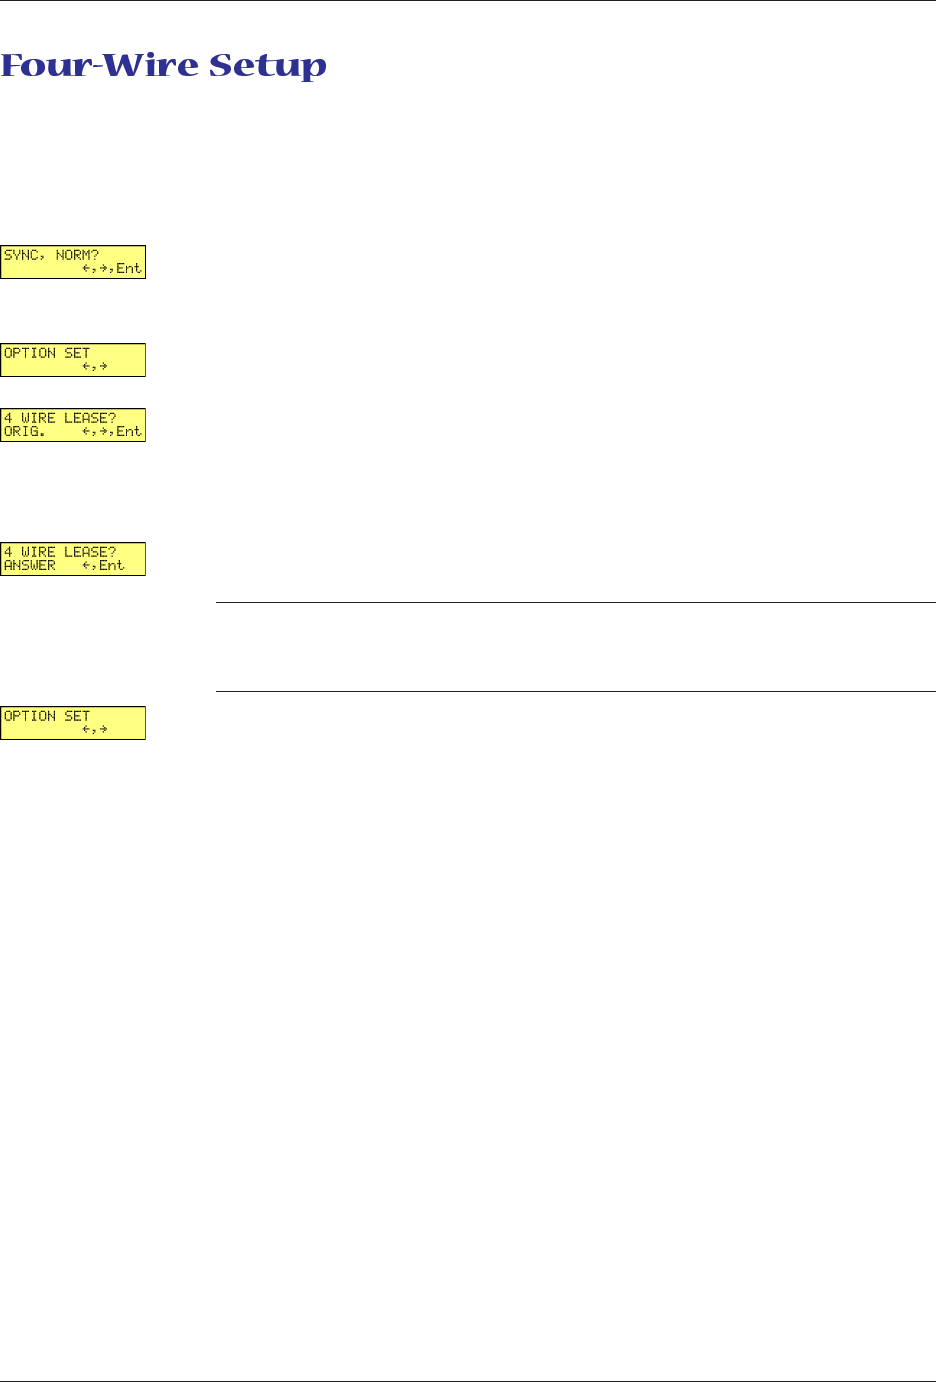
7. Choose one of two actions:
• To set up the modem as the originate modem, press the Enter button.
• To set up the modem as the answer modem, press à to display the
4 WIRE LEASE? ANSWER screen, and then press the Enter button.
Note: One of the modems in a leased line pair must be configured as the
originate modem, and the other as the answer modem, but it does not matter
which is which.
8. The OPTION SET screen appears. Press á
ß
to exit to the ONLINE OPTIONS
screen, or à to exit to the CURRENT SETTING= screen.
9. This completes the setup for four-wire leased line operation. Upon completion,
the modem attempts to connect to the modem at the other end of the leased line.
If the remote modem has not yet been configured for leased line operation, you
may turn off the local modem until the remote one is ready.