
Operation Manual
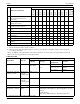
English User manual
14
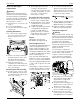
t~êåáåÖ
Ó ^äï~óë=ëÉÅìêÉ=íÜÉ=ÅçååÉÅíáçå=
ÄÉíïÉÉå=íÜÉ=íê~Åíçê=~åÇ=íÜÉ=íê~áäÉê=
ïáíÜ=~=ë~ÑÉíó=ÅÜ~áå=ïÜÉå=éìääáåÖ=
äç~ÇëK=qÜÉ=ë~ÑÉíó=ÅÜ~áå=ãìëí=ÄÉ=~í=
äÉ~ëí=~ÄäÉ=íç=ÄÉ~ê=íÜÉ=Öêçëë=ïÉáÖÜí=
çÑ=íÜÉ=äç~ÇK
Ó låäó=ìëÉ=íê~áäÉê=ÇÉîáÅÉë=ïÜáÅÜ=~êÉ=
~ééêçîÉÇ=Ñçê=íÜÉ=îÉÜáÅäÉ=EãçìíÜ=
~åÇ=Ä~ääJÜÉ~Ç=ÅçìéäáåÖFK
Ó lÄëÉêîÉ=~ää=çÑ=íÜÉ=êÉÖìä~íáçåë=~åÇ=
áåëíêìÅíáçåë=ÅçåÅÉêåáåÖ=çéÉê~íáçå=
çÑ=íÜÉ=íê~áäÉê
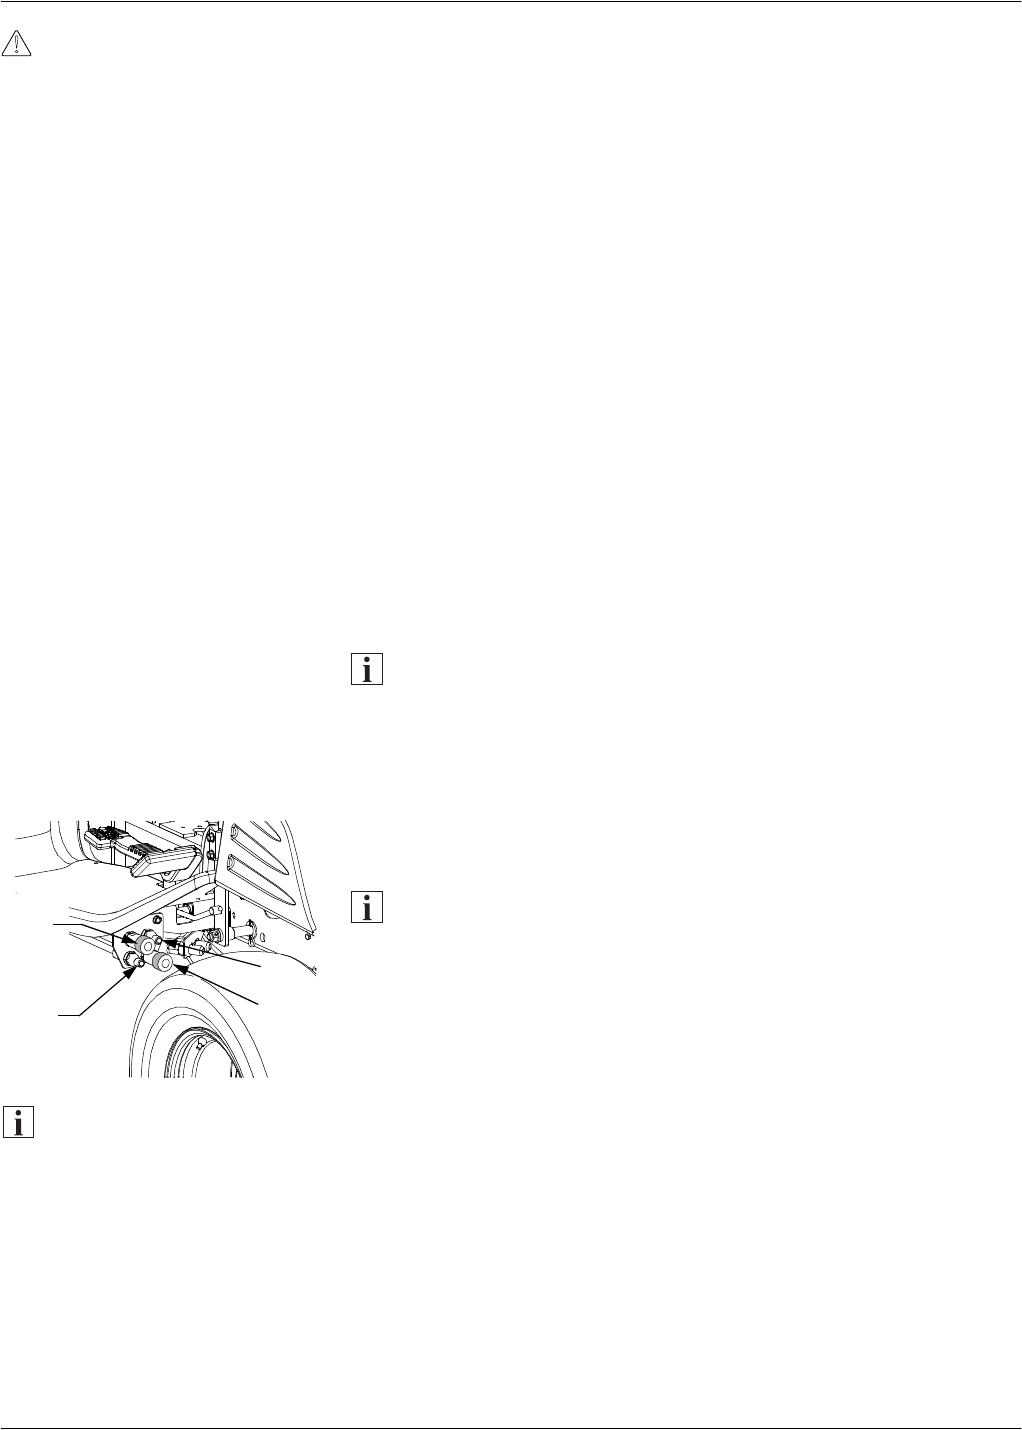
Using the connective
hydraulic valves of the
auxiliary hydraulics
(optional)
According to the model, the tractor
can be equipped with hydraulic
valves for accessory appliances.
This package consists of
twohydraulic spheres for operating
optional equipment which can be
installed on the tractor.
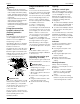
The plugs (a) and sockets (b) of the
hydraulic connections are located
below the right front tread and are
marked using coloured discs which
correspond to the accessory’s
colour coded hydraulic lines.
Important note
If no colour coding is given consider
that the inner hydraulic connections
(a-2, b-2) belong to one hydraulic
circuit and the outer ones (a-1, b-1)
to the other circuit. Never cross-
connect the lines.
The accessories connected to the
hydraulic spheres can be controlled
via the operating lever for the
auxilliary hydraulics.
Weight distribution on the
tractor
If accessories are mounted on the
front or rear of the tractor, the weight
distribution alters correspondingly.
If a rear-mounted accessory is lifted
into the transporting position, the
tractor's centre of gravity shifts to
the rear causing reduced steerability
and stability of the tractor.
In order to counteract this
dislocation, corresponding
counterweights should be attached
to the tractor in the form of cast iron
(front weights) or in the form of rear
ballast containers. However, it is
only necessary to mount a sufficient
a counterweight so as to achieve
good traction, steerability and
stability. Too much weight overloads
the engine and the tractor gear.
When attaching counter weights
onto the tractor, it may be necessary
to increase air pressure to the tyres.
Note
Your dealer is able to offer you a
mounting kit for weights calibrated
to the acessory.
Using the front traction gear
(depending on model)
The front traction gear can be used
to pull loads but also to tow tractors.
Important notes
– Only tow for short distances. For
transporting over longer
distances, load the tractor onto a
trailer or similar means.
– When towing, put the drive lever
into neutral.
Remove the securing pins and
bolts.
Hang the trailer load in the claw
and slide the bolt through.
Secure the bolt with a securing
pin.
Lighting
Headlights and tail lights
When working in darkness, always
switch the headlights and tail lights
on. The headlights do not only
illuminate the working area, but
increase the visibility of the tractor
for all persons falling within the
working area.
To switch the headlamps and tail
lights on, press the upper part of
the vehicle illumination switch.
To switch the headlamps and tail
lights off, press the lower part of
the switch.
It is recommended only to switch the
headlamps and tail lights on if the
tractor is used in the vicinity of public
roads, in order to improve visibility in
road traffic.
Indicators
In order to avoid dangers, always
indicate the direction of travel.
Drive to the right:
Pressing the lower part of the
indicator switch.
Driving to the left:
Pressing the upper part of the
indicator switch.
Switching off the indicator:
Indicator switch in the middle
setting.
Warning indicators
Always switch the warning
indicators on if other persons are to
be warned.
In order to switch the warning
indicators on, press the upper
part of the warning indicator
switch.
In order to switch the warning
indicators off, press the lower part
of the warning indicator switch.
a-1
b-1
a-2
b-2