
User`s manual
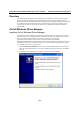
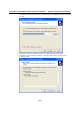


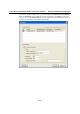
Table Of Contents
- 1. Introduction
- 2. Getting Started
- 3. Initial IP Address Configuration
- 4. Introducing Serial Port Operation Modes
- 5. Introducing OnCell Central and Ethernet Operation Modes
- 6. Using the Web Console
- 7. Cellular Network Settings
- 8. Configuring Serial Port Operation Modes
- 9. Configuring the Cellular-Enabling Ethernet Device
- 10. Configuring OnCell Central Management Software
- 11. Additional Serial Port Settings
- 12. System Management Settings
- 13. Software Installation/Configuration
- A. Pinouts and Cable Wiring
- B. RFC2217
- C. Dynamic Domain Name Server
- D. Well Known Port Numbers
- E. Auto IP Report Protocol
- F. GSM Alphabet
- G. Default Settings
OnCell G3111/G3151/G3211/G3251 Series User’s Manual Software Installation/Configuration
13-2
Overview
The Documentation & Software CD included with your OnCell G3111/G3151/G3211/G3251 is
designed to make the installation and configuration procedure easy and straightforward. This
auto-run CD includes OnCell Windows Driver Manager (for COM mapping), OnCell Search Utility
(to broadcast search for all OnCell G3111/G3151/G3211/G3251 gateways accessible over the
network), the OnCell G3111/G3151/G3211/G3251 User’s Manual, and the OnCell firmware
upgrade utility.
OnCell Windows Driver Manager
Installing OnCell Windows Driver Manager
OnCell Windows Driver Manager is intended for use with OnCell G3111/G3151/G3211/G3251
serial ports that are set to Real COM mode. The software manages the installation of drivers that
allow you to map unused COM ports on your PC to serial ports on the OnCell
G3111/G3151/G3211/G3251. These drivers are designed for use with Windows
98/ME/NT/2000/XP/2003/Vista/2008. When the drivers are installed and configured, devices that
are attached to serial ports on the OnCell G3111/G3151/G3211/G3251 will be treated as if they
were attached to your PC’s own COM ports.
1. Click the INSTALL COM Driver button in the OnCell Installation CD auto-run window to
install the OnCell Windows Driver. Once the installation program starts running, click Yes to
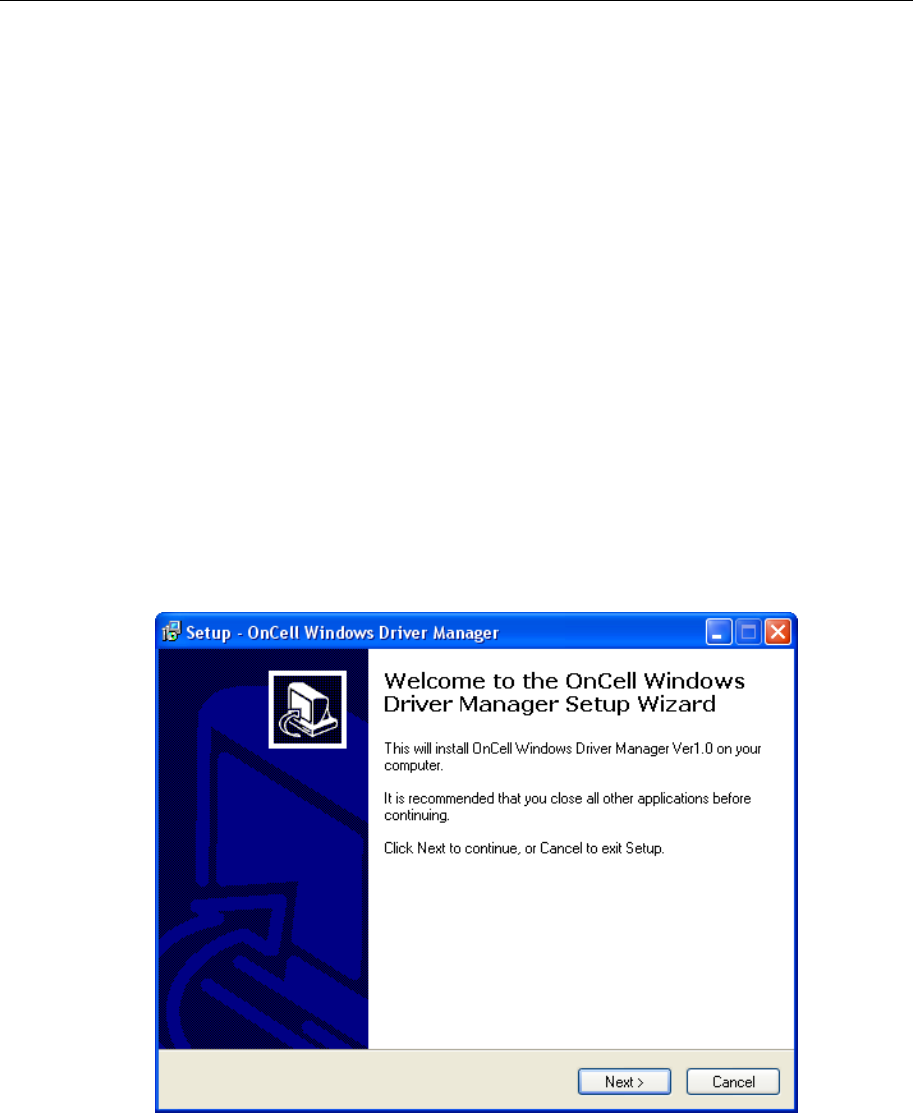
proceed.
2. Click Next when the Welcome screen opens, to proceed with the installation.