
User`s manual


CP-134U Series User’s Manual Hardwareware Installation
2-7
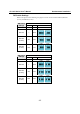
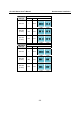
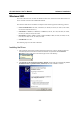
Installing the CP-134U Series Board
Step 1: Power off the PC.
WARNING
To avoid damaging your system and board, make sure your computer is turned off before
installing any serial board.
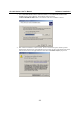
Step 2: Remove the PC’s cover.
Step 3: Remove the slot cover bracket if there is one.
Step 4: Plug the CP-134U Series control board firmly into an open 32-bit PCI slot, or an open
64-bit PCI slot.
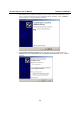
Step 5: Fasten the holding screw to fix the control board in place.
Step 6: Replace the system cover.
Step 7: Power on the PC. The BIOS will automatically set the IRQ and I/O address.
NOTE
Moxa PCI and Universal PCI boards must be assigned unique IRQ and I/O addresses. Both
addresses are assigned automatically by the PCI BIOS.
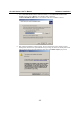
Step 8: Proceed with the software installation discussed in the next chapter, “Software
Installation.”