
User manual
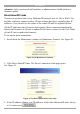
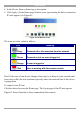


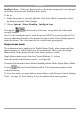
Table Of Contents
- 1. Welcome
- 2. Introduction
- 3. Features of DX User IP
- 4. DX User IP components
- 5. Cables
- 6. DX User IP front panel
- 7. DX User IP rear panel
- 8. Rack mounting the DX User IP
- 9. Pre-installation guidelines
- 10. Mouse synchronization limitations
- 11. DX User IP connections
- 12. Connecting the DX User IP to the Wan/LAN
- 13. Local User
- 14. Connecting an RS232 terminal
- 15. Order of powering on
- 16. Configuring the system
- 17. The DX User IP system interface
- 18. Logging in
- 19. Timeout
- 20. The Work area
- 21. Remote Console Settings
- 22. Telnet Console
- 23. Status via IPMI
- 24. Event Log via IPMI
- 25. File transfer – Virtual Floppy
- 26. Power Control
- 27. Keyboard & Mouse Settings
- 28. KVM Settings
- 29. KVM Port Settings
- 30. Video Settings
- 31. User/Group Management
- 32. User/Group Permissions
- 33. Network Settings
- 34. Dynamic DNS
- 35. Serial Port Settings
- 36. Security Settings
- 37. SNMP Settings
- 38. IPMI Settings
- 39. LDAP Settings
- 40. Maintenance
- 41. Accessing the remote console
- 42. Keyboard layout
- 43. The Control buttons /toolbar icons
- 44. The Chat window
- 45. The Video settings
- 46. Video Settings access
- 47. Mouse synchronization
- Frequently Asked Questions
- Glossary of terms
- Appendix A: DX User IP Video modes
- Appendix B: Key codes
- Appendix C: Pin assignments
- Appendix D: Disabling mouse acceleration
- Appendix E: Technical specifications
DX USER IP
57
Information bar - Shows the console and connection state and remote screen size.
The value in round brackets describes the connection to the remote system: Norm
stands for a standard connection without encryption; SSL stands for a secured
connection. Double click the bar to see a history of all the status information.
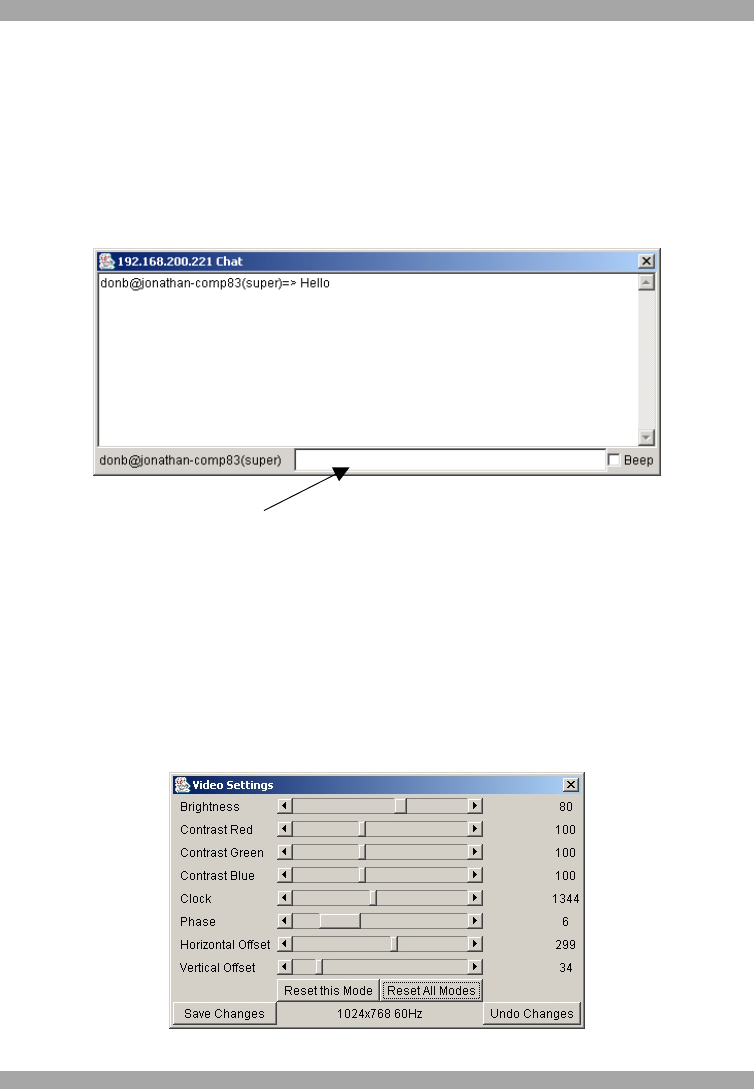
44. The Chat window
Use the Chat window to chat with others logged into the system. Figure 45
illustrates the Chat window.
Type here
Figure 45 Chat window
All messages are broadcast to ALL connected users. There is no option to direct a
message to a particular user only. There is no message history, so messages can only
be received after opening the Remote Console. Type your message and press Enter.
To end the Chat, close the Chat window.
45. The Video settings
From the Options menu choose Video Settings. The Video Settings box appears. See
Figure 46.
Figure 46 The Video settings