
User manual


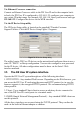
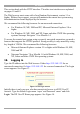

Table Of Contents
- 1. Welcome
- 2. Introduction
- 3. Features of DX User IP
- 4. DX User IP components
- 5. Cables
- 6. DX User IP front panel
- 7. DX User IP rear panel
- 8. Rack mounting the DX User IP
- 9. Pre-installation guidelines
- 10. Mouse synchronization limitations
- 11. DX User IP connections
- 12. Connecting the DX User IP to the Wan/LAN
- 13. Local User
- 14. Connecting an RS232 terminal
- 15. Order of powering on
- 16. Configuring the system
- 17. The DX User IP system interface
- 18. Logging in
- 19. Timeout
- 20. The Work area
- 21. Remote Console Settings
- 22. Telnet Console
- 23. Status via IPMI
- 24. Event Log via IPMI
- 25. File transfer – Virtual Floppy
- 26. Power Control
- 27. Keyboard & Mouse Settings
- 28. KVM Settings
- 29. KVM Port Settings
- 30. Video Settings
- 31. User/Group Management
- 32. User/Group Permissions
- 33. Network Settings
- 34. Dynamic DNS
- 35. Serial Port Settings
- 36. Security Settings
- 37. SNMP Settings
- 38. IPMI Settings
- 39. LDAP Settings
- 40. Maintenance
- 41. Accessing the remote console
- 42. Keyboard layout
- 43. The Control buttons /toolbar icons
- 44. The Chat window
- 45. The Video settings
- 46. Video Settings access
- 47. Mouse synchronization
- Frequently Asked Questions
- Glossary of terms
- Appendix A: DX User IP Video modes
- Appendix B: Key codes
- Appendix C: Pin assignments
- Appendix D: Disabling mouse acceleration
- Appendix E: Technical specifications
USER GUIDE
16
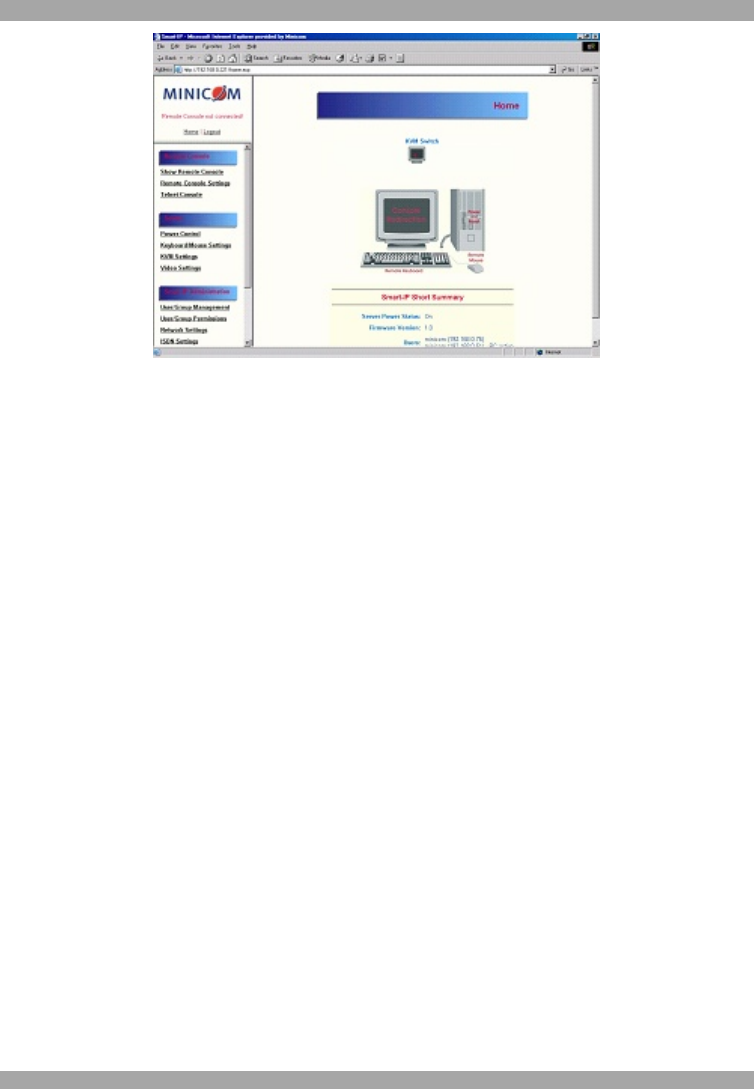
Figure 14 The DX User IP Home page
19. Timeout
After half an hour of non-activity the system automatically logs out. Clicking
anywhere on the screen will lead back to the Login screen.
20. The Work area
The Work area has a short summary about your DX User IP.
· Server Power Status - On or Off
· Firmware Version - installed on your DX User IP
· Device management – self managed or connected to a management device
· Users - all currently logged in users and IP addresses. (Note: when
connected through a proxy server the IP address will be that of the proxy
server).
RC – Remote Control open. Exclusive – Exclusive mode. Idle – time since
last activity.
21. Remote Console Settings
Before connecting to the remote console you must configure all required settings. To
do so, from the DX User IP Menu click Remote Console Settings. The Remote
Console Settings window appears. See Figure 15.