
User guide

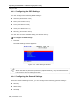

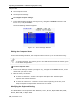
Table Of Contents
- 1 Introduction
- 2 Installation
- 3 Configuring the Network
- 3.1 Boot-Up Process
- 3.2 Logging Onto the Web Configuration Interface
- 3.3 Configuring the Network Settings
- 3.4 Configuring Network SNMP Settings
- 3.5 Configuring User Settings
- 3.6 Configuring the KVM Switch
- 3.7 Configuring the Security Settings
- 3.8 Performing Additional Configuration Operations
- 3.9 Reloading a Page
- 3.10 Saving Changes and Logging Out
- 4 Conducting a Remote Session
- 4.1 Starting a Remote Session
- 4.2 Sharing a Remote Session
- 4.3 Displaying the Toolbar
- 4.4 Setting the Session Profile
- 4.5 Verifying Remote Presence Solutions Information
- 4.6 Changing the Video Performance Settings
- 4.7 Adjusting the Video
- 4.8 Managing Keyboard Sequences
- 4.9 Synchronizing Mouse Pointers
- 4.10 Switching to a Different Server
- 4.11 Disconnecting the Remote Session
- 5 Troubleshooting – Safe Mode
- 6 Operating the SmartRack 116 IP Switching System Locally
- Activating Password Protection
- Changing the OSD Hotkey
- Activating Autoskip
- Serial Port
- Changing the Keyboard Language
- Editing the Switch Name
- Restoring OSD to Factory Defaults (F7)
- 6.3 Upgrading the SmartRack 116 IP Firmware
- 6.3.1 Downloading Update Software and Latest Firmware
- 6.3.2 Update Software System Requirements
- 6.3.3 Connecting the SmartRack 116 IP System
- 6.3.4 Connecting the RS232 Download Cable
- 6.3.5 Installing the Software
- 6.3.6 Starting and Configuring the Update Software
- 6.3.7 Verifying the Version Numbers
- 6.3.8 Obtaining New Firmware
- 6.3.9 Restoring Factory Settings
- 6.4 Troubleshooting – Update Software
- 7 Technical Specifications
- 8 Video Resolution and Refresh Rates
- 9 SNMP Events Table
Operating the SmartRack 116 IP Switching System Locally
Using the OSD
80 | SmartRack 116 IP
T/O – the timeout period. When password protection is activated, you can
automatically disable the Management keyboard, mouse, and screen after a
preset time of nonuse.
To set the above periods:
1. Navigate to the desired column and row.
2. Place the cursor over one of the three digits and type a new number for the new
time period. Type a leading zero where necessary. For example, type 040 for 40
seconds. The numbers 000 and 999 are reserved, as follows:
In the LBL column – Typing 999 displays the label continuously; typing 000
hides the label.
In the T/O column – Typing 999 disables the Timeout function. Typing 000
causes the Timeout function to work immediately.
In the SCN column – Typing 999 displays the screen for 999 seconds. Typing
000 causes the computer screen to be skipped.
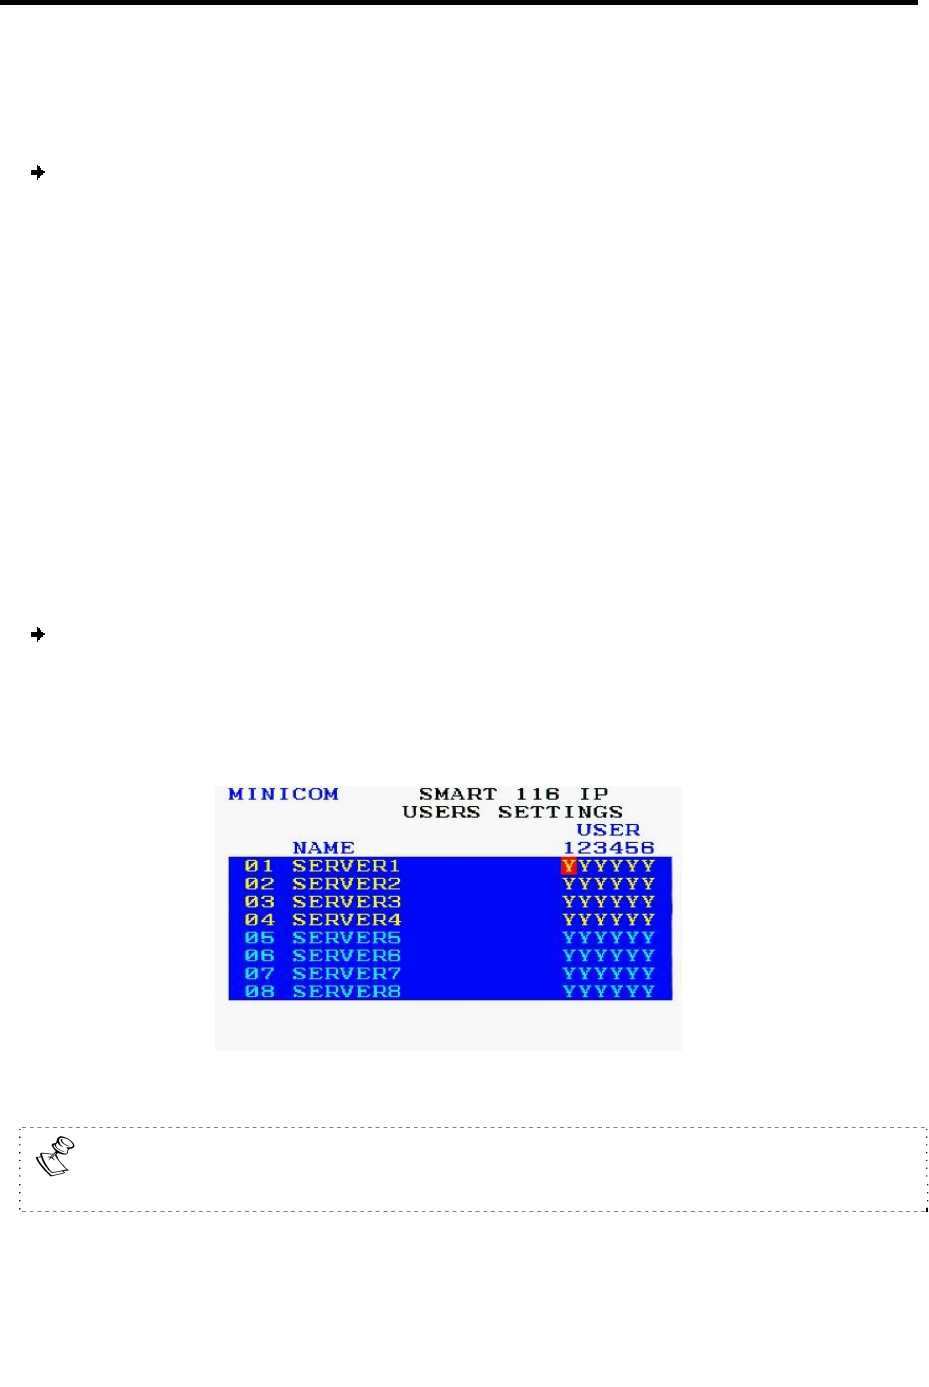
6.2.7 Configuring the Users Settings
To configure the users settings:
1. In the OSD Settings window (see Figure 75), navigate to USERS so that
the red
line is on it, and press Enter.
The Users Settings window appears.
Figure 79 – Users Settings Window
Users is only enabled if the security status is set to On (see the Configuring
Security Settings section on page 75).
There are three different access levels: