
User guide

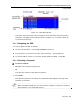
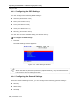

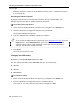
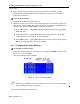
Table Of Contents
- 1 Introduction
- 2 Installation
- 3 Configuring the Network
- 3.1 Boot-Up Process
- 3.2 Logging Onto the Web Configuration Interface
- 3.3 Configuring the Network Settings
- 3.4 Configuring Network SNMP Settings
- 3.5 Configuring User Settings
- 3.6 Configuring the KVM Switch
- 3.7 Configuring the Security Settings
- 3.8 Performing Additional Configuration Operations
- 3.9 Reloading a Page
- 3.10 Saving Changes and Logging Out
- 4 Conducting a Remote Session
- 4.1 Starting a Remote Session
- 4.2 Sharing a Remote Session
- 4.3 Displaying the Toolbar
- 4.4 Setting the Session Profile
- 4.5 Verifying Remote Presence Solutions Information
- 4.6 Changing the Video Performance Settings
- 4.7 Adjusting the Video
- 4.8 Managing Keyboard Sequences
- 4.9 Synchronizing Mouse Pointers
- 4.10 Switching to a Different Server
- 4.11 Disconnecting the Remote Session
- 5 Troubleshooting – Safe Mode
- 6 Operating the SmartRack 116 IP Switching System Locally
- Activating Password Protection
- Changing the OSD Hotkey
- Activating Autoskip
- Serial Port
- Changing the Keyboard Language
- Editing the Switch Name
- Restoring OSD to Factory Defaults (F7)
- 6.3 Upgrading the SmartRack 116 IP Firmware
- 6.3.1 Downloading Update Software and Latest Firmware
- 6.3.2 Update Software System Requirements
- 6.3.3 Connecting the SmartRack 116 IP System
- 6.3.4 Connecting the RS232 Download Cable
- 6.3.5 Installing the Software
- 6.3.6 Starting and Configuring the Update Software
- 6.3.7 Verifying the Version Numbers
- 6.3.8 Obtaining New Firmware
- 6.3.9 Restoring Factory Settings
- 6.4 Troubleshooting – Update Software
- 7 Technical Specifications
- 8 Video Resolution and Refresh Rates
- 9 SNMP Events Table
Operating the SmartRack 116 IP Switching System Locally
Using the OSD
User Guide | 75
Keyboard language
Switch name
From this screen, you can also restore the OSD to its factory default.
To configure the general settings:
1. In the OSD Settings window (see Figure 75), navigate to GENERAL s
o that the red
line is on it, and press Enter.
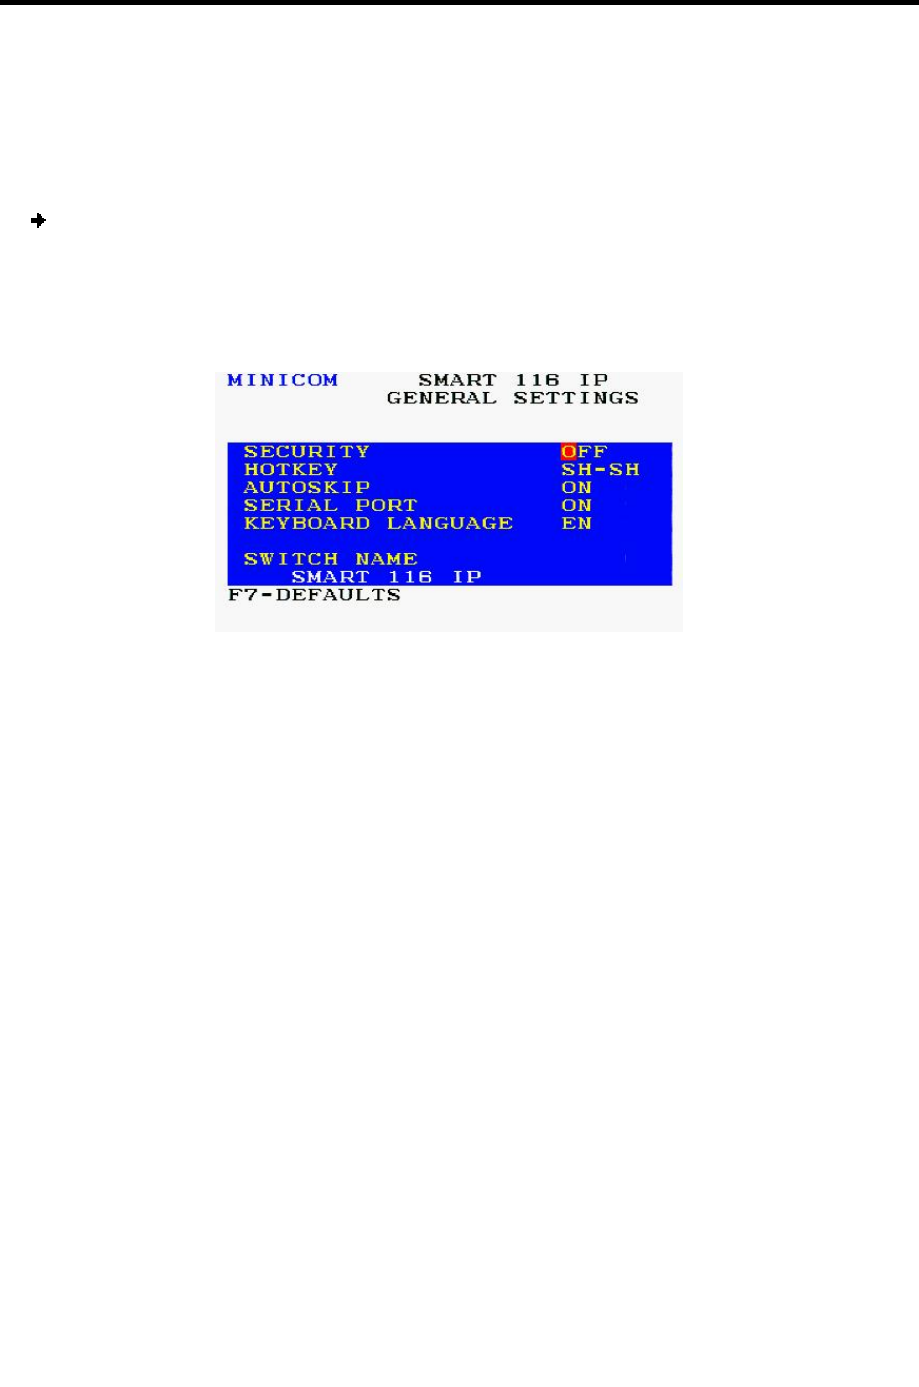
The General Settings window appears.
Figure 76 – General Settings Window
Configuring Security Settings
The OSD comes with an advanced password security system that contains three
different security levels. Each security level has different access rights to the system,
as follows:
Administrator (Status A) who can:
Set and modify all passwords and security profiles
Fully access any computer
Use all OSD functions
Supervisor (Status S) who can:
Fully access any computer
Access the following OSD functions only – F4 Scan, F5 Tune, and F6 Moving
the Confirmation label.
User (Status U) – There are six different Users in the SmartRack 116 IP system.
Each User has a Profile set by the Administrator that defines the access level to