
User guide
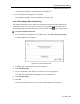
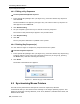
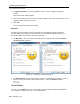

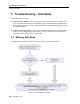
Table Of Contents
- 1 Introduction
- 2 Installation
- 3 Configuring the Network
- 3.1 Boot-Up Process
- 3.2 Logging Onto the Web Configuration Interface
- 3.3 Configuring the Network Settings
- 3.4 Configuring Network SNMP Settings
- 3.5 Configuring User Settings
- 3.6 Configuring the KVM Switch
- 3.7 Configuring the Security Settings
- 3.8 Performing Additional Configuration Operations
- 3.9 Reloading a Page
- 3.10 Saving Changes and Logging Out
- 4 Conducting a Remote Session
- 4.1 Starting a Remote Session
- 4.2 Sharing a Remote Session
- 4.3 Displaying the Toolbar
- 4.4 Setting the Session Profile
- 4.5 Verifying Remote Presence Solutions Information
- 4.6 Changing the Video Performance Settings
- 4.7 Adjusting the Video
- 4.8 Managing Keyboard Sequences
- 4.9 Synchronizing Mouse Pointers
- 4.10 Switching to a Different Server
- 4.11 Disconnecting the Remote Session
- 5 Troubleshooting – Safe Mode
- 6 Operating the SmartRack 116 IP Switching System Locally
- Activating Password Protection
- Changing the OSD Hotkey
- Activating Autoskip
- Serial Port
- Changing the Keyboard Language
- Editing the Switch Name
- Restoring OSD to Factory Defaults (F7)
- 6.3 Upgrading the SmartRack 116 IP Firmware
- 6.3.1 Downloading Update Software and Latest Firmware
- 6.3.2 Update Software System Requirements
- 6.3.3 Connecting the SmartRack 116 IP System
- 6.3.4 Connecting the RS232 Download Cable
- 6.3.5 Installing the Software
- 6.3.6 Starting and Configuring the Update Software
- 6.3.7 Verifying the Version Numbers
- 6.3.8 Obtaining New Firmware
- 6.3.9 Restoring Factory Settings
- 6.4 Troubleshooting – Update Software
- 7 Technical Specifications
- 8 Video Resolution and Refresh Rates
- 9 SNMP Events Table
Conducting a Remote Session
Synchronizing Mouse Pointers
62 | SmartRack 116 IP
4.8.3 Editing a Key Sequence
To edit a predefined keyboard sequence:
1. In the Special Key Manager box (see Figure 60), select the desired key seque
nce
and click Edit.
The Record Macro box appears (see Figure 62). The name of the key sequence to
edit
appears in the Label field.
2. Click Start Recording.
3. On your keyboard, press the keys to include in the key sequence.
The names of the pressed keys appear in the provided area.
4. Click Stop Recording.
5. Click OK.
The key sequence definition is updated in the system.
4.8.4 Deleting Key Sequence(s)
You can delete a single or multiple key sequences from the system.
To delete a keyboard sequence:
1. In the Special Key Manager box (see Figure 60), select the desired key seque
nce(s)
to delete. Select a group of keys by selecting the first key in the group, pressing
the Shift button, and then selecting the last key.
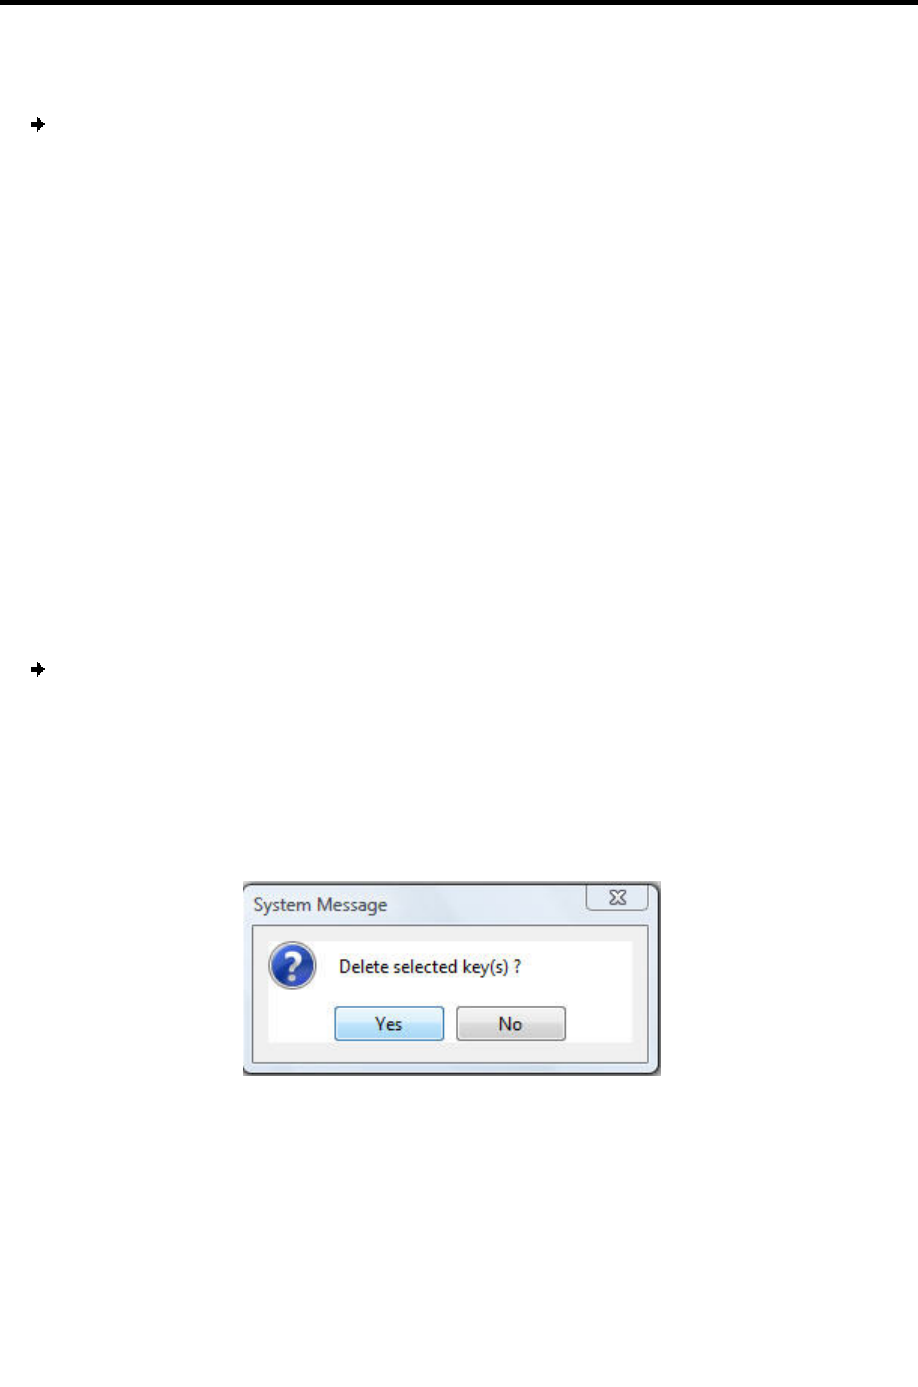
2. Click Delete.
The delete confirmation box appears.
Figure 63 – Delete Key(s) Confirmation Box
4.9 Synchronizing Mouse Pointers
For best mouse performance and superior customer experience, Minicom
recommends that you set certain mouse settings in the target operating system. This
applies to all targets running Windows, such as XP, Windows 7, Windows Server 2003, and
Windows Server 2008.