
User guide

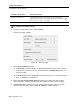
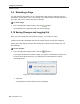
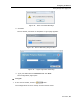
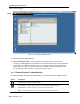
Table Of Contents
- 1 Introduction
- 2 Installation
- 3 Configuring the Network
- 3.1 Boot-Up Process
- 3.2 Logging Onto the Web Configuration Interface
- 3.3 Configuring the Network Settings
- 3.4 Configuring Network SNMP Settings
- 3.5 Configuring User Settings
- 3.6 Configuring the KVM Switch
- 3.7 Configuring the Security Settings
- 3.8 Performing Additional Configuration Operations
- 3.9 Reloading a Page
- 3.10 Saving Changes and Logging Out
- 4 Conducting a Remote Session
- 4.1 Starting a Remote Session
- 4.2 Sharing a Remote Session
- 4.3 Displaying the Toolbar
- 4.4 Setting the Session Profile
- 4.5 Verifying Remote Presence Solutions Information
- 4.6 Changing the Video Performance Settings
- 4.7 Adjusting the Video
- 4.8 Managing Keyboard Sequences
- 4.9 Synchronizing Mouse Pointers
- 4.10 Switching to a Different Server
- 4.11 Disconnecting the Remote Session
- 5 Troubleshooting – Safe Mode
- 6 Operating the SmartRack 116 IP Switching System Locally
- Activating Password Protection
- Changing the OSD Hotkey
- Activating Autoskip
- Serial Port
- Changing the Keyboard Language
- Editing the Switch Name
- Restoring OSD to Factory Defaults (F7)
- 6.3 Upgrading the SmartRack 116 IP Firmware
- 6.3.1 Downloading Update Software and Latest Firmware
- 6.3.2 Update Software System Requirements
- 6.3.3 Connecting the SmartRack 116 IP System
- 6.3.4 Connecting the RS232 Download Cable
- 6.3.5 Installing the Software
- 6.3.6 Starting and Configuring the Update Software
- 6.3.7 Verifying the Version Numbers
- 6.3.8 Obtaining New Firmware
- 6.3.9 Restoring Factory Settings
- 6.4 Troubleshooting – Update Software
- 7 Technical Specifications
- 8 Video Resolution and Refresh Rates
- 9 SNMP Events Table
Configuring the Network
Configuring the Security Settings
42 | SmartRack 116 IP
Standard Security Policy High Security Policy
At least six characters At least eight characters; must include at least one digit, one
uppercase letter, and one of the following “special” characters: !, @, #,
$, %, ^, *, (), _, -, +, =, [], ’, :, ;, ?, /, or {}
Must not include the user name Must not include the user name
To configure the security settings:
1. From the configuration menu, select Security
.
The Security page appears.
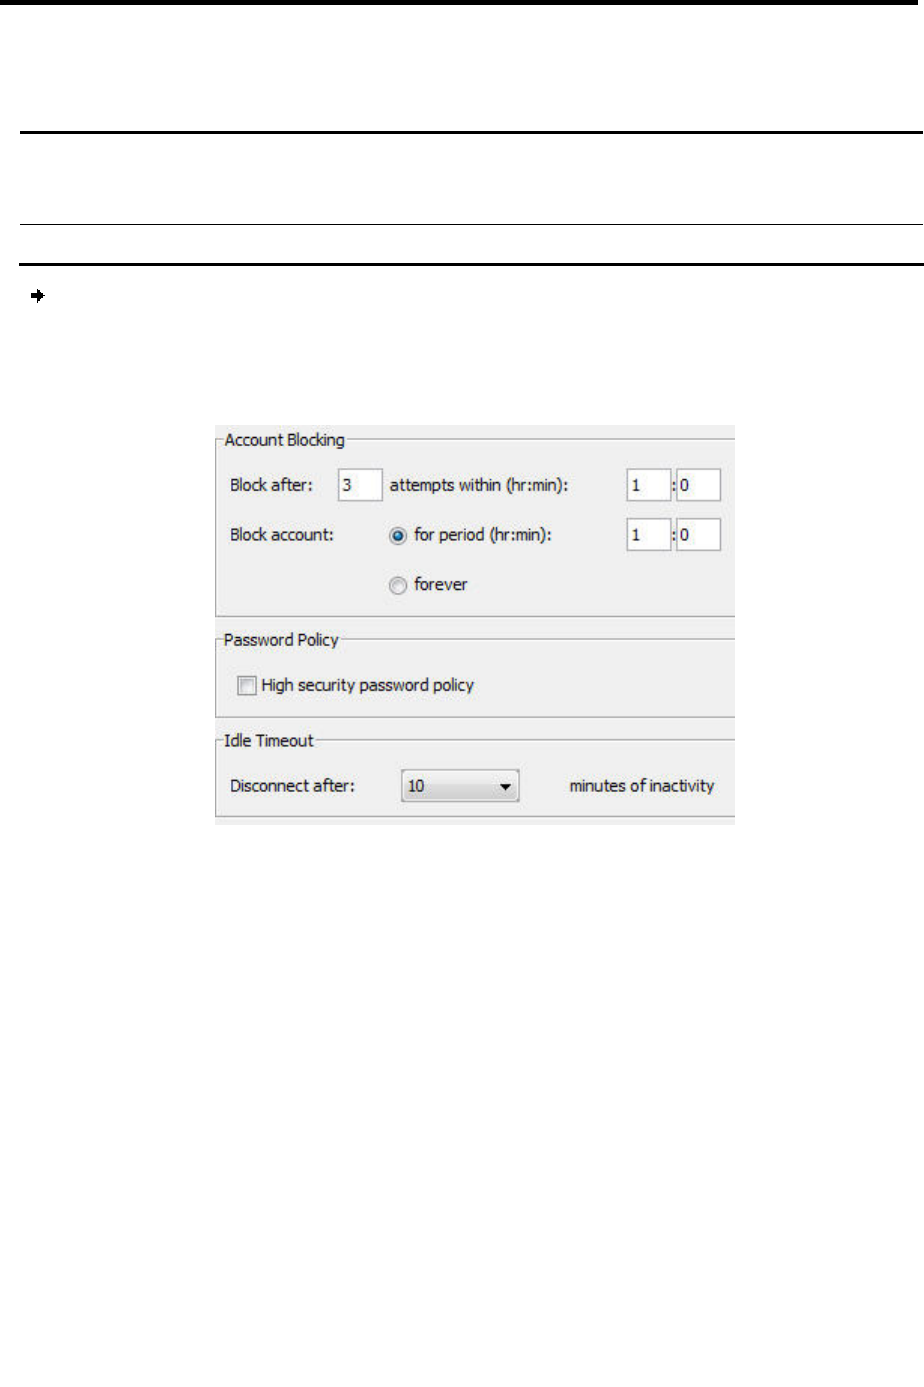
Figure 43 – Security Page
2. In the Account Blocking section:
In Block after, type the number of allowable attempts to log in with a wrong
username or password in a time period specified in attempts within, prior to a
forced time lock.
In Block account, select for period to block the account for a specified period of
time, or forever for a total block.
3. Select the High security password policy checkbox to enable the high security
password policy; clear the checkbox for the standard security policy to apply.
4. In Disconnect after, select the timeout inactivity period after which the user is
disconnected from the system. Select No Timeout to disable timeout.