User Guide switch DX System
Table Of Contents
- Welcome
- 1. Introduction
- 2. Pre-installation guidelines
- 3. DX system outline
- 4. Connecting the DX system
- 4.1 Connecting an optional local computer to a DX User
- 4.2 Connecting servers to the DX Central
- 4.3 XRICC power supply
- 4.4 Connecting a RICC or XRICC PS/2
- 4.5 Connecting an XRICC SUN
- 4.6 Connecting an XRICC USB
- 4.7 Connecting an XRICC RS232
- 4.8 Connecting the CAT5 cables
- 4.9 Connecting the DX User to an RS232 Terminal
- 5. Power management
- 6. Connecting Legacy KVM switches
- 7. Cascading DX Central units
- 8. Powering on the system
- 9. Configuration wizard (non-DX cascaded system)
- 10. Logging in
- 11. Configuring the DX system
- 12. Creating/editing Users and Groups
- 13. Arranging devices
- 14. Scanning a group of servers
- 15. Adjusting the picture quality
- 16. Connect - Private
- 17. Disconnect User
- 18. Connecting to a local computer
- 19. Updating the DX Central
- 20. Updating the DX User and XRICCS/RICCs
- 21. Events log
- 22. Troubleshooting - Resetting the DX Central
- 23. USB / SUN Combo keys
- 24. Technical specifications
- 25. Terminal hotkeys
- 26. User guide feedback

USER GUIDE
60
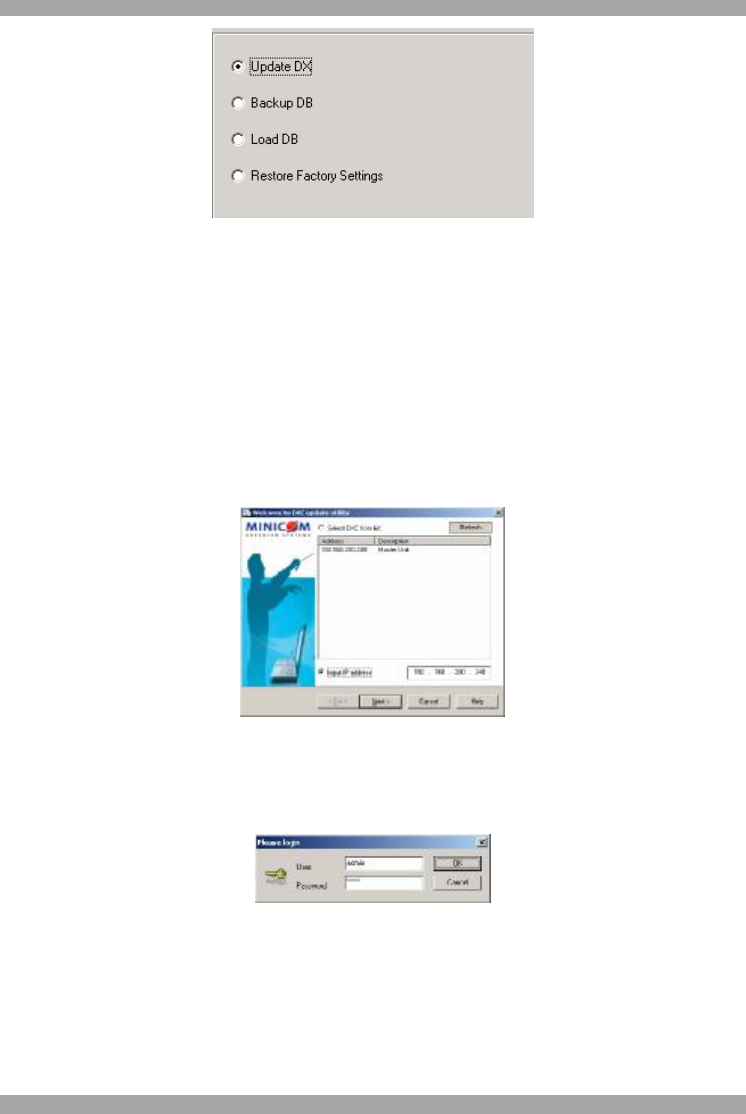
Figure 61 Update Options screen
4. Check Update DX and click Next.
5. Locate the V2 upgrade file and click Open. The firmware upgrades. Once the
DX Central firmware is upgraded to V2, all future updates are done using the
DX Central Update program.
19.2.2 DX Central Update
All updates for DX Central with V2 firmware are done through DX Central Update.
1. Select Start/Programs/DX Central Update/ DX Central Update or click the
Desktop icon. The Welcome to DXC update utility box appears. See Figure 62.
Figure 62 Welcome to DXC update utility
2. Select the DX Central to be upgraded from the list or type the DX Central
address in the Input IP address box. Click Next. The login box appears, see
Figure 63.
Figure 63 Login box
3. Type the administrator username and password, and click OK. The DXC update
utility options appear, see Figure 64.


