
User Guide switch DX System
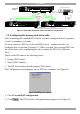
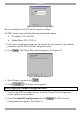
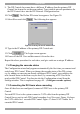

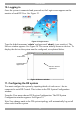
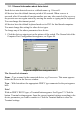
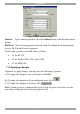
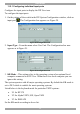
Table Of Contents
- Welcome
- 1. Introduction
- 2. Pre-installation guidelines
- 3. DX system outline
- 4. Connecting the DX system
- 4.1 Connecting an optional local computer to a DX User
- 4.2 Connecting servers to the DX Central
- 4.3 XRICC power supply
- 4.4 Connecting a RICC or XRICC PS/2
- 4.5 Connecting an XRICC SUN
- 4.6 Connecting an XRICC USB
- 4.7 Connecting an XRICC RS232
- 4.8 Connecting the CAT5 cables
- 4.9 Connecting the DX User to an RS232 Terminal
- 5. Power management
- 6. Connecting Legacy KVM switches
- 7. Cascading DX Central units
- 8. Powering on the system
- 9. Configuration wizard (non-DX cascaded system)
- 10. Logging in
- 11. Configuring the DX system
- 12. Creating/editing Users and Groups
- 13. Arranging devices
- 14. Scanning a group of servers
- 15. Adjusting the picture quality
- 16. Connect - Private
- 17. Disconnect User
- 18. Connecting to a local computer
- 19. Updating the DX Central
- 20. Updating the DX User and XRICCS/RICCs
- 21. Events log
- 22. Troubleshooting - Resetting the DX Central
- 23. USB / SUN Combo keys
- 24. Technical specifications
- 25. Terminal hotkeys
- 26. User guide feedback
USER GUIDE
26
11.1.1 General information about Auto detect
Each device auto-detected receives a default name e.g. 1Server01.
All devices have the default timeout period of 60 seconds. When a server is
accessed, after 60 seconds of inaction another user may take control of the server or
the present user can regain control by moving the mouse or typing on the keyboard.
You can change this timeout period.
All devices have the default keyboard mode set to PS/2 for Intel based computers.
You must change this setting for other device types.
To change any of the above parameters for a device:
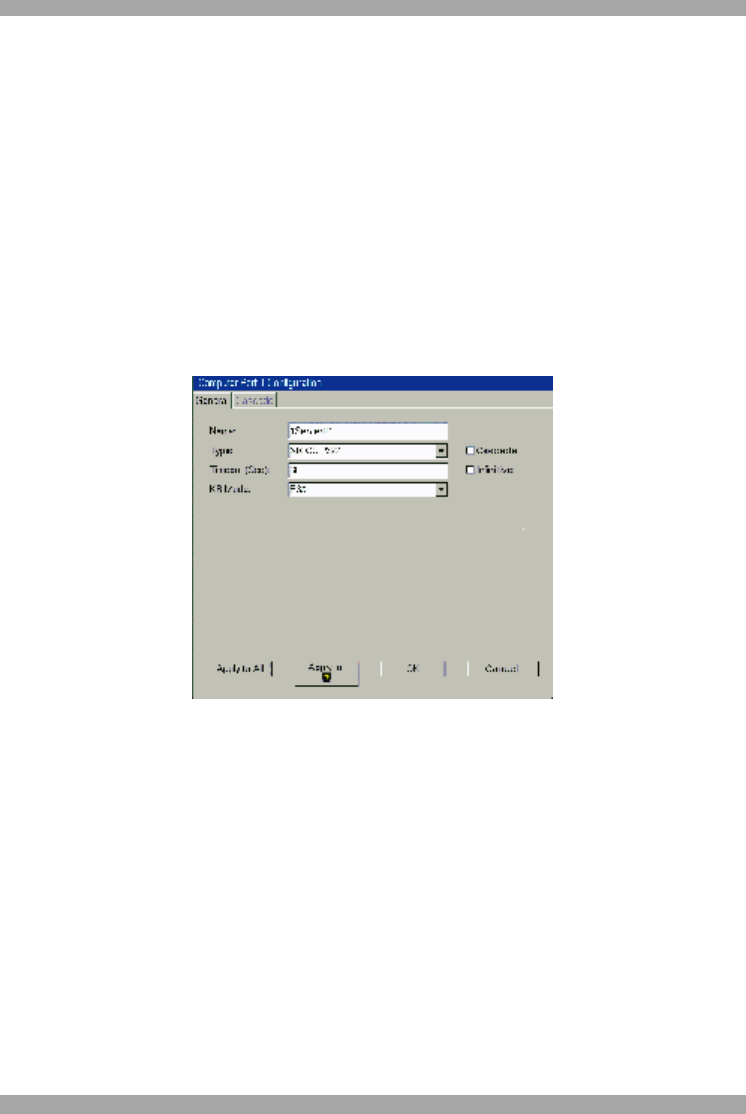
1. Click the devices output port on the picture of the switch. The General tab of the
Computer Port Configuration box appears, see Figure 46.
Figure 26 Computer Port Configuration box
The General tab elements
Name – Type a name for the connected device, e.g. Fax server. This name appears
below the device in the Servers window.
Type – With Autodetect the appropriate XRICC type connected to the port appears
here.
Note!
With an XRICC RS232 type, a Terminal button appears. See Figure 27. Click the
button. Terminal settings appear. Input the correct terminal settings according to the
device parameters you wish to connect to. Click the Terminal button to close the
Terminal settings.