
Installation Instructions
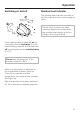
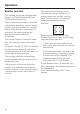


Table Of Contents
- Contents
- Guide to the appliance 4
- Warning and Safety instructions 9
- Caring for the environment 16
- Before using for the first time 17
- Induction 18
- Operation 21
- Tips on saving energy 27
- Safety features 28
- Cleaning and care 30
- Problem solving guide 32
- Optional accessories 34
- Safety instructions for installation 35
- Appliance and building-in dimensions 39
- Preparing the worktop 42
- Installation of several appliances 43
- Fixing the spring clamps and spacer bars 45
- Installing the appliance(s) 47
- General installation tips 48
- Electrical connection 49
- After sales service, data plate 52
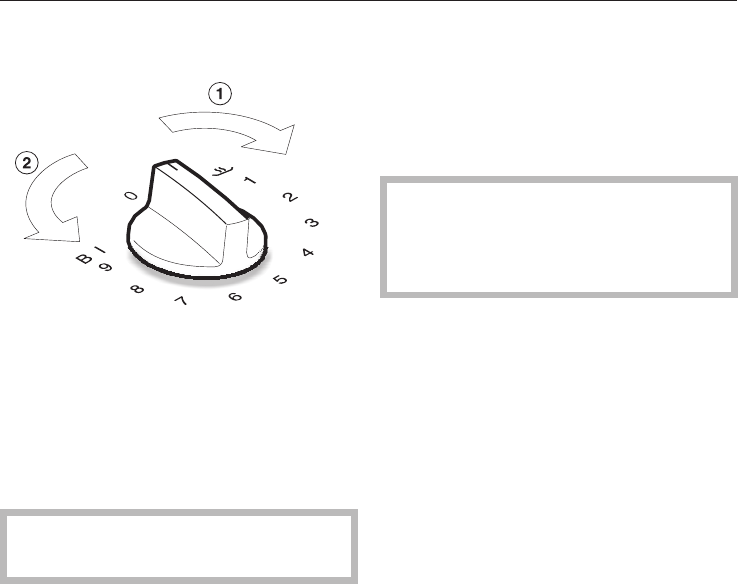
Switching on and off
Each cooking zone is switched on by
turning the control clockwise a to the
power setting required, and is switched
off by turning the control anticlockwise
b to "0".
Do not turn the control to "0" by
turning it past BI or BI/II.
When a cooking zone is switched on,
the in-operation indicator lights up.
Once it has reached a certain
temperature, the residual heat indicator
also lights up.
After the appliance has been switched
off, the in-operation indicator goes out.
Residual heat indicator
The residual heat indicator remains on
until the induction hob is cool enough to
touch.
Do not touch or place any heat
sensitive objects on the hob while
the residual heat display is still on.
Danger of burning and fire.
Operation
21