Specifications
Table Of Contents
- Content
- Welcome!
- Warranty
- 1. Getting Started
- 2. Software Configuration
- 3. Data Capturing
- 3.1. Open Files
- 3.2. Replay of Files
- 3.3. Editing Video Sequences
- 3.4. Saving Files
- 3.4.1. Setting the Recording Frame Rate
- 3.4.2. Setting the Recording Modes
- 3.4.3. Temporary Recording File
- 3.4.4. Saving Radiometric Video Sequences or AVI Files
- 3.4.5. Saving Image Data as Radiometric Snapshot or Text File
- 3.4.6. Saving Text File of the Temperature / Time Diagram
- 3.4.7. Location and Filename Templates of Triggered Recordings
- 3.4.8. Display of Snapshots in a Separate Window
- 3.4.9. Saving Images or Screenshots to Clipboard
- 4. Data Processing
- 5. Visual Camera (TIM200 only)
- Linescanner Mode
- 7. Further Information

thermoIMAGER TIM 67
Note
The rectangle within the visual image shows the area covered by the thermal image. In order to cover
a big area the wide-angle lens is used, to cover a smaller area the telephoto lens.
In the View, Image Information and IR rectangle menu it is possible to hide the displayed rectangle.
5.3. Cross-fading Modus
5.3.1. General
The cross-fading modus is used in order to highlight critical
temperatures at the point of measurement. In this modus the thermal
image is faded into the visual image.
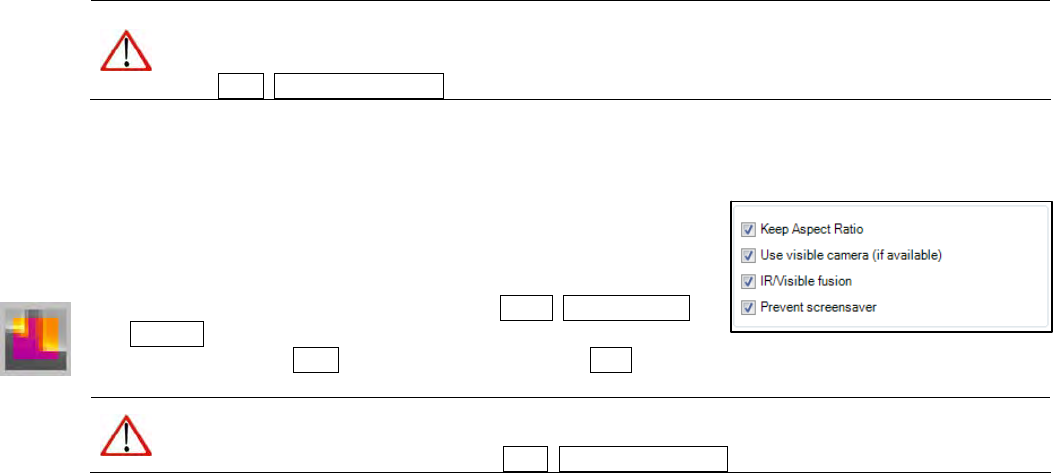
The cross-fading modus can be enabled in the Tools, Configuration
and General menu via the option IR/Visible fusion. Alternatively, you
can use the menu item View and IR/Visible fusion or the Icon on the toolbar.
Note
The area covered by the thermal image within the visual image is limited by a rectangle. In order to
hide the frame of the rectangle use the View, Image Information and IR rectangle menu.


