
Specifications


Table Of Contents
- Content
- Welcome!
- Warranty
- 1. Getting Started
- 2. Software Configuration
- 3. Data Capturing
- 3.1. Open Files
- 3.2. Replay of Files
- 3.3. Editing Video Sequences
- 3.4. Saving Files
- 3.4.1. Setting the Recording Frame Rate
- 3.4.2. Setting the Recording Modes
- 3.4.3. Temporary Recording File
- 3.4.4. Saving Radiometric Video Sequences or AVI Files
- 3.4.5. Saving Image Data as Radiometric Snapshot or Text File
- 3.4.6. Saving Text File of the Temperature / Time Diagram
- 3.4.7. Location and Filename Templates of Triggered Recordings
- 3.4.8. Display of Snapshots in a Separate Window
- 3.4.9. Saving Images or Screenshots to Clipboard
- 4. Data Processing
- 5. Visual Camera (TIM200 only)
- Linescanner Mode
- 7. Further Information
thermoIMAGER TIM 40
Note
If Radiometric Recording is not activated the images will be saved as standard AVI file only containing
color information. A later conversion of a RAVI file into an AVI file and vice versa is not possible.
Choosing the option Save after recording is stopped the images will be saved without further notice. If the
option Play after recording is stopped is activated the saved images will be played automatically in the main
window.
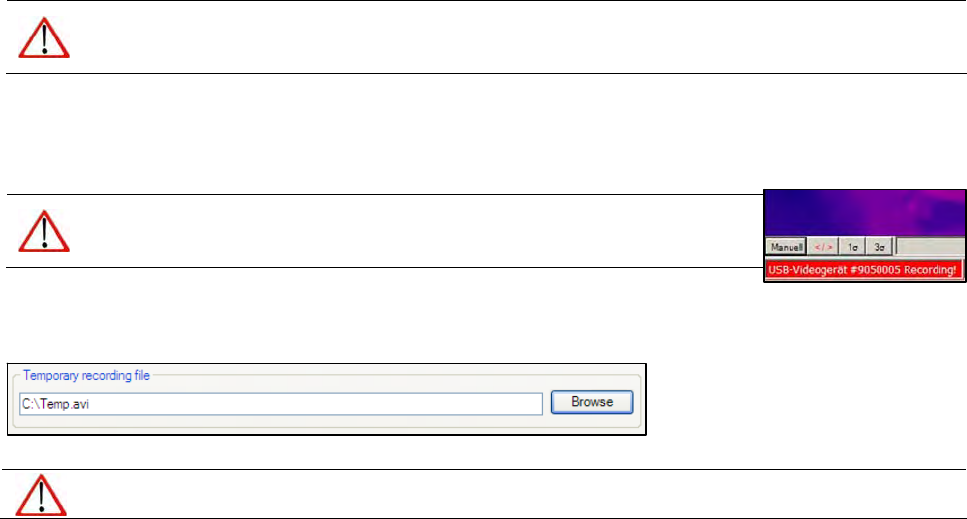
Note
The status of recording is displayed at the bottom notice bar. The background
color will turn RED when recording.
3.4.3. Temporary Recording File
Choose the directory for saving your temporarily recorded video file.
Note
Every new record will overwrite the previous one.