
Specifications


Table Of Contents
- Content
- Welcome!
- Warranty
- 1. Getting Started
- 2. Software Configuration
- 3. Data Capturing
- 3.1. Open Files
- 3.2. Replay of Files
- 3.3. Editing Video Sequences
- 3.4. Saving Files
- 3.4.1. Setting the Recording Frame Rate
- 3.4.2. Setting the Recording Modes
- 3.4.3. Temporary Recording File
- 3.4.4. Saving Radiometric Video Sequences or AVI Files
- 3.4.5. Saving Image Data as Radiometric Snapshot or Text File
- 3.4.6. Saving Text File of the Temperature / Time Diagram
- 3.4.7. Location and Filename Templates of Triggered Recordings
- 3.4.8. Display of Snapshots in a Separate Window
- 3.4.9. Saving Images or Screenshots to Clipboard
- 4. Data Processing
- 5. Visual Camera (TIM200 only)
- Linescanner Mode
- 7. Further Information
thermoIMAGER TIM 38
3.4. Saving Files
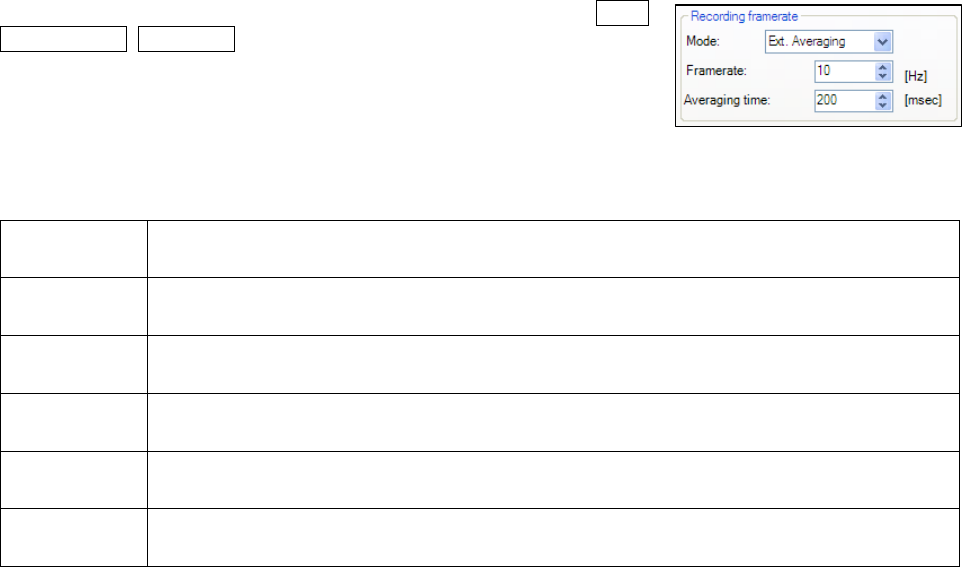
3.4.1. Setting the Recording Frame Rate
The camera’s maximum frame rate of 120 Hz can be reduced. Using Tools,
Configuration, Recording and Recording frame rate the speed of the
data capturing can be set. Typically, the specification is in Hertz (Hz,
images per second).
The software gets the full frame rate from camera. That is why you need to
define what to do with the images which are left if choosing a reduced frame rate. There are several alternatives
to set in the Mode option:
Off The recording frame rate will be 120 Hz.
Skipping
The remaining images will be skipped by the defined frame rate, which means that at 10 Hz
every 10th image will be recorded.
Average
The images will be averaged by the defined frame rate, which means at 10 Hz that 10
images result in one averaged image.
Minimum
E.g. at 10 Hz 10 single images compose one image where only lowest value pixels will be
considered.
Maximum
E.g. at 10 Hz 10 single images compose one image where only highest value pixels will be
considered.
Ext.
Averaging
The images will be averaged by the defined frame rate as well as the averaging time,
which means at 10 Hz and 200 ms that just the first 2 images out of 10 images will