
User Manual
Page 14
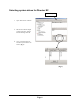
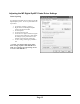
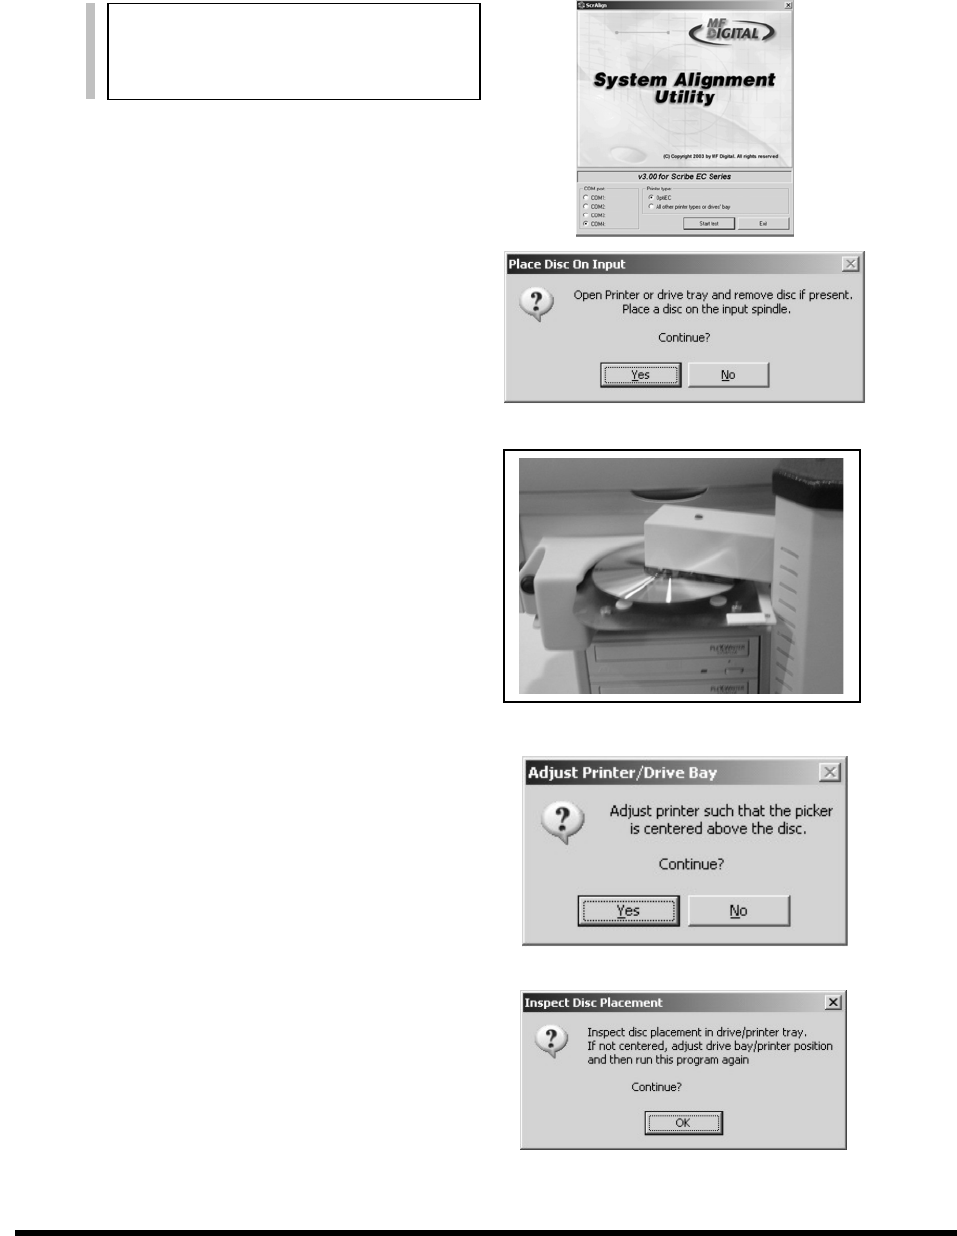
Aligning the MF Digital OptiEC Printer
(fig. 3)
Alert:
Before starting the Alignment Utility,
p
osition the front end of the printer on the
dotted line on the top of the drive bay.
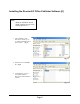
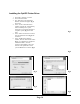
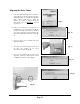
1. From your Start Menu Open the EC Alignmen
t
Utility (fig. 1). It will be located in the folde
r
designated when you installed the alignmen
t
utility. Select OptiEC printer type. Click on
Start Test.
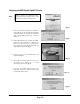
2.
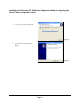
Follow the instructions by opening the OptiEC
printer tray, and Clicking Yes (fig. 2). The
picker arm will hover a disc over the printe
r
tray, observe the discs position and make the
adjustments to the printer (fig. 3).
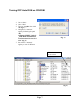
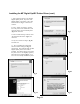
3.
Click Yes when you are satisfied with you
r
adjustment (fig. 4).
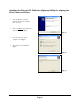
4. The picker arm will then place the disc onto
the printer tray. Follow the on screen
instructions and click OK (fig. 5).
5. Once you are satisfied with the printer tra
y
alignment, tighten the thumb-screws locate
d
on both sides of the printer.
(fi
g
1)
(fi
g
2)
(fig. 4)
(fig. 5)