
User Manual


6.4 Diagnosis
766 IC Sample Processor
119
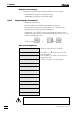
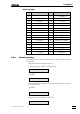
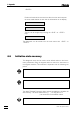
6.4.3 Working memory (RAM)
This diagnosis step completes a non-destructive test over the entire
range of the RAM contents (working memory).
• Prepare instrument for diagnosis (see section 6.4.2).
• If necessary, press <
ê
> several times until
diagnosis
>RAM test
• <ENTER>
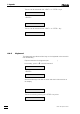
If no errors are found, this appears on the display:
>RAM test
RAM test ok
• <ENTER>
diagnosis
>display test
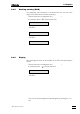
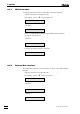
6.4.4 Display
With this diagnosis step, the functionality of the LED’s and the display is
tested.
• Prepare instrument for diagnosis (see section 6.4.2).
• If necessary press <
ê
>several times until
diagnosis
>display test
• <ENTER>
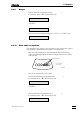
After pressing the <ENTER> key, the program automatically makes a test run to visually check
the LED’s and the display.
⇒ The LEDs for TOWER 1, TOWER 2 and LEARN blink one after the other for a short time.
⇒ The background lighting of the display is switched off for a short time and then turned on
again.
⇒ The start test pattern appears (every pixel active).
⇒ Both lines of the display are turned off.
⇒ Both lines of the display are occupied one after the other with the characters “#”, “H“ and fi-
nally “I”.
⇒ Both lines are filled from right to left with the endless running line
“0123456789ABCDEFGHIJKLMNOPQRSTUVWXYZ.”.
• The test run can be stopped and started again by pressing the <5>
key.