
Owner's manual
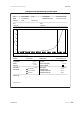
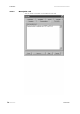
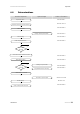
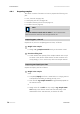

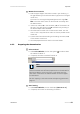
Table Of Contents
- Table of contents
- Table of figures
- 1 Introduction
- 2 Overview of the instrument
- 3 Installation
- 4 Operation
- 4.1 Fundamentals of operation
- 4.2 Instrument and Program Settings
- 4.3 Program information
- 4.4 Calibration functions
- 4.5 Methods
- 4.6 Determinations
- 4.6.1 Preparing samples
- 4.6.2 Preparing the instrument and the accessories
- 4.6.3 Preparing the determination
- 4.6.4 Starting the determination
- 4.6.5 Cleaning the instrument and accessories
- 4.6.6 Adjusting the method parameters during the determination
- 4.6.7 Stopping the determination manually
- 4.6.8 Status of the live curve
- 4.7 Results
- 4.8 GLP functions
- 5 Handling and maintenance
- 6 Troubleshooting
- 7 Technical specifications
- 8 Conformity and warranty
- 9 Accessories
- Index
4.6 Determinations
■■■■■■■■■■■■■■■■■■■■■■
82
■■■■■■■■
743 Rancimat
The color of the button frame changes to red and the temperature
display (2-3) on the instrument flashes. The current temperature is
displayed directly next to the button.
Heating up duration for 120 °C: approx. 45 min.
Heating up duration for 200 °C: approx. 60 min.
Note
If you wish to turn off the heating, click on the button [Heat to
xx °C] again.
3
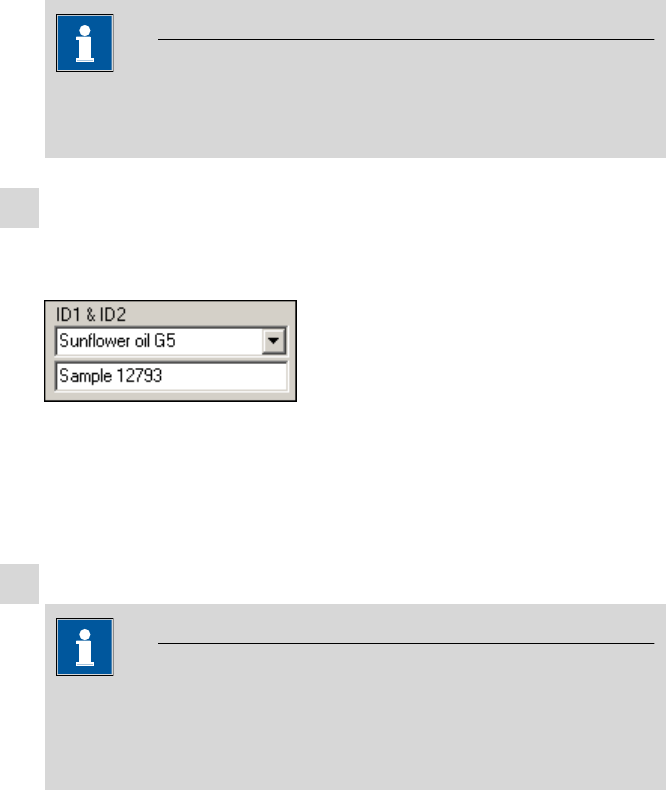
Enter sample identification
■ Enter the sample identifications ID1 & ID2 for all sample posi-
tions used.
The entry for ID1 can be selected from the automatically created list
of already entered identifications. This list can be deleted again in the
Control window with the menu item Options ▶ Clear sample
ID1 history.
4
Insert and connect reaction vessels
Note
The temperature defined in the method must be reached, before
you insert the reaction vessels, i.e. the frame of the button [Heat
to xx °C] must be green.
■ Seal the channels not used with the sealing plugs or empty reac-
tion vessels for protection against impurities.
■ Insert the prepared reaction vessels into the openings of the heat-
ing block.
■ Connect the white silicone tubings which are fastened to the
reaction vessel cover to the tubing adapter M8 / olive (5-11) of
the measuring vessel covers.
■ Screw the FEP tubings 250 mm (5-1) to the thread adapters (5-3)
of the reaction vessel covers and the air supply connections (3-3)
of the Rancimat.