
Owner's manual
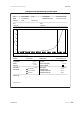
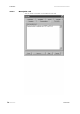
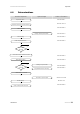
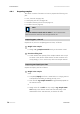

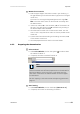
Table Of Contents
- Table of contents
- Table of figures
- 1 Introduction
- 2 Overview of the instrument
- 3 Installation
- 4 Operation
- 4.1 Fundamentals of operation
- 4.2 Instrument and Program Settings
- 4.3 Program information
- 4.4 Calibration functions
- 4.5 Methods
- 4.6 Determinations
- 4.6.1 Preparing samples
- 4.6.2 Preparing the instrument and the accessories
- 4.6.3 Preparing the determination
- 4.6.4 Starting the determination
- 4.6.5 Cleaning the instrument and accessories
- 4.6.6 Adjusting the method parameters during the determination
- 4.6.7 Stopping the determination manually
- 4.6.8 Status of the live curve
- 4.7 Results
- 4.8 GLP functions
- 5 Handling and maintenance
- 6 Troubleshooting
- 7 Technical specifications
- 8 Conformity and warranty
- 9 Accessories
- Index
■■■■■■■■■■■■■■■■■■■■■■
4 Operation
743 Rancimat
■■■■■■■■
81
5
Mount the accessories
■ Take the upper edge of the reaction vessel in your hand (e.g. in
the gap between your thumb and index finger) and turn the glass
round once.
This serves for covering the degreased glasses with a light fat
film so that the vessel covers can be removed more easily after
the determination.
■ Insert an air tube (5-5) in the connector (5-7) of the reaction ves-
sel cover, fix it with the O-ring (5-6) and fasten it by screwing in
the thread adapter M8 / M6 (5-3).
■ Place the reaction vessel cover on the reaction vessel. Turn the
cover in such a way that the air tube is as close as possible to the
vessel wall.
■ Connect the white silicone tubing to the tubing connector (5-4)
of the reaction vessel cover.
■ Place the prepared reaction vessel in the vessel holder.
4.6.3 Preparing the determination
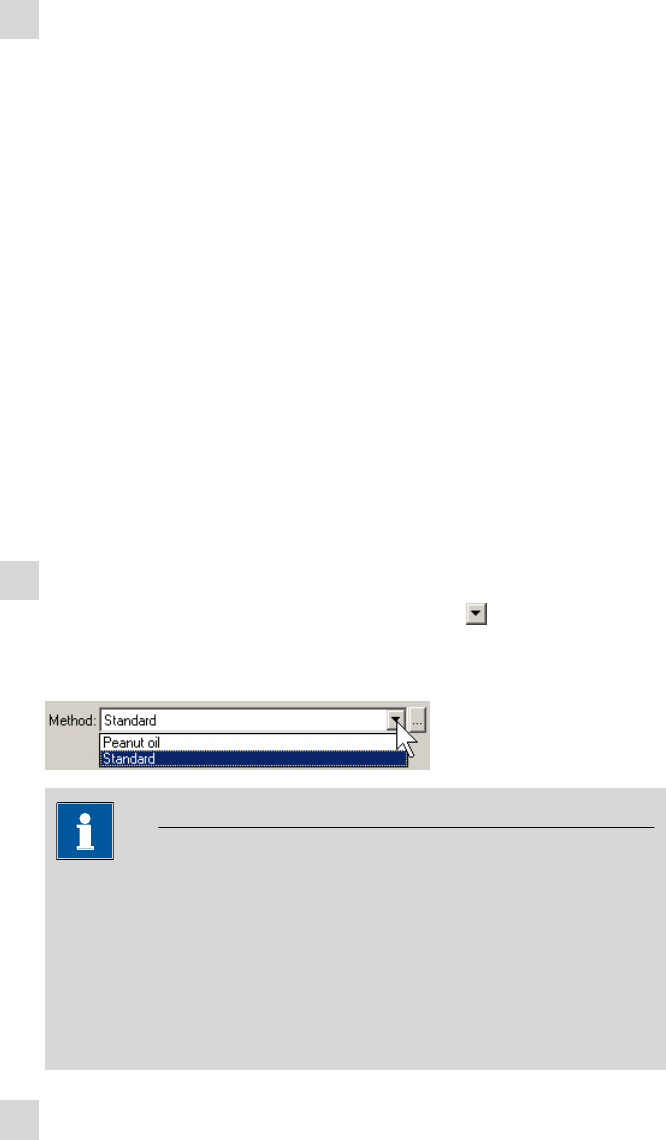
1
Select method
■ Under Unit x Block A, click on the symbol in order to select
the method for Block A.
■ If required, also select a method for Block B.
Note
Different methods with different temperatures can be selected for
Block A and Block B. For the gas flow, on the other hand, the
value which is defined in the method loaded for Block A applies
for both blocks.
See also "Opening a selected method and adjusting parameters",
page 57.
2
Start heating
■ Under Unit x Block A, click on the button [Heat to xx °C].
■ If required, also switch on the heating for Block B.