
Owner's manual
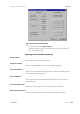
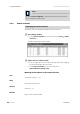


Table Of Contents
- Table of contents
- Table of figures
- 1 Introduction
- 2 Overview of the instrument
- 3 Installation
- 4 Operation
- 4.1 Fundamentals of operation
- 4.2 Instrument and Program Settings
- 4.3 Program information
- 4.4 Calibration functions
- 4.5 Methods
- 4.6 Determinations
- 4.6.1 Preparing samples
- 4.6.2 Preparing the instrument and the accessories
- 4.6.3 Preparing the determination
- 4.6.4 Starting the determination
- 4.6.5 Cleaning the instrument and accessories
- 4.6.6 Adjusting the method parameters during the determination
- 4.6.7 Stopping the determination manually
- 4.6.8 Status of the live curve
- 4.7 Results
- 4.8 GLP functions
- 5 Handling and maintenance
- 6 Troubleshooting
- 7 Technical specifications
- 8 Conformity and warranty
- 9 Accessories
- Index
4.3 Program information
■■■■■■■■■■■■■■■■■■■■■■
44
■■■■■■■■
743 Rancimat
Note
The block Service diagnosis is password-protected and only accessi-
ble for trained service personnel.
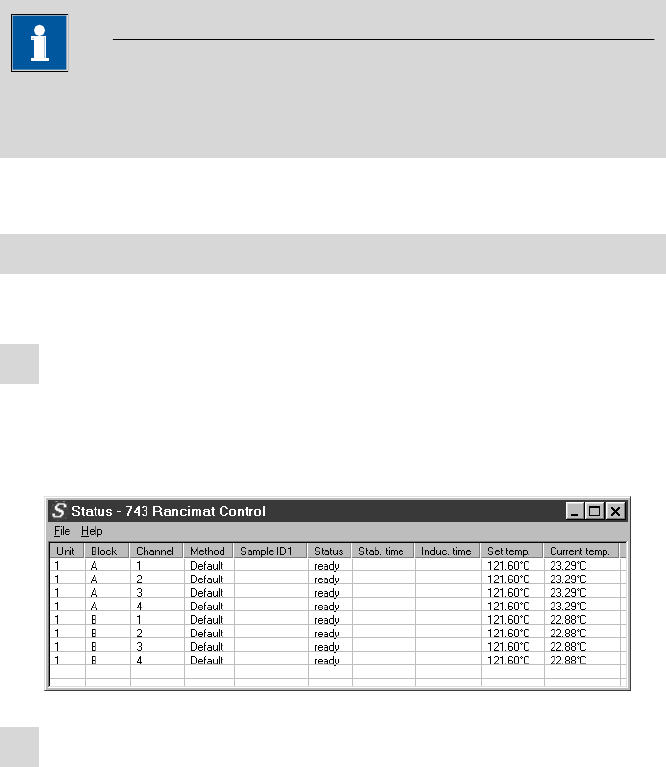
4.3.2 Status overview
Displaying the status overview
Proceed as follows to display and adjust the status overview:
1
Open dialog window
■ In the Control window, click on the menu item View ▶ Status
overview.
The following dialog window appears:
2
Adjust and save column width
■ You can adjust the column width to the required size by dragging
the right field border with the mouse.
■ In the Control window, click on the menu item
Options ▶ Save settings now.
Meaning of the columns in the status overview
Unit
Instrument number (1…4).
Block
Instrument block (A or B).
Channel
Channel (1…4).
Method
Name of the method loaded.