
Owner's manual
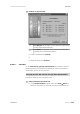
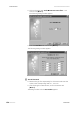
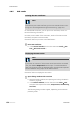
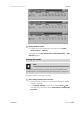


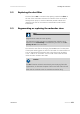
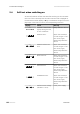
Table Of Contents
- Table of contents
- Table of figures
- 1 Introduction
- 2 Overview of the instrument
- 3 Installation
- 4 Operation
- 4.1 Fundamentals of operation
- 4.2 Instrument and Program Settings
- 4.3 Program information
- 4.4 Calibration functions
- 4.5 Methods
- 4.6 Determinations
- 4.6.1 Preparing samples
- 4.6.2 Preparing the instrument and the accessories
- 4.6.3 Preparing the determination
- 4.6.4 Starting the determination
- 4.6.5 Cleaning the instrument and accessories
- 4.6.6 Adjusting the method parameters during the determination
- 4.6.7 Stopping the determination manually
- 4.6.8 Status of the live curve
- 4.7 Results
- 4.8 GLP functions
- 5 Handling and maintenance
- 6 Troubleshooting
- 7 Technical specifications
- 8 Conformity and warranty
- 9 Accessories
- Index
■■■■■■■■■■■■■■■■■■■■■■
4 Operation
743 Rancimat
■■■■■■■■
157
2
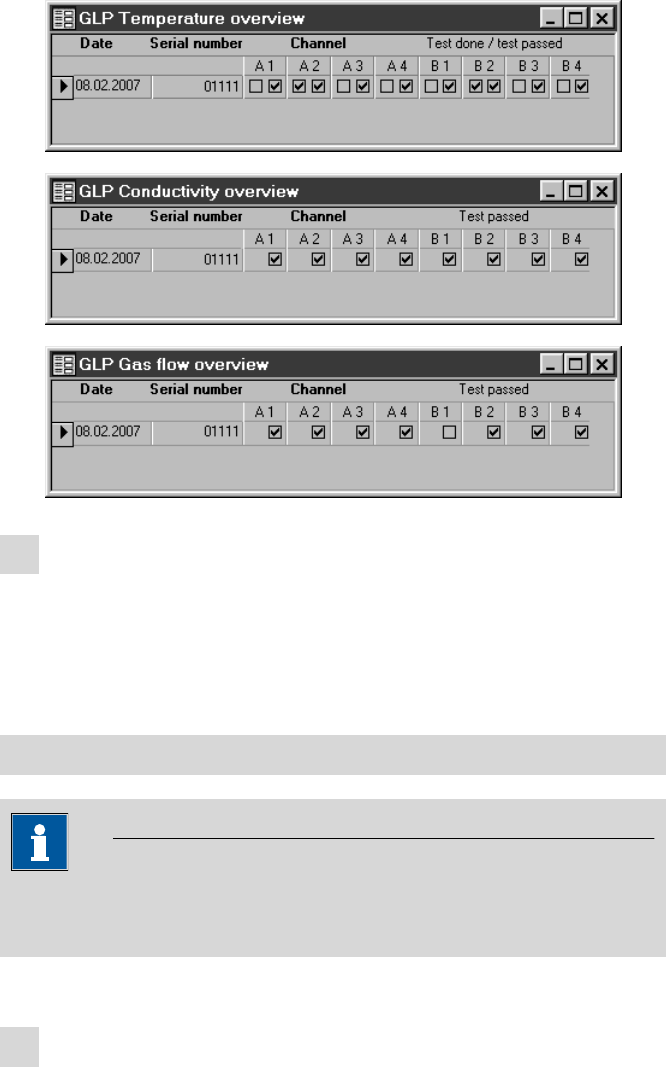
Display detailed results
■ Double click on the required GLP test within the fields Date,
Serial number or Channel.
The dialog window GLP Temperature, GLP Conductivity or GLP
Gas flow appears.
Printing GLP results
Note
To be able to print out the GLP results, you have to activate the GLP
monitoring (see "Activating/Deactivating GLP monitoring", page 142).
Proceed as follows to print the GLP results:
1
Open dialog window with overview
■ Open the Results window (see "Opening and closing the Results
window", page 28).
■ In the Results window, click on the menu item View ▶ GLP
and select the required test results (Temperature, Conductivity,
Gas flow).