
Owner's manual
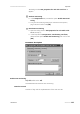
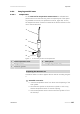
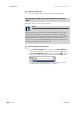
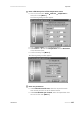
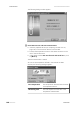
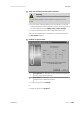
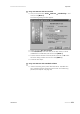
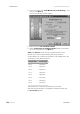
Table Of Contents
- Table of contents
- Table of figures
- 1 Introduction
- 2 Overview of the instrument
- 3 Installation
- 4 Operation
- 4.1 Fundamentals of operation
- 4.2 Instrument and Program Settings
- 4.3 Program information
- 4.4 Calibration functions
- 4.5 Methods
- 4.6 Determinations
- 4.6.1 Preparing samples
- 4.6.2 Preparing the instrument and the accessories
- 4.6.3 Preparing the determination
- 4.6.4 Starting the determination
- 4.6.5 Cleaning the instrument and accessories
- 4.6.6 Adjusting the method parameters during the determination
- 4.6.7 Stopping the determination manually
- 4.6.8 Status of the live curve
- 4.7 Results
- 4.8 GLP functions
- 5 Handling and maintenance
- 6 Troubleshooting
- 7 Technical specifications
- 8 Conformity and warranty
- 9 Accessories
- Index
4.8 GLP functions
■■■■■■■■■■■■■■■■■■■■■■
146
■■■■■■■■
743 Rancimat
2
Screw on accessories
■ Use the hexagon key to lightly tighten the hexagon screw.
Carrying out the GLP test for the temperature measure-
ment
Proceed as follows to carry out the GLP test:
Note
Before starting the GLP test, ensure that the temperature of the inser-
ted GLP test set is stable. If the GLP test set is used in a cold heating
block, this condition is fulfilled after the normal heating up time of the
heating block and the GLP test set. If the GLP test set, on the other
hand, is used in an already heated heating block, it is necessary to wait
at least 30 min before starting the GLP test.
1
Select instrument and method
■ In the Control window, use the menu item View ▶ Unit x to
select the instrument for which the GLP test is to be carried out.
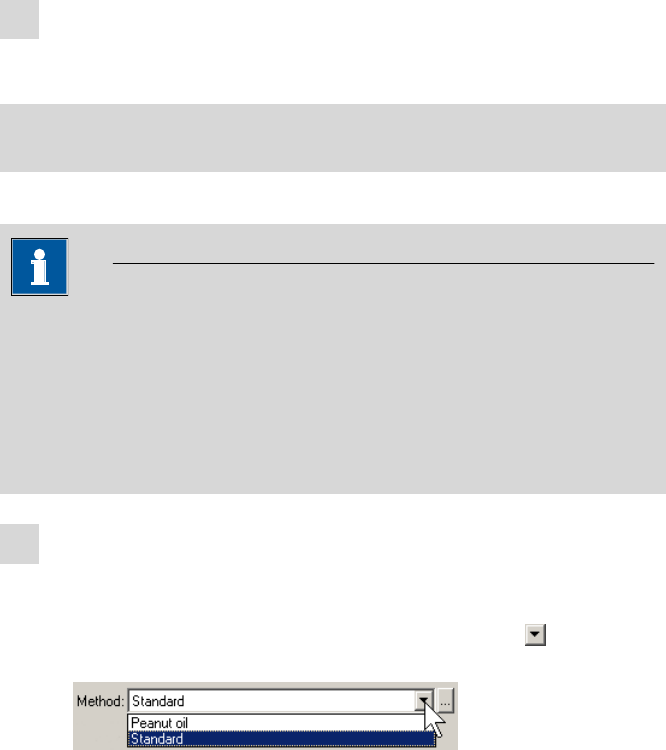
■ Under Unit x Block A and B, click on the symbol
in order to
select the method whose temperature is required for the test.
■ If required, adjust the temperature (see "Opening a selected
method and adjusting parameters", page 57).