
Owner's manual
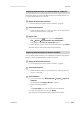
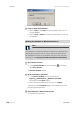
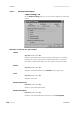
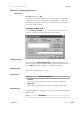
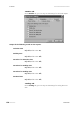
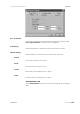
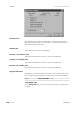
Table Of Contents
- Table of contents
- Table of figures
- 1 Introduction
- 2 Overview of the instrument
- 3 Installation
- 4 Operation
- 4.1 Fundamentals of operation
- 4.2 Instrument and Program Settings
- 4.3 Program information
- 4.4 Calibration functions
- 4.5 Methods
- 4.6 Determinations
- 4.6.1 Preparing samples
- 4.6.2 Preparing the instrument and the accessories
- 4.6.3 Preparing the determination
- 4.6.4 Starting the determination
- 4.6.5 Cleaning the instrument and accessories
- 4.6.6 Adjusting the method parameters during the determination
- 4.6.7 Stopping the determination manually
- 4.6.8 Status of the live curve
- 4.7 Results
- 4.8 GLP functions
- 5 Handling and maintenance
- 6 Troubleshooting
- 7 Technical specifications
- 8 Conformity and warranty
- 9 Accessories
- Index
■■■■■■■■■■■■■■■■■■■■■■
4 Operation
743 Rancimat
■■■■■■■■
141
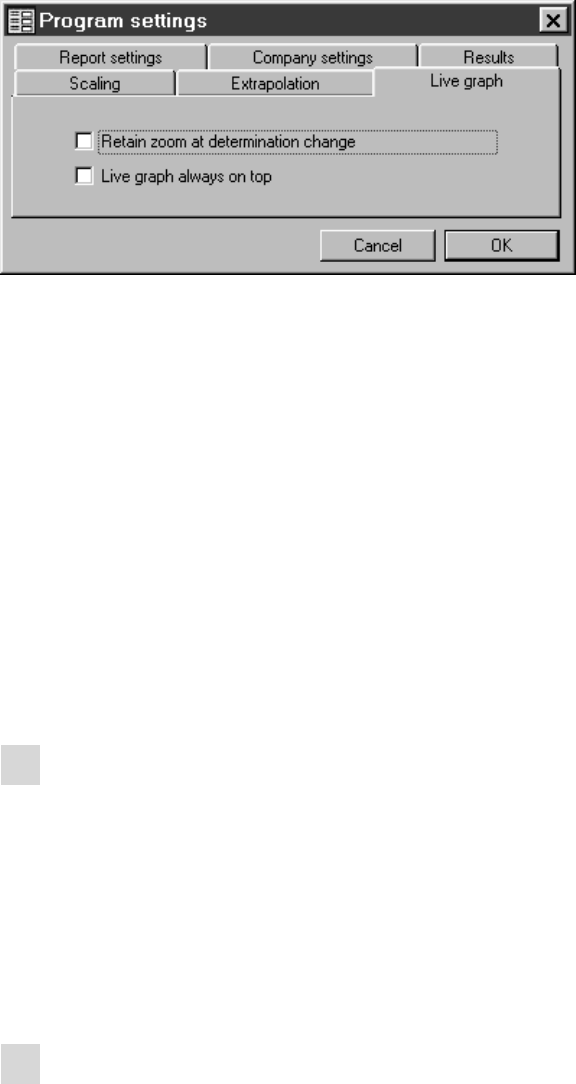
Retain zoom at determination change
on | off (Default value: off)
The selected zoom range is retained when changing the determination in
the determination overview.
Live graph always on top
on | off (Default value: off)
The Live graph window is always displayed in the foreground.
4.7.8 Arranging windows
In the Results window, you can arrange the opened dialog windows either
above one another, beside one another or overlapping. Proceed as
follows:
1
Open windows
■ Open all required dialog windows.
The following dialog windows can be opened in the Results win-
dow:
– Determination overview (View ▶ Determination over-
view)
– Graphs (Determination ▶ Graphics ▶ Single/Multiple/
Live graph)
– GLP window (View ▶ GLP)
2
Arrange windows
■ Click on the menu item Window ▶ Tile vertically or Win-
dow ▶ Tile horizontally or Window ▶ Cascade.
The opened dialog windows are correspondingly arranged.