
User manual


Table Of Contents
3.Web-basedInterface
NIC990lUserManual33
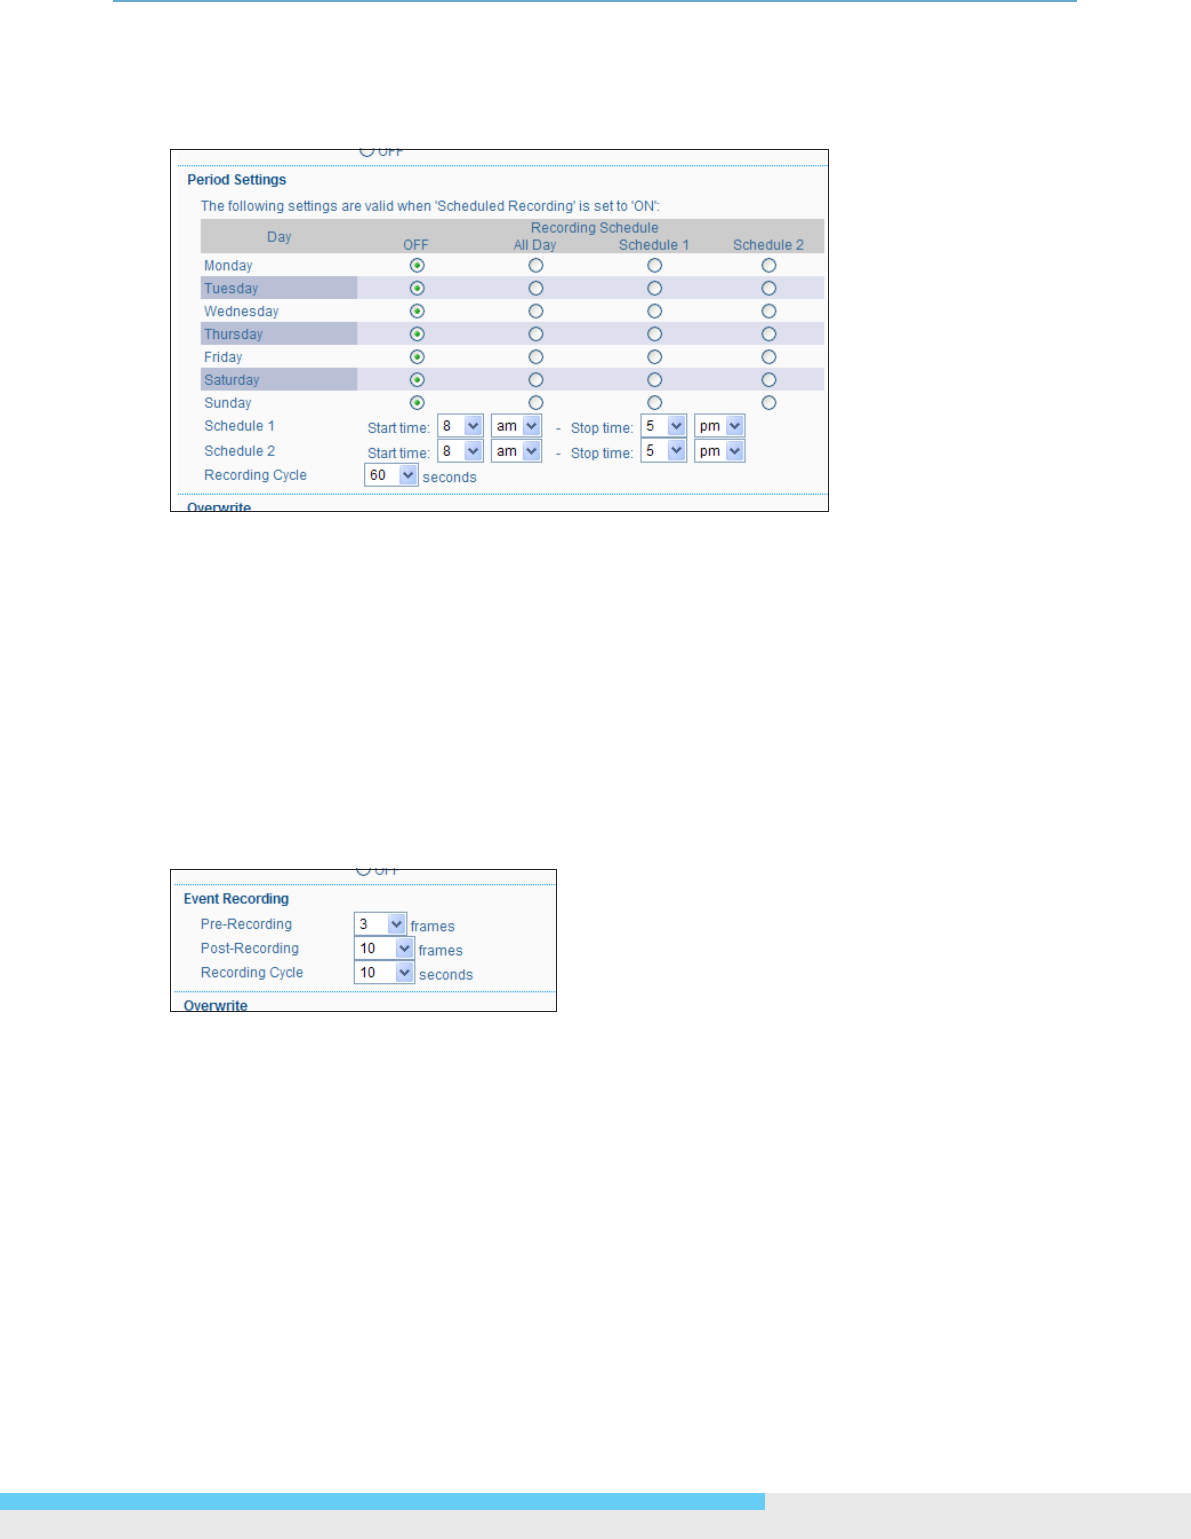
Period Settings
This interface shows up beneath the Recording Settings only when the Scheduled Recording radio
button is selected.
Recording Schedule: Determine the recording condition: OFF, All Day, Schedule 1 or Schedule
2 from the recording schedule table for all days from Monday to Sunday.
Schedule 1/Schedule 2: After selecting either Schedule 1 or Schedule 2 radio button, users are
supposed to specify the start/stop time by clicking the drop-down menus respectively.
Recording Cycle: Click the drop-down menu to specify a time interval in seconds for recording
images.
Event Recording Settings
This interface shows up beneath the Recording Settings only when the Event Recording radio
button is selected.
The recording is triggered by alarm-in or motion detection according to the check boxes in the
Recording Settings you have ticked. Please nish the congurations as follows.
Pre-Recording: Set the number of images to be recorded before an event (alarm or motion
detection) occurs. Images of the moment when an event occurs are not included. Options
including 0, 3, 5, 10 frames are selectable by clicking the drop-down menu.
Post-Recording: Set the number of images to be recorded immediately after an event (alarm
or motion detection) occurs. Images at the moment when an event occurs are not included.
Options including 0, 3, 5, 10, 20, 60, 120 frames are selectable by click the drp-down menu.
Recording Cycle: Set the time interval for recording at least one second and up to 180 seconds.