
User manual


Table Of Contents
2.GettingStarted
12NIC990lUserManual
TipCautionWarning
Note
Although an RJ-45 coupler is used to extend the connection length, the total length between the
PC and the IP camera must not be longer than 100 meters (328 feet). The LAN port of the camera
supports auto MDI/MDIX (Medium dependent interface crossover) so there is no need to use cross-
over cable.
To access the camera, the PC must be on the same network segment as the camera. The default IP
address of the camera is a static one (192.168.1.30). Congure your PC’s IP address as 192.168.1.X
(where X is a number between 2 to 254 excluding 30) and subnet mask as 255.255.255.0, and then
your PC should be able to access the camera.
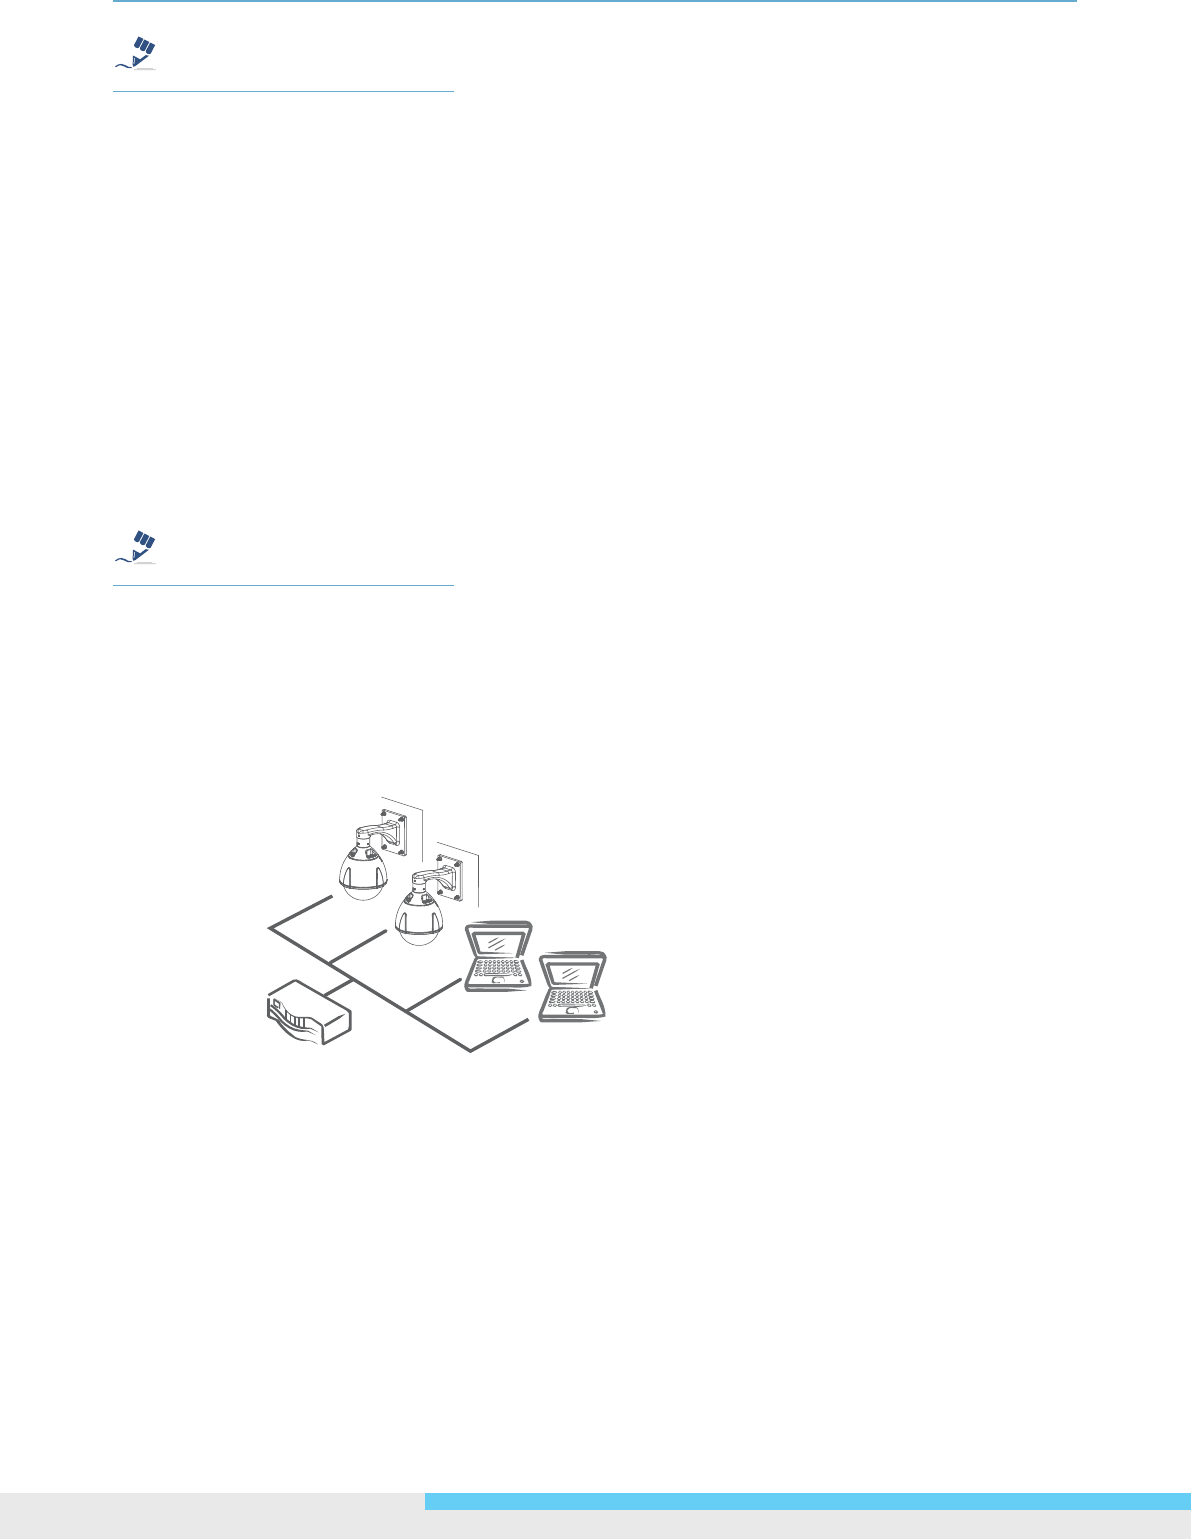
Type 2: Connection to LAN
To add the camera(s) to an existing LAN, just connect the camera(s) to the hub or Ethernet switch on
your network. If you want to provide the camera power via the Ethernet connection, a PoE compliant
hub/switch is required.
TipCautionWarning
Note
The LAN port of the camera supports auto MDI/MDIX (Medium dependent interface crossover) so
there is no need for an uplink port or the use of a cross-over cable.
Assign an IP address to your camera following your network IP allocation policy. The IP address can
be manually specied by users or by a DHCP server, if available on your network.
Then, you can monitor and mange the camera via a web browser from a local PC.
Router/Switch/Hub
Type 3: Remote Connection via the Internet
If the network where the camera resides is connected to the Internet, you can also provide remote
access to your camera over the Internet.
Typically a broadband router has a built-in DHCP function to assign a local IP address to your
camera. You can alternatively assign a xed IP address to the camera to prevent it from frequently
changing.