
User guide


OWC Mercury Elite-AL Pro Qx2 Chapter 2 - System Setup
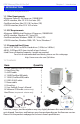
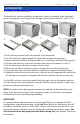
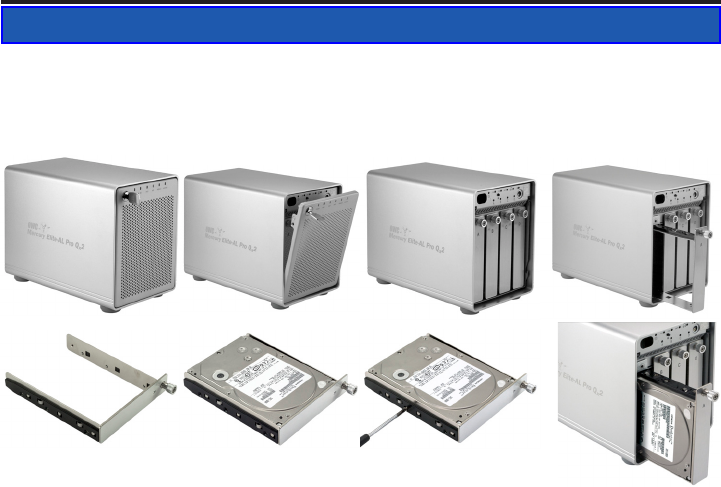
2.1 Hard Drive Assembly
The hard drives can be installed at any position, there is no specic order required. If
you’re only going to use 2 hard drives to begin, insert them in the rst 2 slots, A & B.
2 SYSTEM SETUP
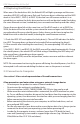
➀
➁
➂
➇➅
➄
➃
➆
➀ Insert the key into the lock on the top left of the front door.
➁ Turn the key to the right and pull the top of the front bezel towards you.
➂ Remove the front bezel by lifting upwards on it, removing it from the bottom pivot.
➃ Unscrew the drive tray you wish to install a drive into. In the photo, it’s bay “A”.
➄ Set the drive tray on the work surface in front of you.
➅ Place your hard drive mechanism, ports towards the rear, into the drive tray.
➆ Screw the drive tray onto the hard drive mechanism using the 6 included screws.
➇ Replace the drive tray into the enclosure, sliding it on the integrated rails and fasten
the locking screw in place to complete the drive installation. Repeat as necessary.
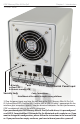
Set the RAID selector switch and replace the front panel, turn on the power and con-
nect the enclosure to your computer using the interface of your choice. Create a new
partition and format the hard drives.
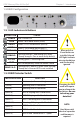
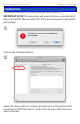
NOTE: Be careful not to damage any components, and do not force the drives into
place. If the drive carriers don’t slide in properly, make sure the drives are properly
installed into the cassettes before proceeding.
IMPORTANT:
It is not possible to add more drives to an existing RAID array or change the RAID
conguration without reformatting. To add additional drives at a later point, turn o
the power, install the drive(s), set the RAID selector switch to the new position, turn
the power back on and then erase the old partition and format the drives again. You
will need to back up any important data before doing this! See Chapter 4 for those
instructions.