“Very easy to use with amazingly fast screen compared to others.
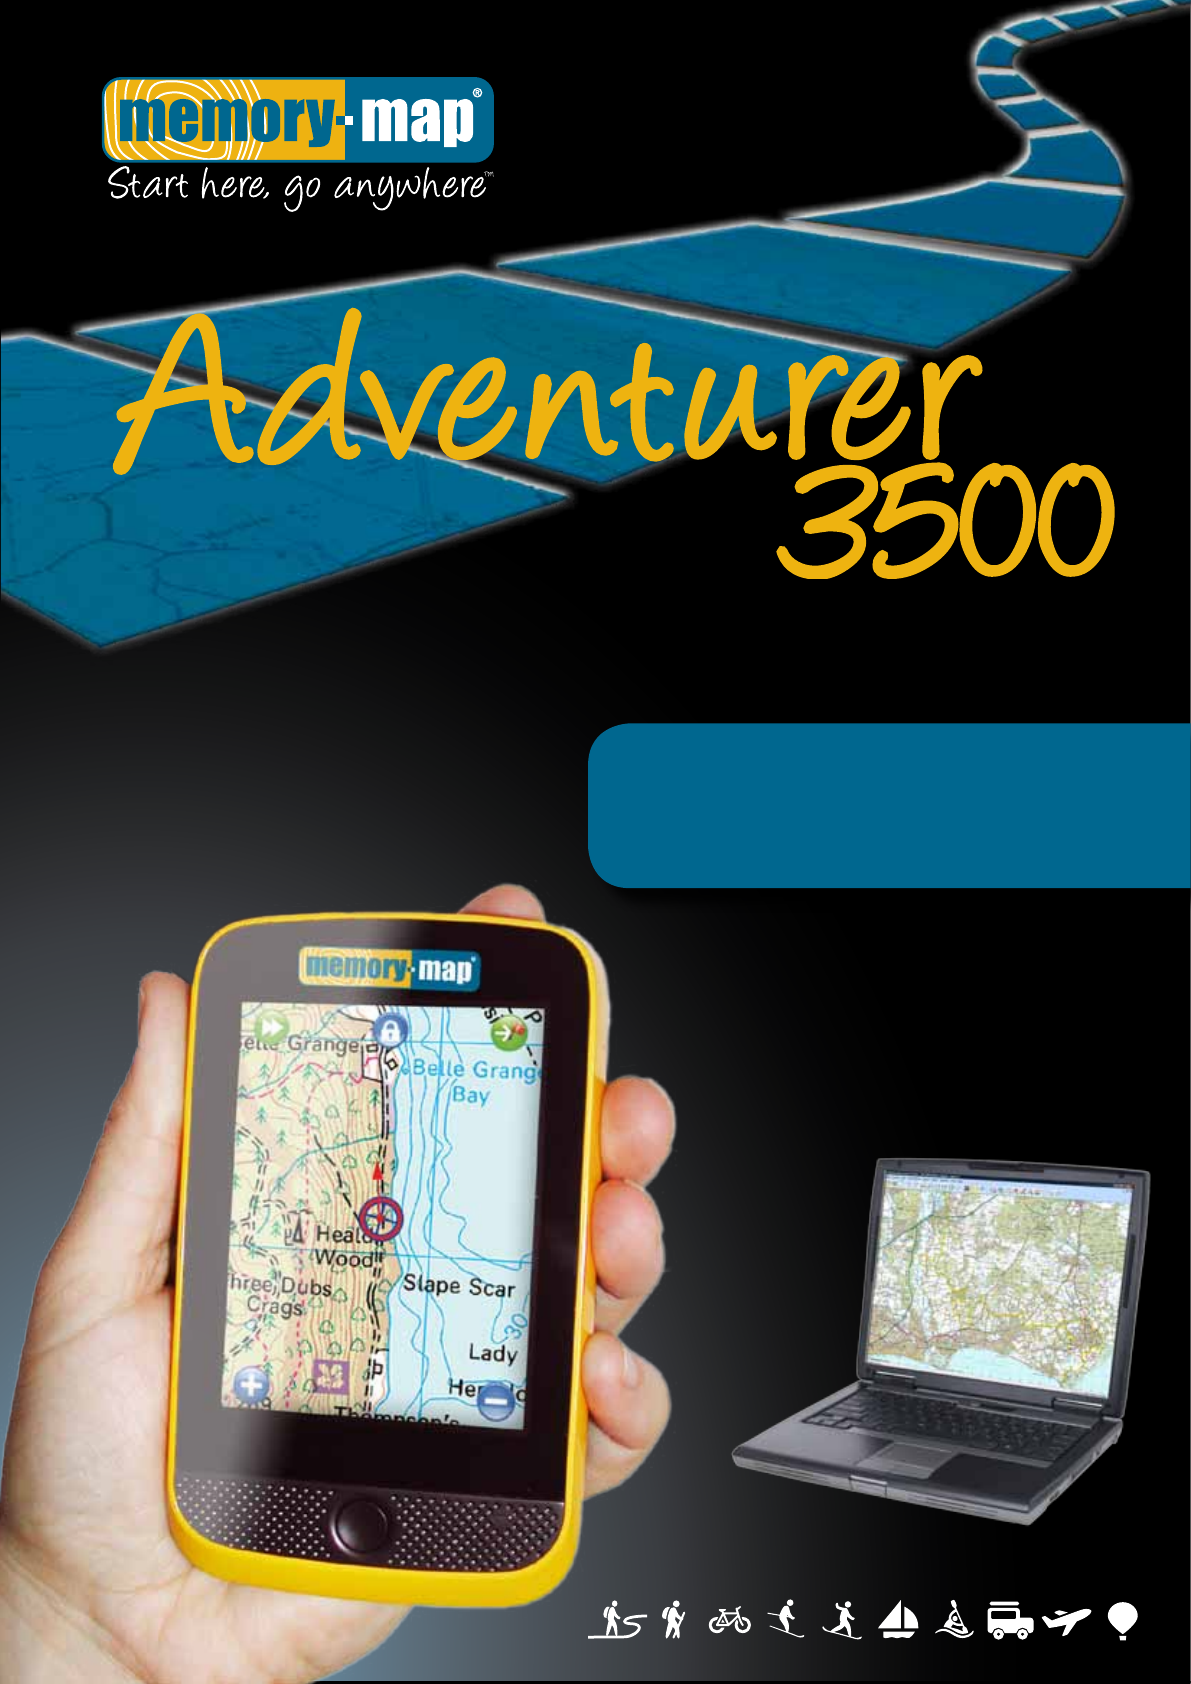
USER GUIDE Introduction Welcome to the Adventurer 3500. This manual is designed to walk you through the features of the Adventurer 3500 and how to get the most from your new GPS. If you want to get using your GPS straight away please take a few moments to read through the Quick Start guide to familiarise yourself with the GPS and how it operates.
USER GUIDE Quick Start Guide Want to get using your GPS straight away? This quick start guide will quickly familiarise you with the Adventurer 3500 and its features. 1) Charging the Adventurer 3500 Gently open the flap from the bottom of the GPS and connect either the supplied mains charger or USB PC cable. A red light will illuminate on the GPS to indicate it is charging and then turn green when the battery is fully charged.
Icons & Menus GPS Lock Go to mark Displays a list of nearest marks and waypoints to your location Tap to lock Position icon to centre-screen & activate moving map display Tap your choice to begin navigation & tracking Menu View expanded menu options Overlay & Settings Map List Information Add Mark Data display Position Your current location and direction of travel Tap GPS Lock feature to show position on centre-screen Heading Navigation Display Displays direction arrow to next mark or waypoint Zoo
Extended Menus Settings & Overlay Options View map list and place name search.
Using the Adventurer 3500 Turning the GPS on and entering Map mode To turn the GPS on press and hold the button on the front of the unit and then slide the Power On slide button to the right. The Adventurer 3500 will present you with the main menu. Tap the Maps button to put the GPS into Map mode. This is the principal mode for the Adventurer 3500 and will display the last used map.
Additional Memory-Map Settings on page 9 for details. Working with routes, marks and tracks When using the Adventurer 3500 there are three unique forms of navigational data (called Overlays) you can work with – Routes, Marks and Tracks. Routes are a sequence of connected waypoints of where you intend to go, for example a walk or ride that you have created or downloaded and wish to follow.
Marks are single waypoints that are not part of a route, for example a mark identifying a meeting point, or the location of a geocache. Creating Marks Like routes, marks can either be created on your PC and downloaded to the Adventurer 3500, or created on the GPS itself. Please refer to the help file in the Memory-Map PC software for details on how to create marks in the software.
Finding a location by name If you know the name of a location you can jump straight to it by using the Find Place feature. Enter the Extended Menu then Overlay & Settings and select Find Place from the drop-down menu. The Find Place search works on a filter, so the more letters of the place you search for the less results there will be to look through. For example if you typed “Bir” then the search would return hundreds of places all with “Bir” in the name.
Additional Device Options Additional options for the Adventurer 3500 can be accessed from the Settings button on the main screen when you turn on the GPS. These settings include: Brightness –Adjust the brightness of the backlight. The brighter the backlight the easier the unit will be able to be seen in daylight. A bright backlight setting will consume more power, however. Volume –Change the volume level from the internal speaker.
Using the Adventurer 3500 with Memory-Map on your PC Connecting the GPS to Memory-Map on your PC Unlike Pocket PCs or Garmin GPS units the Adventurer 3500 is seen by your PC as a removable drive. This means in Memory-Map you do not connect or interact with the device using the options under the GPS menu. Maps, routes and tracks can be sent to the device using the steps in the following sections.
3) In Memory-Map on your PC click Overlay > Import. In the Open window that appears select GPS eXchange files (*.gpx) from the drop down file type box and then choose the Removable Drive that contains the SD card inside the unit. It can be easily identified as it will contain a number of Memory-Map folders and a Userdata folder. Double-click on the Userdata folder and then open the file you previously saved on your Adventurer 3500. The overlay file will now be displayed on your PC.
the Maps folder to select it and then click OK to send the map to the device. 3) Important – Safely remove the 3500 from your PC by right-clicking on the drive in Computer and selecting Eject from the menu. If you are using Windows XP you will need to use the Safely Remove Hardware option in the system tray to remove the device. Not doing so could corrupt the card data making it unusable.
Method 3 – Sending an enclosed area To gain more control over the area of map you are sending you can send an area enclosed by a route that you have drawn. To do this please follow the steps below: 1) Exit Memory-Map on the 3500 if it is running by tapping the Exit icon and then connect your Adventurer 3500 to your PC with the supplied USB cable. Tap the Press to Connect button on the screen and the 3500 will be seen by your PC as a removable drive.
Sending Encrypted or Digital Map Shop maps to the Adventurer 3500 Digital Map Shop and encrypted maps are different to older maps in that they have to be unlocked on both your PC and mobile device. Digital Map Shop products include the same amount of sqkm Map Credit for your mobile device as for your PC. So, for example if you have 10,000sqkm of OS 1:50,000 Landranger for your PC, you will also have 10,000sqkm of OS 1:50,000 Landranger mapping for your mobile device.
7) Digital Map Shop maps need to be activated on your Adventurer 3500 SD card as well as your PC. The following screen tells you much credit you have left to activate on a Mobile Device / SD Card and how much credit the map you are sending to the SD card will use. If you are happy that this the area you want to send and you have sufficient credit then click Activate and the map will transfer to your GPS and unlock.
Setting up a new SD card to use in the Adventurer 3500 If you wish you can use a larger SD card, up to 16GB, in the 3500 to install your existing disc based maps onto. Please note that you cannot copy the included full OS 1:50k Great Britain map onto a new SD card, as this map is locked to the original card for security reasons. To setup the new SD card with the Adventurer you will need to do the following: 1) Copy the following folders from the original SD card to the new SD card.