
Instruction manual


Table Of Contents
- Introduction
- Using the Keypad/Display
- Keypad/Display Menu Structure
- System Summary Menu
- Standard Menus
- System Menu
- Occupancy Menu
- Temperature Menu
- Flow Summary Menu
- Supply Fan Speed Menu
- Return/Exhaust Fan Speed Menu
- Cooling Menu
- Head Pressure Menu
- Evap Condensing Menu
- Economizer Menu
- Min OA Damper Menu
- Heating Menu
- Energy Recovery
- Dehumidification Menu
- Daily Schedule Menu
- One Event Schedule Menu
- Holiday Schedule Menu
- Optimal Start Menu
- Operating Hours Menu
- Extended Menus
- Unit Setup Menu
- Timer Settings Menu
- Time/Date Menu
- Supply Fan Setup Menu
- Return/Exhaust Fan Setup Menu
- Zone Temperature Setup Menu
- Compressor Setup Menu
- Head Pressure Setup Menu
- Chilled Water Setup Menu
- Economizer Setup Menu
- Design Flow Setup Menu
- Heating Setup Menu
- Dehumidification Setup Menu
- Alarm Out Configuration Setup Menu
- Alarm Limits Setup Menu
- Manual Control Menu
- LON/BACnetIP/BACnetMSTP Setup Menu
- Active Alarm Menu
- Alarm Log Menu
- Advanced Menus
- Unit Configuration Setup Menu
- Save/Restore Menu
- Alarm Delays Setup Menu
- Analog Input Status Menu
- Universal I/O Status Menu
- Digital Input Status Menu
- Digital Output Status Menu
- Adv Setup Settings Menu
- Adv Status Parameters Menu
- Alarms
- Operator’s Guide
- Determining Unit State
- Off Operating State
- Start Up Operating State
- Recirculating Operating State
- Heating
- Economizer
- Mechanical Cooling
- Determining Unit Status
- Determining Control Mode
- Determining Cooling Status
- Determining Heat Status
- Determining Economizer Status
- Determining Cooling Capacity
- Determining Heating Capacity
- Determining Supply Air Fan Capacity
- Determining RF/EF Capacity
- Determining Outside Air Damper Position
- Determining Emergency Mode
- Determining Application Mode
- Determining Occupancy Status
- Determining Occupancy Mode
- Determining Occupancy Source
- Unoccupied Operation
- Scheduling
- Temperature Control Configurations
- Heat/Cool Changeover
- Dehumidification
- Energy Recovery
- Outside Air Damper Control
- Outside Air Damper Control, Two Position
- Special Procedures for Units with WRV and More Than Two Circuits.
- Water Pump Control
- Cooling: Multistage
- Cooling: Modulating
- Heating Control
- Modulating
- Min DAT
- Indoor Air Fan - On/Off Control
McQuay OM 920 7
Using the Keypad/Display
Passwords
When the keypad/display is first accessed, the Home Key is pressed, the Back Key is pressed
multiple times, or if the keypad/display has been idle for the Password Timeout timer (default
10 minutes), the display will show a “main” page where the user can enter a password or
continue without entering a password. The three password levels available are Level 2, Level
4, and Level 6, with Level 2 having the highest level of access. Entering the Level 6 password
allows access to the Alarm Lists Menu, System Summary Menu, and the Standard Menus
group. Entering the Level 4 password allows similar access to Level 6 with the addition of the
Extended Menus group. Entering the Level 2 password allows similar access to Level 4 with
the addition of the Advanced Menus group. The Level 2 password is 6363, the Level 4 is
2526, and the Level 6 password is 5321. Continuing without entering one of these three levels
allows access only to the Alarm Lists Menu and the System Summary Menu.
Note – Alarms can be acknowledged without entering a password.
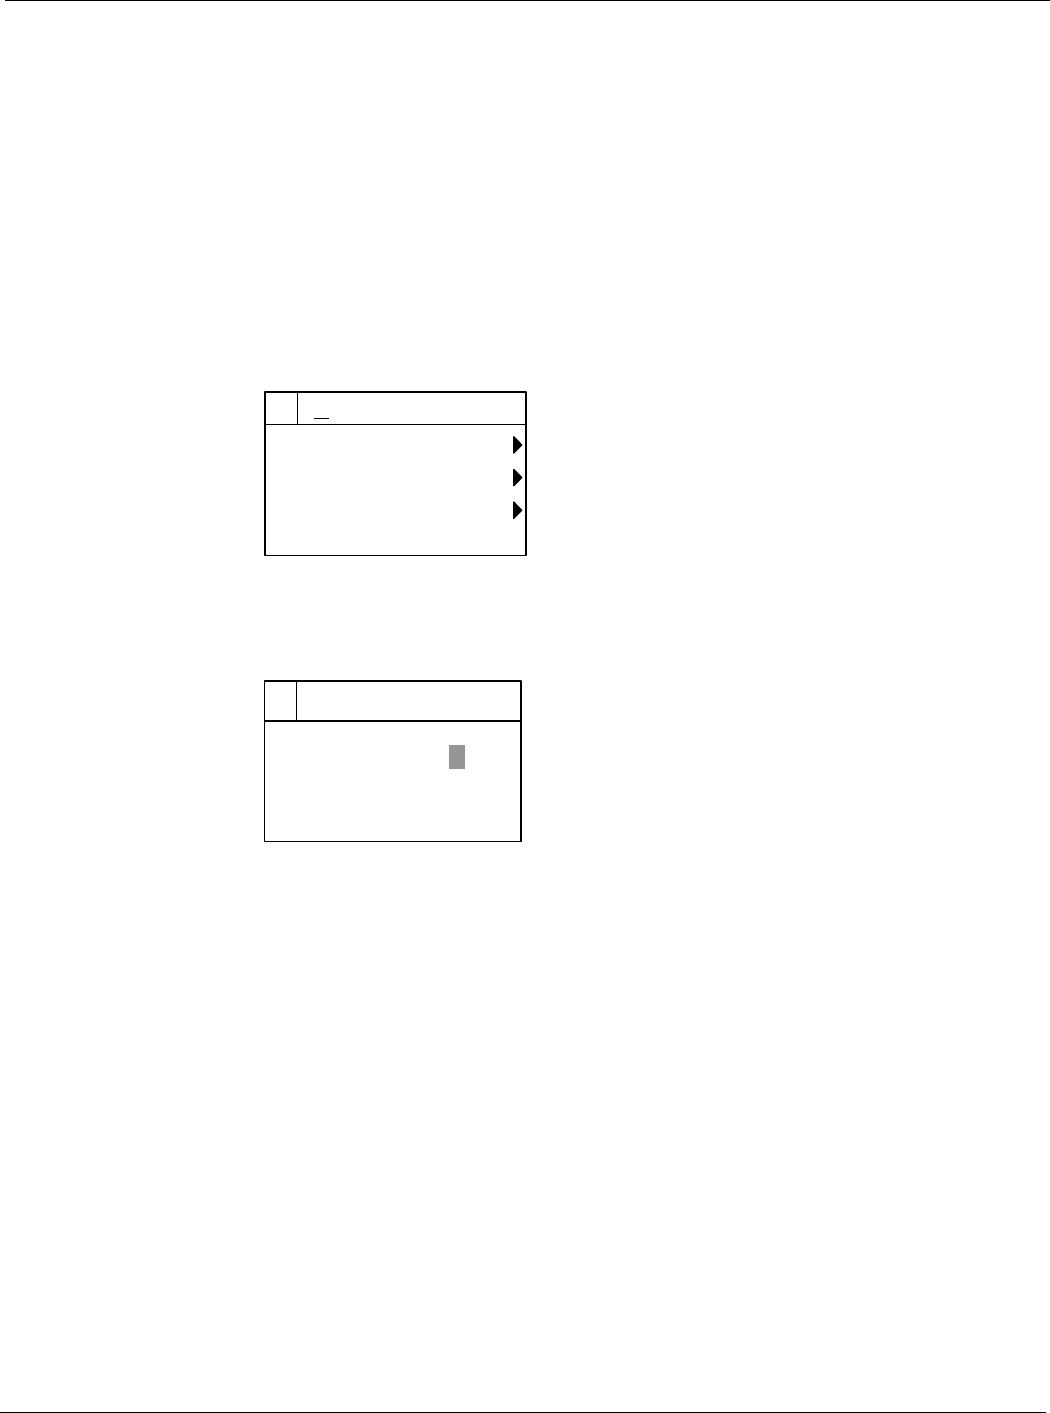
Figure 2: Password Main Page
The password field initially has a value **** where each * represents an adjustable field.
These values can be changed by entering the Edit Mode described below.
Figure 3: Password Entry Page
Entering an invalid password has the same effect as continuing without entering a password.
Once a valid password has been entered, the controller allows further changes and access
without requiring the user to enter a password until either the password timer expires or a
different password is entered. The default value for this password timer is 10 minutes. It is
changeable from 3 to 30 minutes via the Timer Settings menu in the Extended Menus.
1/3McQuay AHU
Enter Password
Continue W/O Password
Version Information
1/1
Enter Password
Enter Password
***
*