
Owner`s manual


BN
If you have questions or need assistance, please call our warranty/repair
facility at (800) 283-5562, in the U.S.A. only, or (909) 947-1006 outside the U.S.A.
Problem Cause/Correction
Flashlight:
Does not light 1. Tighten tail cap – make sure unplated area of tail cap and barrel
are clean.
2. Check if battery is installed … see page 9.
3. Check if battery is installed with (+) positive end toward head of
flashlight.
4. Make sure large end of battery spring is snapped into tailcap.
Battery charged? 1. Check battery charge: Place flashlight in recharger/cradle. Make
sure LED lights up with flashlight switch off (see page 9). Charge
for 15 minutes … check for light. If it lights (even momentarily)
charge it, if not, replace it (battery).
Switch sticks 1. Return flashlight to Mag Instrument (see warranty).
Works intermittently 1. Check for damage to battery casing.
2. Foreign particles inside barrel.
3. Lamp not seated properly.
Poor or no spot 1. Lamp needs centering (see page 10).
2. Damaged lamp (filament off-center) — replace.
Recharger/Cradle:
LED indicator does 1. Tighten tail cap.
not light when 2. Check plug connection to converter.
flashlight switch is 3. Check plug to power source.
in off position. 4. Check Switch-off procedure (see page 9).
5. Make sure large end of battery spring is snapped into tailcap.
Inspection and Maintenance
Battery Pack – See Warnings Section for more information. Periodically (approximately
every month) remove the battery pack from the flashlight and visually inspect for signs of
gas or chemical leakage. Indications of leakage are discoloration of the plastic sleeve or
white fuzzy material near the top (positive side button) of each cell. Another indication
would be a bulging deformation of the bottom (negative flat end) of the cell can. If these
signs are observed the battery pack should be removed from service to prevent chemical
damage to the inside of the flashlight. See One Year Battery Pack Warranty for more
information concerning warranty coverage.
Fully Charged Battery Storage
– If you do not use your flashlight for long periods of
time (four months or more) we suggest you remove the battery pack from the flashlight
to prevent chemical damage (acid leaks). Electrical Contacts – The bare (bright) metal
surfaces between the tailcap and barrel must be cleaned periodically to ensure a good
electrical contact. Also keep the tailcap spring clean. O-ring Seals and Screw Threads
– To keep seals from drying out and the threads operating smoothly, apply several drops
of clean petroleum oil or jelly to these surfaces two or three times a year. Anodized
Exterior Finish
– The protective finish on the flashlight is very durable; however,
constant exposure to sunlight, water, chemicals, gases, etc., will dull, discolor and
eventually destroy the protective finish. Care should be taken to avoid any harsh
environment.
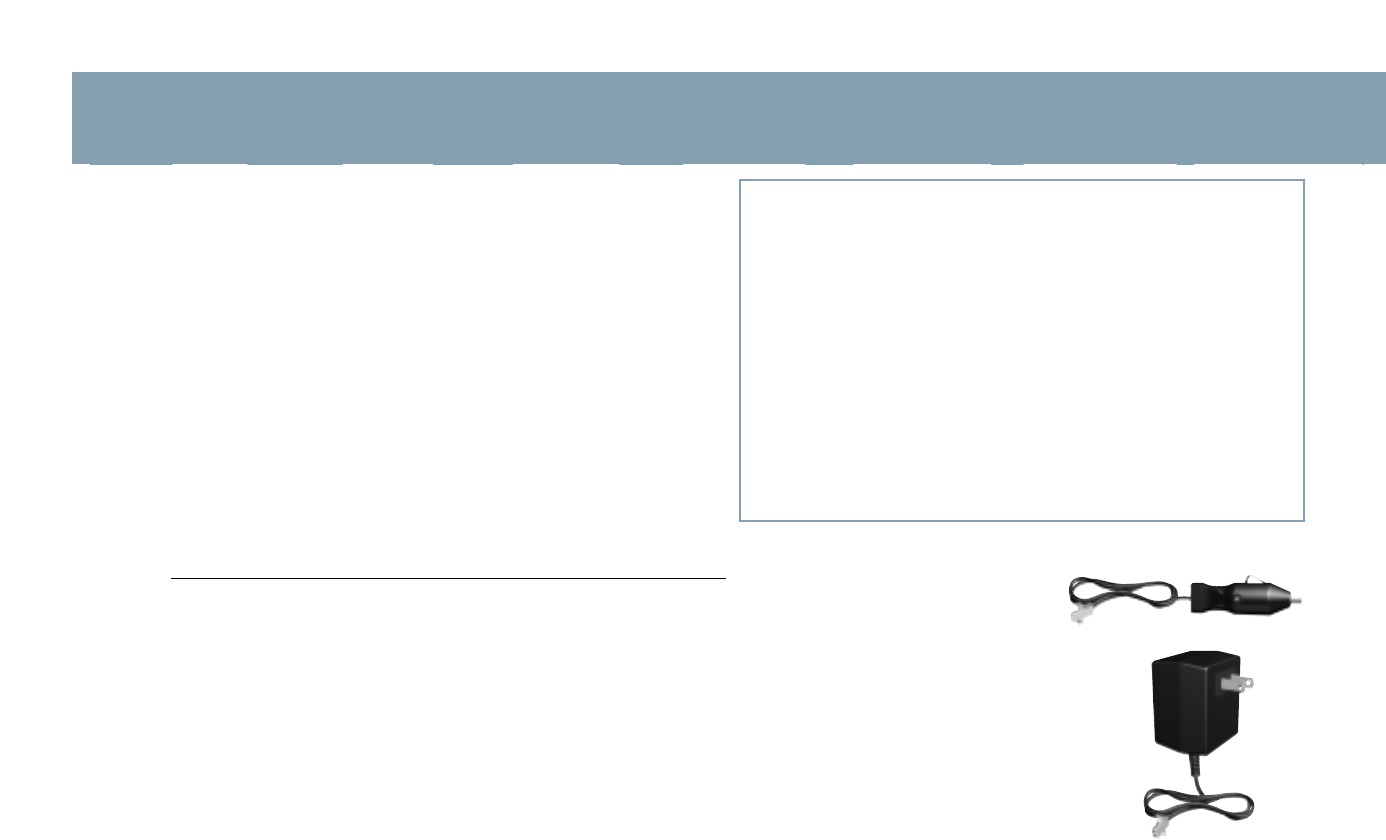
12 Volt Adapter (Automobile)
Plug the DC power cord’s adapter into
the 12–14 volt cigarette lighter receptacle
of the vehicle. DO NOT leave adapter
plugged in for any extended period while
the engine is “off” to avoid draining
vehicle battery.
120-Volt Converter
After mounting the Charging Cradle in a
proper location, plug the special matching
electrical connectors together at the wire ends of
the Cradle and Converter. Plug the Converter into
an appropriate 120 volt wall receptacle.
Note: Total usable wire length is 8 feet.
Flashlight
• Tempered aluminum alloy external
components
• Finish: hard, type III, aircraft
anodized (inside and out)
• Length: 12-19/32" (319.79 mm)
• Weight, with battery pack: 32 oz.
(907.18 grams)
• Weight, without battery pack:
18 oz.(510.29 grams)
• Head diameter: 2-5/16" (58.72 mm)
• Barrel diameter: 1-9/16" (39.67 mm)
• Permanently stamped serial
number for registration and
identification
• O-ring sealed throughout
• Corrosion resistant, rotating
(self-cleaning) push-button switch
• H
igh intensity halogen lamp (50*
hour rating) Easy replaceable lamp
• 40,000 peak beam candlepower
• 6.00 Volt Ni-Cad Battery Pack
Rechargeable up to 1000 times
• High-Quality Tempered Glass Lens
• Highly-polished, scientifically-
designed, metallic reflector
withstands extreme temperatures
• Diamond knurl design
• Cam-action adjustable beam from
spot to flood with 1/4 turn of head
• Corrosion resistant metal
springs throughout
• Spare Halogen lamp included in
tailcap
• Up to 2 hours* flashlight on-time
per charge
Charging Cradle
• Universal: Accepts 12–14 volts DC
(not for use with 24-volt systems)
• Constant current solid-state
integrated circuit regulator
• Charge rate: 230 mA continuous
• 360° positive charge contact allows
charging in any position
• Reverse voltage protected
(batteries in backwards) Input and
Output
• Red light emitting diode (LED)
charge indicator
• Mounts in any position
• Includes (2) detachable mounting
bracket
Converter
• Input 120 volts AC 60Hz
• Output 12–14 volts DC
• Double insulated
Section 7
Troubleshooting Specifications and Accessories
*Due to improved lamp, first announced early 2002. Candlepower and battery on-time can vary due to manufacturing variations in lamps and batteries. (PBC) Peak Beam Candlepower. Lamp life may vary.