
User Guide


Color, Strokes, and Fills 275
2
After you have dragged a color swatch over an object and before you release
the mouse button, you can use one of the following keys to change how the
color is applied.
• Hold down Shift as you release the mouse button to apply the color only to
an object’s fill.
• Hold down Control-Shift (Windows) or Command (Macintosh) as you
release the mouse button to apply the color only to an object’s stroke.
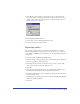
To apply color using the Eyedropper tool:
1 Select the Eyedropper from the Tools panel.
2 Position the pointer over the color that you want to apply.
3 Drag the color to the object to which you’ll apply the color.
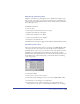
To change the display of the pop-up color palettes:
1 Click the stroke or fill color box in the Tools panel to display the color palette.
2 Click the triangle in the upper right corner of the palette to display the Options
pop-up menu, and choose Swatches or Color Cubes.
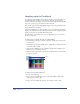
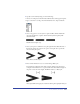
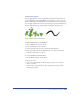
Applying strokes
You can apply five different stroke, or outline, styles to objects in FreeHand—
Basic, Custom, Pattern, PostScript, and Brush. A stroke of None is transparent.
Use the Stroke inspector to apply strokes to selected objects or to set the default
stroke attributes for new objects in the active document. You can choose from
preset stroke widths, or you can change the preset widths using preferences.
For more information on applying colors to strokes, see “Applying color in
FreeHand” on page 274.