
User Guide
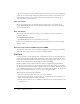
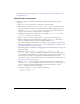
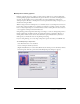
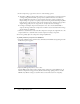
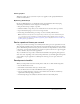

Table Of Contents
- Contents
- Introduction
- Optimizing Content
- Working with Sound
- ActionScript Enhancements for Flash Lite 1.1
- New FSCommand and FSCommand2 commands
- Creating Content
- Testing Content
- Development Kit Examples
- Resources and Support
- Supported ActionScript
- Supported ActionScript Properties
- Warning and Error Messages
18 Chapter 2: Optimizing Content
5.
In the Compression pop-up menu, select one of the following options:
■ Select Photo (JPEG) for images with complex color or tonal variations, such as photographs
or images with gradient fills. This option produces a JPEG format file. Select the Use
Imported JPEG Data check box to use the default compression quality specified for the
imported image. To specify a new quality compression setting, deselect Use Imported JPEG
Data and enter a value between 1 and 100 in the Quality text box. A higher setting produces
a higher image quality, but also a larger file size, so adjust the value accordingly.
■ For images with simple shapes and relatively few colors, select Lossless (PNG/GIF) to
compress the image with lossless compression, in which no data is discarded from the image.
Save the bitmap as a PNG file.
6.
Click Test to determine the results of the file compression. Compare the original file size to the
compressed file size to determine if the selected compression setting is acceptable.
You can also globally adjust the compression settings for JPEG files.
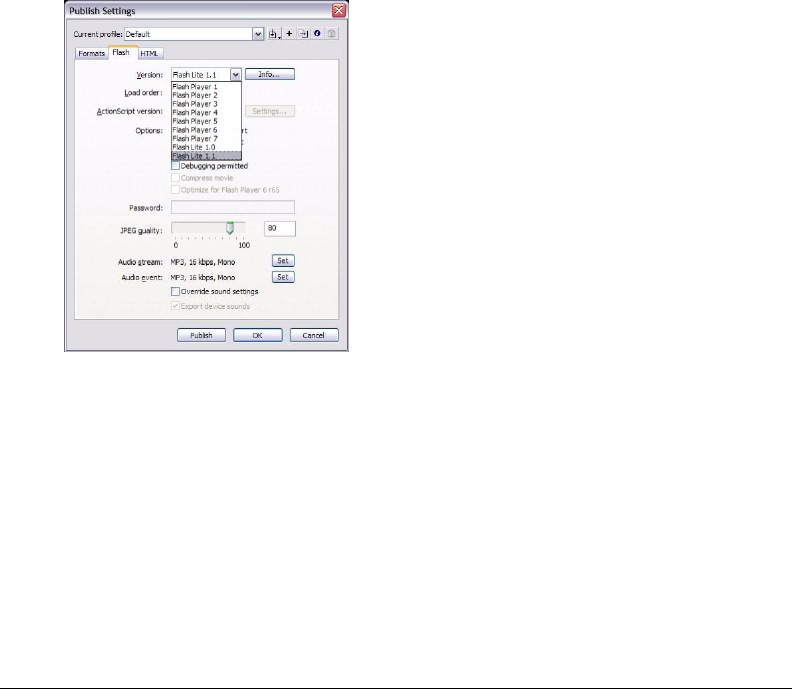
To globally set bitmap compression for JPEG files:
1.
Select File > Publish Settings, and then select the Flash tab. The Publish Settings dialog box with
the Flash tab options appears:
2.
Adjust the JPEG Quality slider or enter a value.
A higher JPEG quality value results in a higher image quality, but a larger SWF file size. As
with the compression settings previously described, lower image quality produces a smaller
SWF file. Try different settings to determine the best trade-off between size and quality.