
User Guide
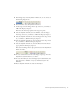
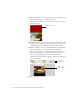
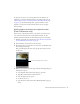
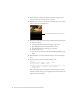
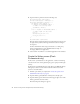
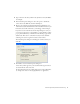
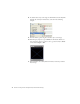
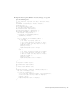
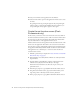
Table Of Contents
- Contents
- Introduction
- Flash Lite Overview
- Hello World Flash Lite application (Flash Professional only)
- Flash Lite authoring features in Flash Professional 8 (Flash Professional only)
- Workflow for authoring Flash Lite applications (Flash Professional only)
- About Flash Lite content types
- Creating a Flash Lite document template (Flash Professional only)
- Tutorial: Creating a Flash Lite Application (Flash Professional Only)
- Cafe application overview (Flash Professional only)
- View the completed application (Flash Professional only)
- Create the application (Flash Professional only)
- Index
32 Tutorial: Creating a Flash Lite Application (Flash Professional Only)
15. Using the Rectangle tool in the Tools palette, create a rectangle over the
first (uppermost) image in the Images movie clip.
It doesn’t matter what fill color you use for the rectangle, but it must be
completely opaque.
16. To make sure the rectangle covers the entire image area, double-click the
rectangle to select it, and then use the Property inspector to set its x and
y coordinates both to 0, its width to 176, and its height to 100.
17. Right-click (Windows) or Control-click (Macintosh) the Image Mask
layer in the Timeline, and select Mask from the context menu.
The layer is converted to a mask layer, indicated by a mask layer icon.
The layer immediately below it is linked to the mask layer, and its
contents show through the filled area on the mask. For more
information about working with mask layers in Flash, see “Using mask
layers” in Using Flash.
18. Save your changes (File > Save).
Masking rectangle
Mask layer
Masked layer
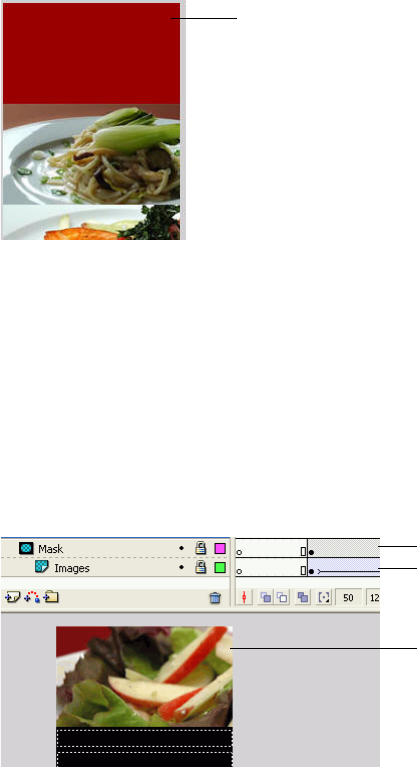
Masked region
on the Stage