
User Guide Keyboard KeyStudio 25


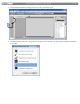
Table Of Contents
- Session KeyStudio 25 User Guide
- Introduction
- Session KeyStudio Features
- What’s in the Box?
- Minimum System Requirements
- Installation and Setup
- Getting Started Making Music with Session
- More Information on Configuring Session
- Using KeyStudio with GarageBand
- About MIDI and Software Synthesis
- The KeyStudio 25 Keyboard
- Using the KeyStudio 25 Keyboard
- KeyStudio 25 Advanced Features
- Recalling Presets
- Storing Presets
- Duplicating and Organizing Presets
- Enigma Software
- Sending a Snap Shot
- Muting All Controllers
- Program Mode Overview
- Assigning MIDI CCs
- Assigning MIDI Channels
- Reassigning MIDI CC for the Modulation Control
- Reassigning MIDI CC for the Pitch Control
- Reassigning MIDI CC for the Sustain Pedal input
- Limiting the Range of the Controls
- Setting Toggle Values for the Buttons
- Assigning MIDI Machine Control (MMC) Commands to a Button
- Assigning a Note to a Button
- Assigning RPN/NRPN to a Fader or Knob
- About SysEx Messages and Device ID
- Assigning the Device ID
- Memory Dump
- MIDI Messages In-Depth
- Troubleshooting
- Appendices - Useful MIDI Data
- Appendix A: MIDI Implementation Chart
- Appendix B: Assignable MIDI CC’s on KeyStudio 25
- Appendix C: Hexadecimal Conversion Chart
- Appendix D: General MIDI Preset Specification
- Appendix E: MIDI Note Numbers
- Appendix F: Standard MIDI Controller Numbers (MIDI CC’s)
- Appendix G: Roland GS and Yamaha XG NRPN Support
- Appendix H: General MIDI Reverb and Chorus Types
- Technical Info
- Warranty
- Contact
|
6
Session KeyStudio 25 User Guide
2. Install the Session Music Creation Software.
1. Insert the M-Audio Session DVD-ROM into your computer’s DVD-ROM drive.
2. The computer will automatically display the install screen. If your computer fails to launch the installer, manually start it by
clicking on Start > My Computer* and then double-clicking Session.
3. Follow the software installer’s on-screen instructions.
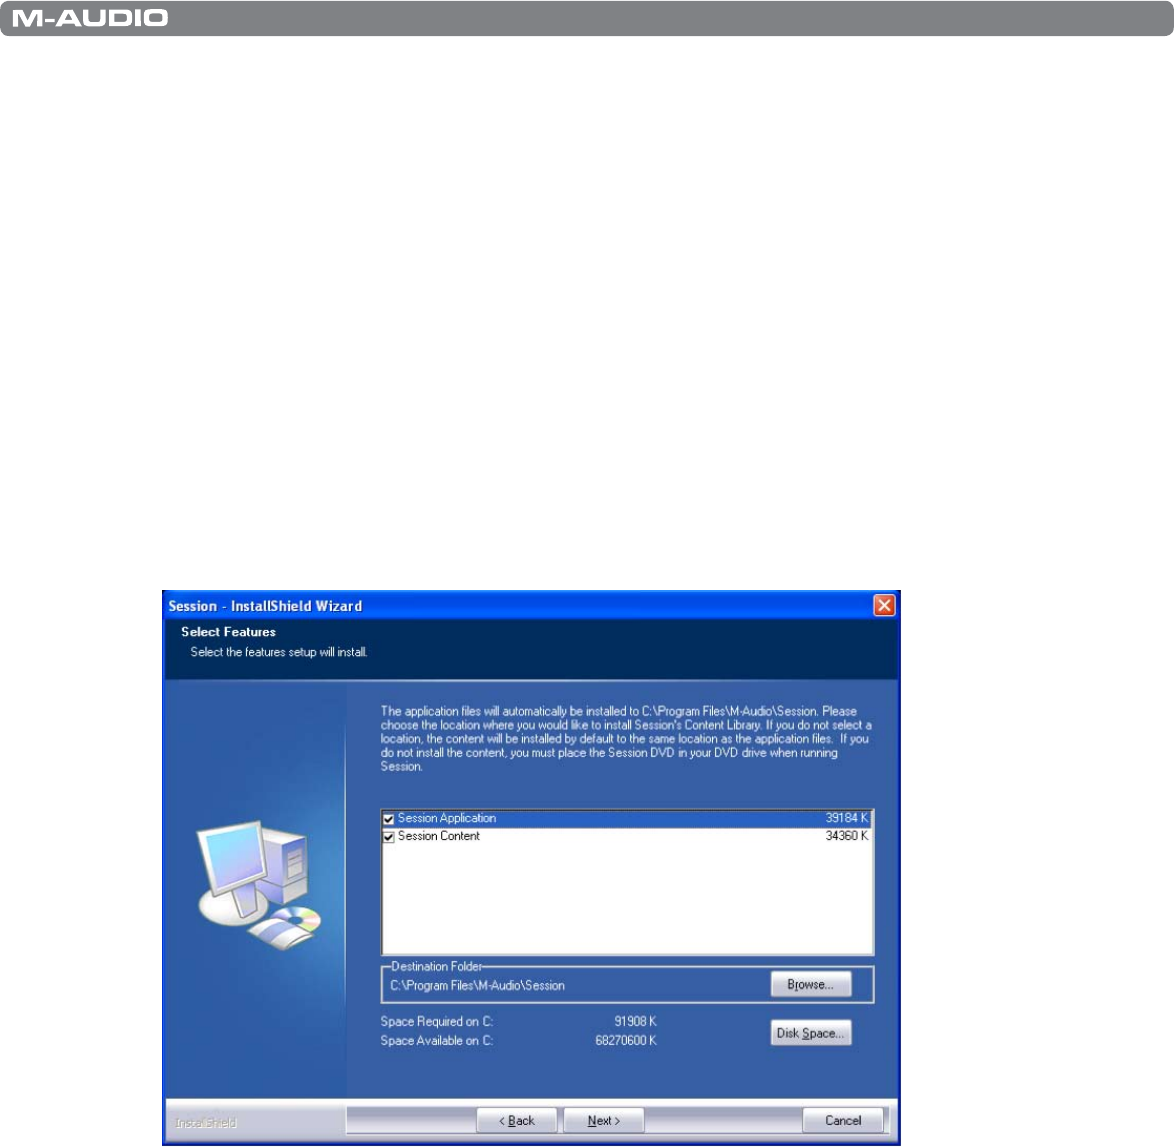
NOTE: Session comes with a large library of loops and instrument samples for music creation, known as
Session Content. During the installation process, you will be asked if you would like to install the Session
Content on your hard drive. If you do not have 4 GB of disk space available, you may choose not to install
the Session Content, but you will then have to place the Session DVD in your DVD-ROM drive whenever you
run Session. Accessing Session’s content via DVD-ROM results in slightly slower computer performance. If
the required hard drive space is available, installing the Session Content on your computer’s hard drive is
recommended.
Please be aware that your Session software’s Factory Content Library may take as long as 30 minutes to
install. This behavior is normal. During the installation process, the installer displays helpful Session tutorial
information.
4. Click “Finish” once the installer has completed the installation.
*If you are using Windows Vista, “My Computer” will be labeled “Computer” in this step.