
User's Manual


Installation Instructions (Please read before installing)
Tools Required: Wire cutter/stripper, small flat-head screwdriver
Optional: Power drill, mounting screws
1 Important Notes: Adherence to these specifications
is necessary to ensure a safe and successful installation.
1.1 All wiring must be in accordance with national and local
electrical codes.
1.2 Power supply should be installed by a qualified electrician.
1.3 Ambient operating temperature: 32 °F to 104 °F (0 °C to 40 °C),
0 to 90% humidity, non-condensing.
1.4 This product is intended for indoor use only.
1.5 In Canada, separate over current protection is required, to be
in accordance with Canadian Electrical Code, Part 1.
1.6 Primary branch circuit must be protected by a 15 A Breaker or larger.
1.7 Primary wiring must be 14 to 18 AWG (2.5 mm2 to 1 mm2) and rated for
at least 167˚ F (75˚ C).
1.8 A disconnect device shall be incorporated in the field wiring
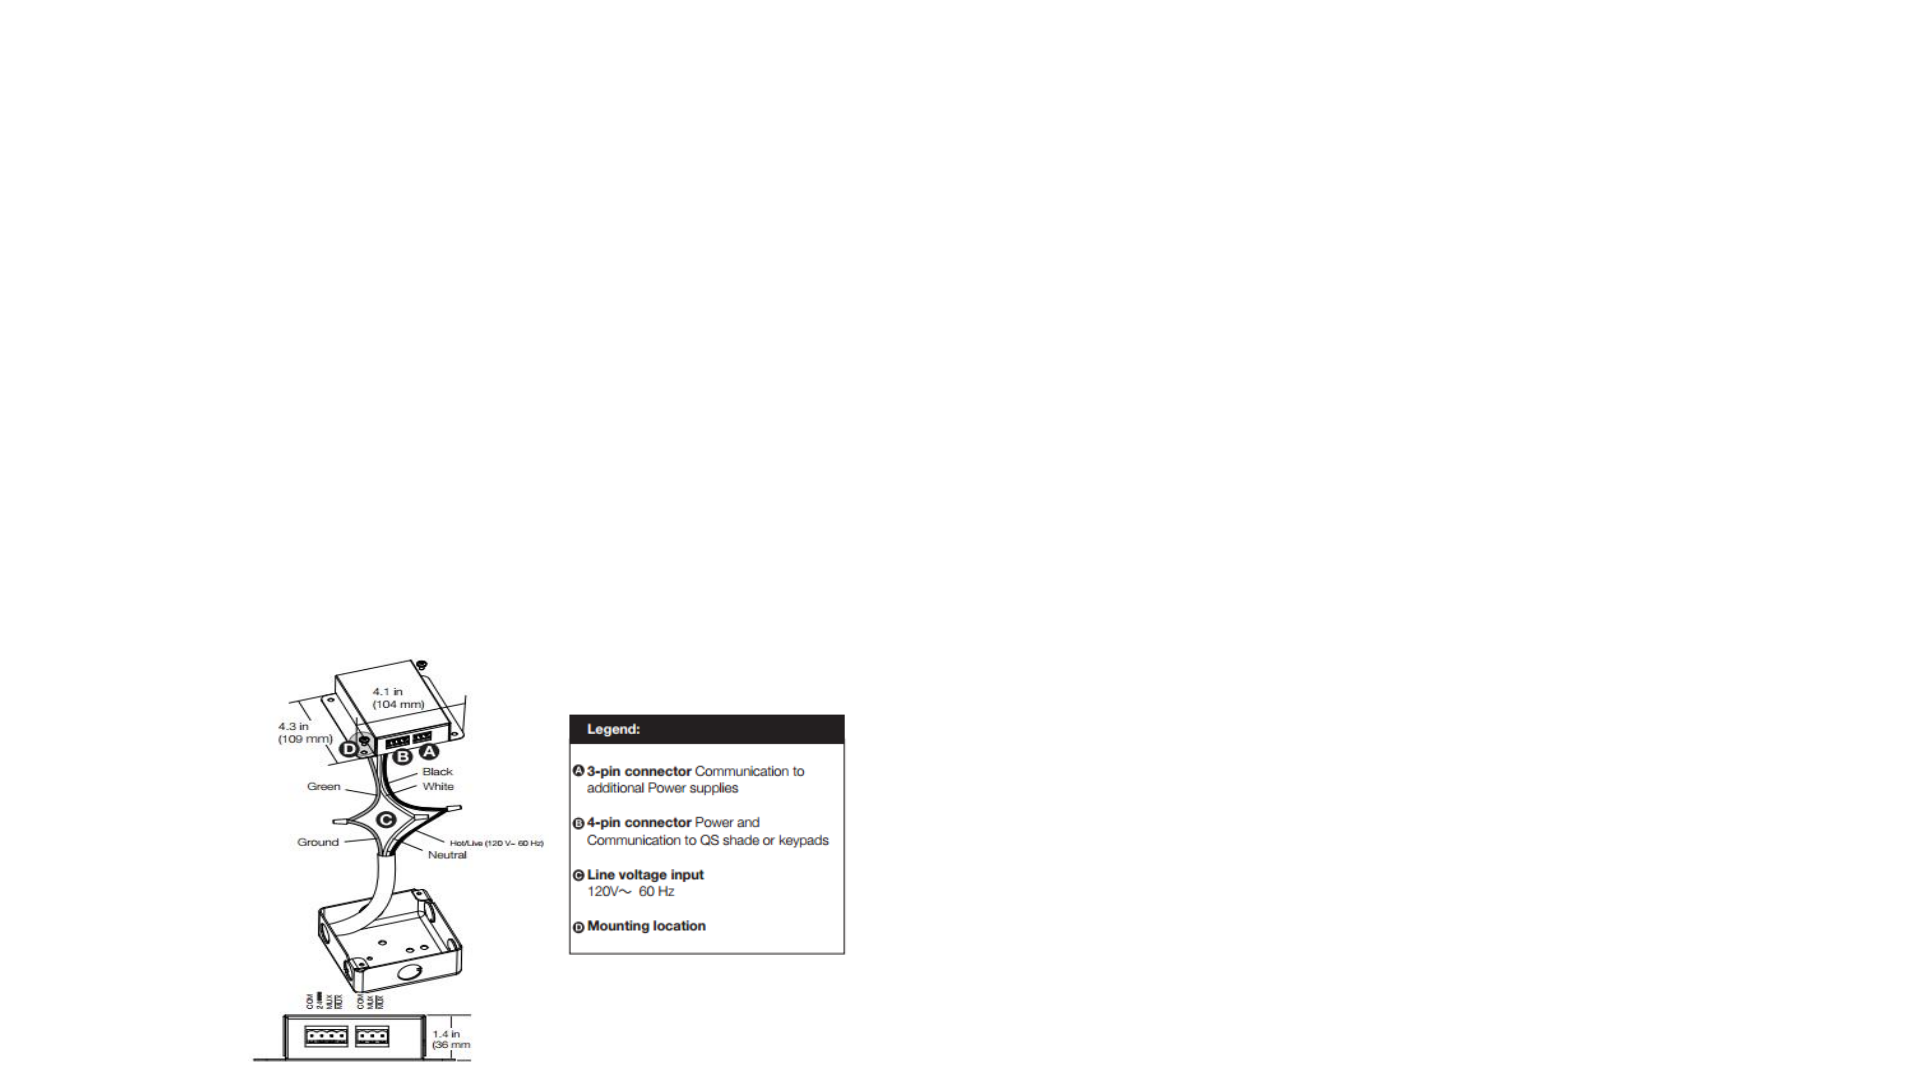
2 Mount Type and Wiring Connections
! WARNING: Shock Hazard. Risk of serious injury or death. Locate
and lock the supply breaker in the OFF position before connecting line
voltage and the power and communication wiring
1. Ground wiring J-box in accordance with NEC/local codes
2. Make wiring connections as shown
3. Mount the power supply to the junction box
3 Wiring the power supply
Run low voltage wire into the power supply
a. Run the 24V communication from the power supply to the Vive hub
b. Connect wiring to Vive hub terminal block
*Note: Terminal blocks are removable for ease of wiring.
(Need picture of low/high voltage power supply wiring – We will supply)
Wiring
• Hot – Black
• White – Neutral
• Green & Yellow – Ground
(add terminal block picture- Angelo to provide)