
Operation Manual

GPS Walker User Manual
10
Before marking waypoints
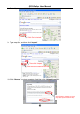
1. Press the Menu button to enter main menu.
2. Select GPS in the main menu.
3. Power on the GPS function. Press the UP button to select GPS Power, select On, and
then press the Play button to confirm.
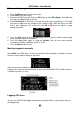
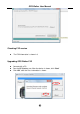
4. Select GPS Signal in GPS menu. You will see some signal strength bars. The height
of each bar represents the strength of the satellite signal. Wait until there are more
than 3 bars appearing. The screen will show 2D or 3D when the signal is strong
enough to position.
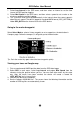
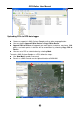
5. Press the Play button to show the Sat View; you will see the satellite number being
seen, satellite number being tracked.
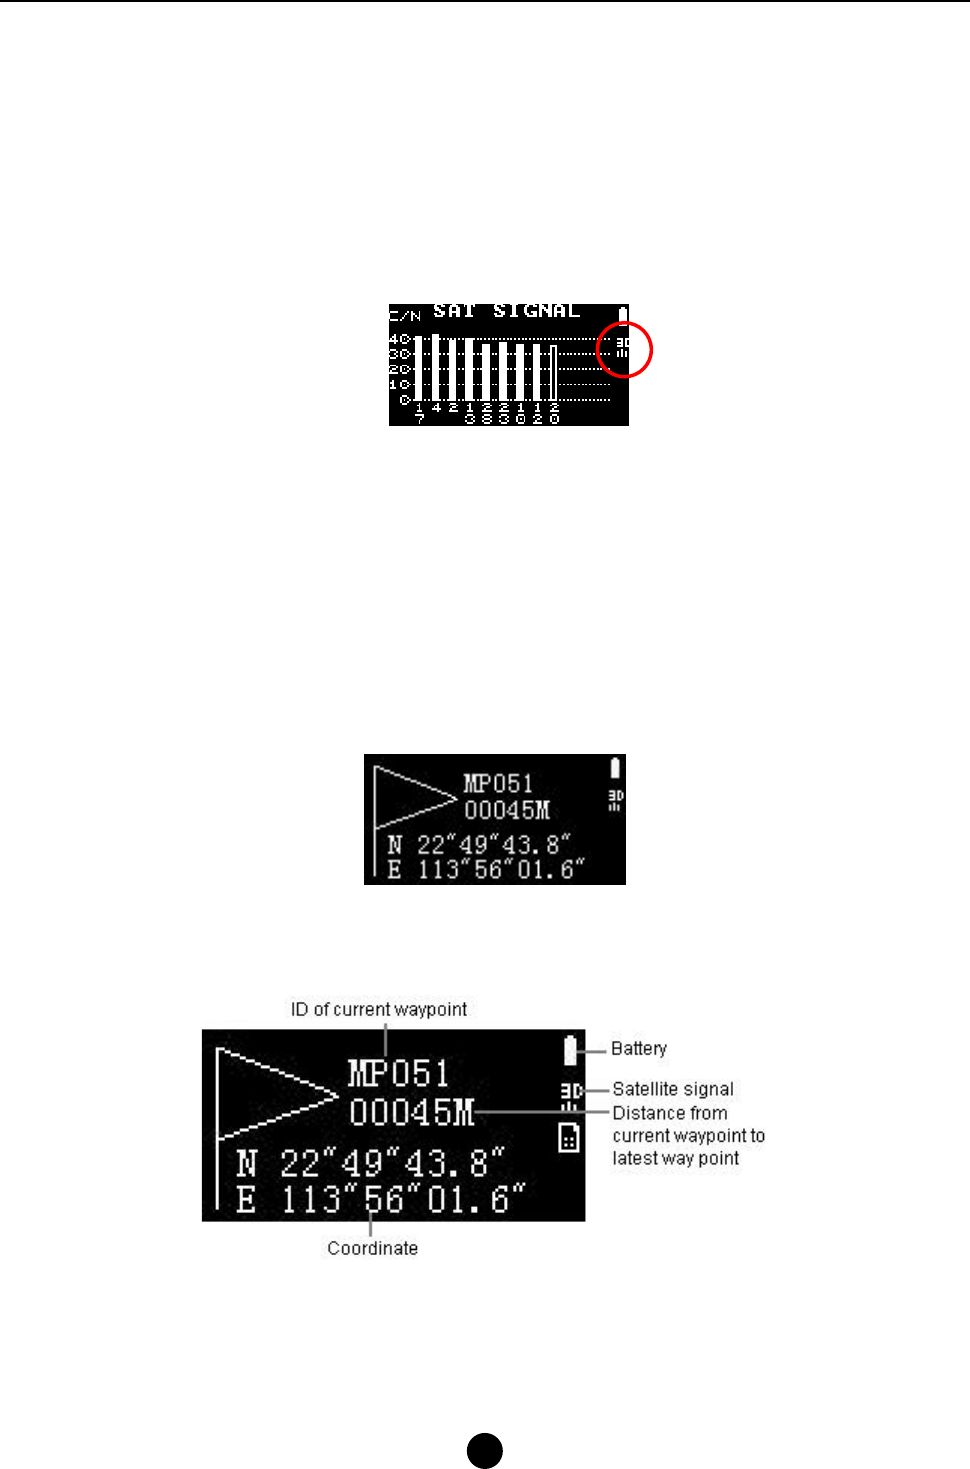
6. Press the Play button again to show the Position; you will see current position
information (Latitude, Longitude, and UTC Time).
7. Press the Menu button to exit.
Marking waypoints manually
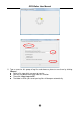
Select Mark in the GPS menu. The current location will be marked as a waypoint. You can
manually mark waypoints wherever you want.
Note: the maximum number of waypoints is 1000.
Logging file is stored in the internal flash as be named GPS0XXXX.TXT; XXXX stands for
a number from 0001 to 1000
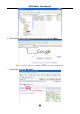
Logging GPS trace
You can use the GPS data logger to record the trip automatically, and view your trace on
the Google map.