
- LinkSys Wireless-G Broadband Router User Guide
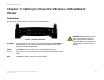
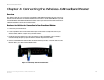
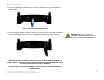
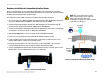
Table Of Contents
- Chapter 1: Introduction
- Chapter 2: Planning Your Wireless Network
- Chapter 3: Getting to Know the Wireless-G Broadband Router
- Chapter 4: Connecting the Wireless-G Broadband Router
- Chapter 5: Setting up the Wireless-G Broadband Router
- Chapter 6: Configuring the Wireless-G Broadband Router
- Appendix A: Troubleshooting
- Appendix B: Wireless Security
- Appendix C: Upgrading Firmware
- Appendix D: Windows Help
- Appendix E: Finding the MAC Address and IP Address for Your Ethernet Adapter
- Appendix F: Glossary
- Appendix G: Specifications
- Appendix H: Warranty Information
- Appendix I: Regulatory Information
- Appendix J: Contact Information
8
Chapter 4: Connecting the Wireless-G Broadband Router
Overview
Wireless-G Broadband Router
Chapter 4: Connecting the Wireless-G Broadband Router
Overview
This chapter includes two sets of instructions. If the Wireless-G Broadband Router will be the only router in your
network, follow the instructions in “Hardware Installation for Connection to Your Broadband Modem.” If you want
to install the Wireless-G Broadband Router behind another router in your network, then follow the instructions in
“Hardware Installation for Connection to Another Router.”
Hardware Installation for Connection to Your Broadband Modem
1. Power down your network devices.
2. Locate an optimum location for the Router. The best place for the Router is usually at the center of your
wireless network, with line of sight to all of your mobile stations.
3. Fix the direction of the antennas. Try to place the Router in a position that will best cover your wireless
network. Normally, the higher you place the antenna, the better the performance will be.
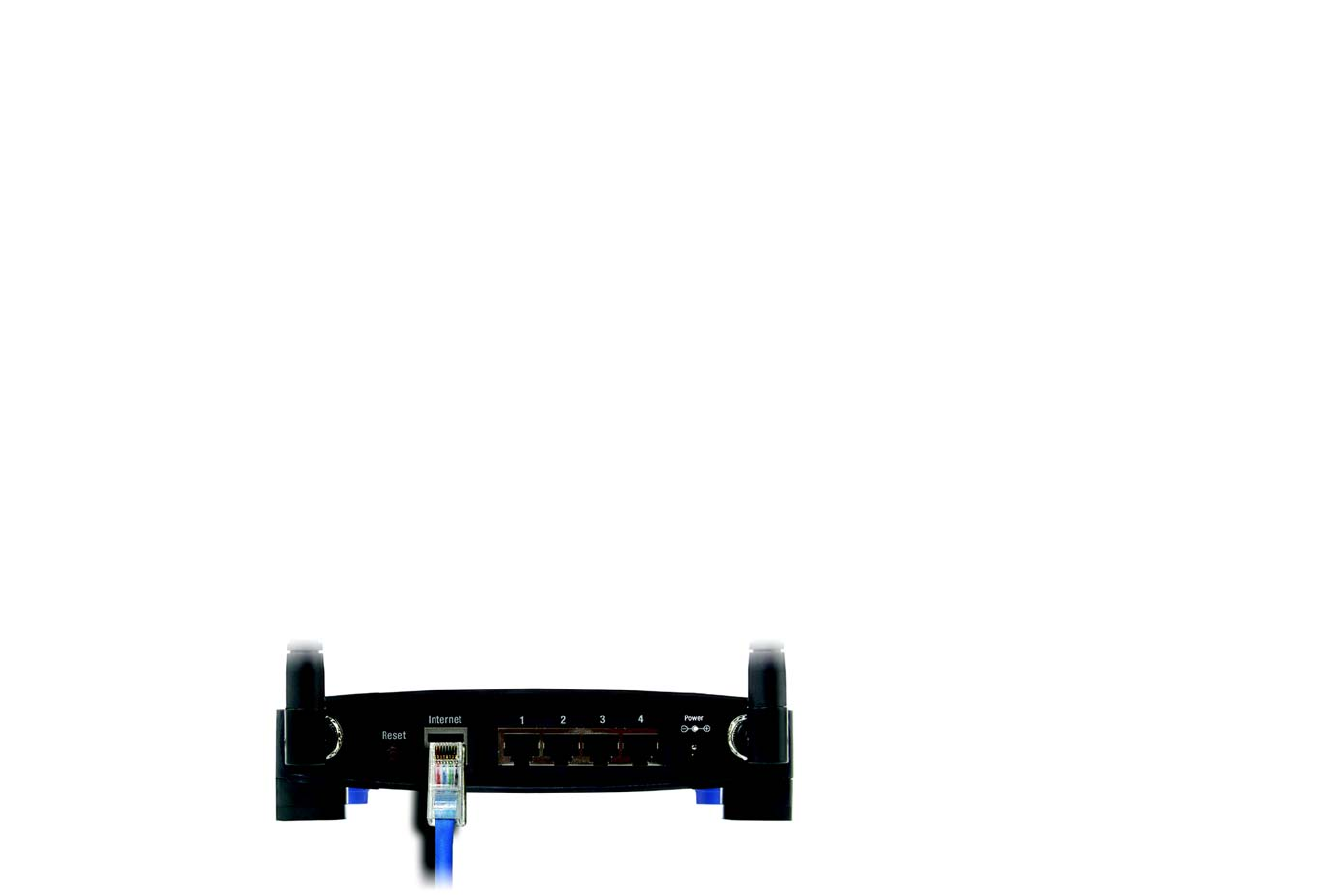
4. Connect a standard Ethernet network cable to the Router’s Internet port. Then, connect the other end of the
Ethernet cable to your cable or DSL broadband modem.
Figure 4-1: Connecting Your Internet Connection