
Owner's manual
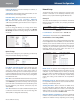
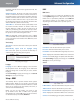
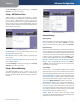

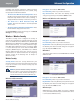
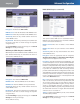
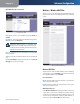
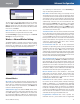
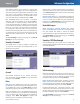
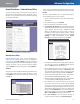
Table Of Contents
- Chapter 1: Product Overview
- Chapter 2: Wireless Security Checklist
- Chapter 3: Installation
- Chapter 4: Advanced Configuration
- Setup > Basic Setup
- Setup > DDNS
- Setup > MAC Address Clone
- Setup > Advanced Routing
- Wireless > Basic Wireless Settings
- Wireless > Wireless Security
- Wireless > Wireless MAC Filter
- Wireless > Advanced Wireless Settings
- Security > Firewall
- Security > VPN Passthrough
- Access Restrictions > Internet Access Policy
- Applications and Gaming > Single Port Forwarding
- Applications and Gaming > Port Range Forwarding
- Applications & Gaming > Port Range Triggering
- Applications and Gaming > DMZ
- Applications and Gaming > QoS
- Administration > Management
- Administration > Reporting
- Administration > Diagnostics
- Administration > Back Up & Restore
- Administration > Factory Defaults
- Administration > Firmware Upgrade
- Status > Gateway
- Status > Local Network
- Status > Wireless Network
- Status > DSL Connection
- Appendix A: Troubleshooting
- Appendix B: Specifications
- Appendix C: Warranty Information
- Appendix D: Regulatory Information
- FCC Statement
- Safety Notices
- Industry Canada Statement
- Avis d’Industrie Canada
- Wireless Disclaimer
- Avis de non-responsabilité concernant les appareils sans fil
- Declaration of Conformity with Regard to EU Directive 1999/5/EC (R&TTE Directive)
- CE Marking
- National Restrictions
- Product Usage Restrictions
- Technical Documents on www.linksys.com/international
- User Information for Consumer Products Covered by EU Directive 2002/96/EC on Waste Electric and Electronic Equipment (WEEE)
Chapter 4
Advanced Configuration
16
Wireless-N ADSL2+ Gateway
Access Restrictions > Internet Access Policy
The Internet Access Policy screen allows you to block or
allow specific kinds of Internet usage and traffic, such as
Internet access, designated services, and websites during
specific days and times.
Access Restrictions > Internet Access Policy
Internet Access Policy
Internet Access Policy Access can be managed by a
policy. Use the settings on this screen to establish an
access policy (after Save Settings is clicked). Selecting a
policy from the drop-down menu will display that policy’s
settings. To delete a policy, select that policy’s number
and click Delete. To view all the policies, click Summary.
Summary
The policies are listed with the following information: No.,
Policy Name, Days, and Time of Day. To delete a policy,
select Delete. To return to the Internet Access Policy screen,
click Close.
Summary
Status Policies are disabled by default. To enable a policy,
select its number from the drop-down menu, and select
Enable.
To create a policy, follow steps 1-10. Repeat these steps to
create additional policies, one at a time.
Select a number from the Internet Access Policy drop-
down menu.
To enable this policy, select Enable.
Enter a Policy Name in the field provided.
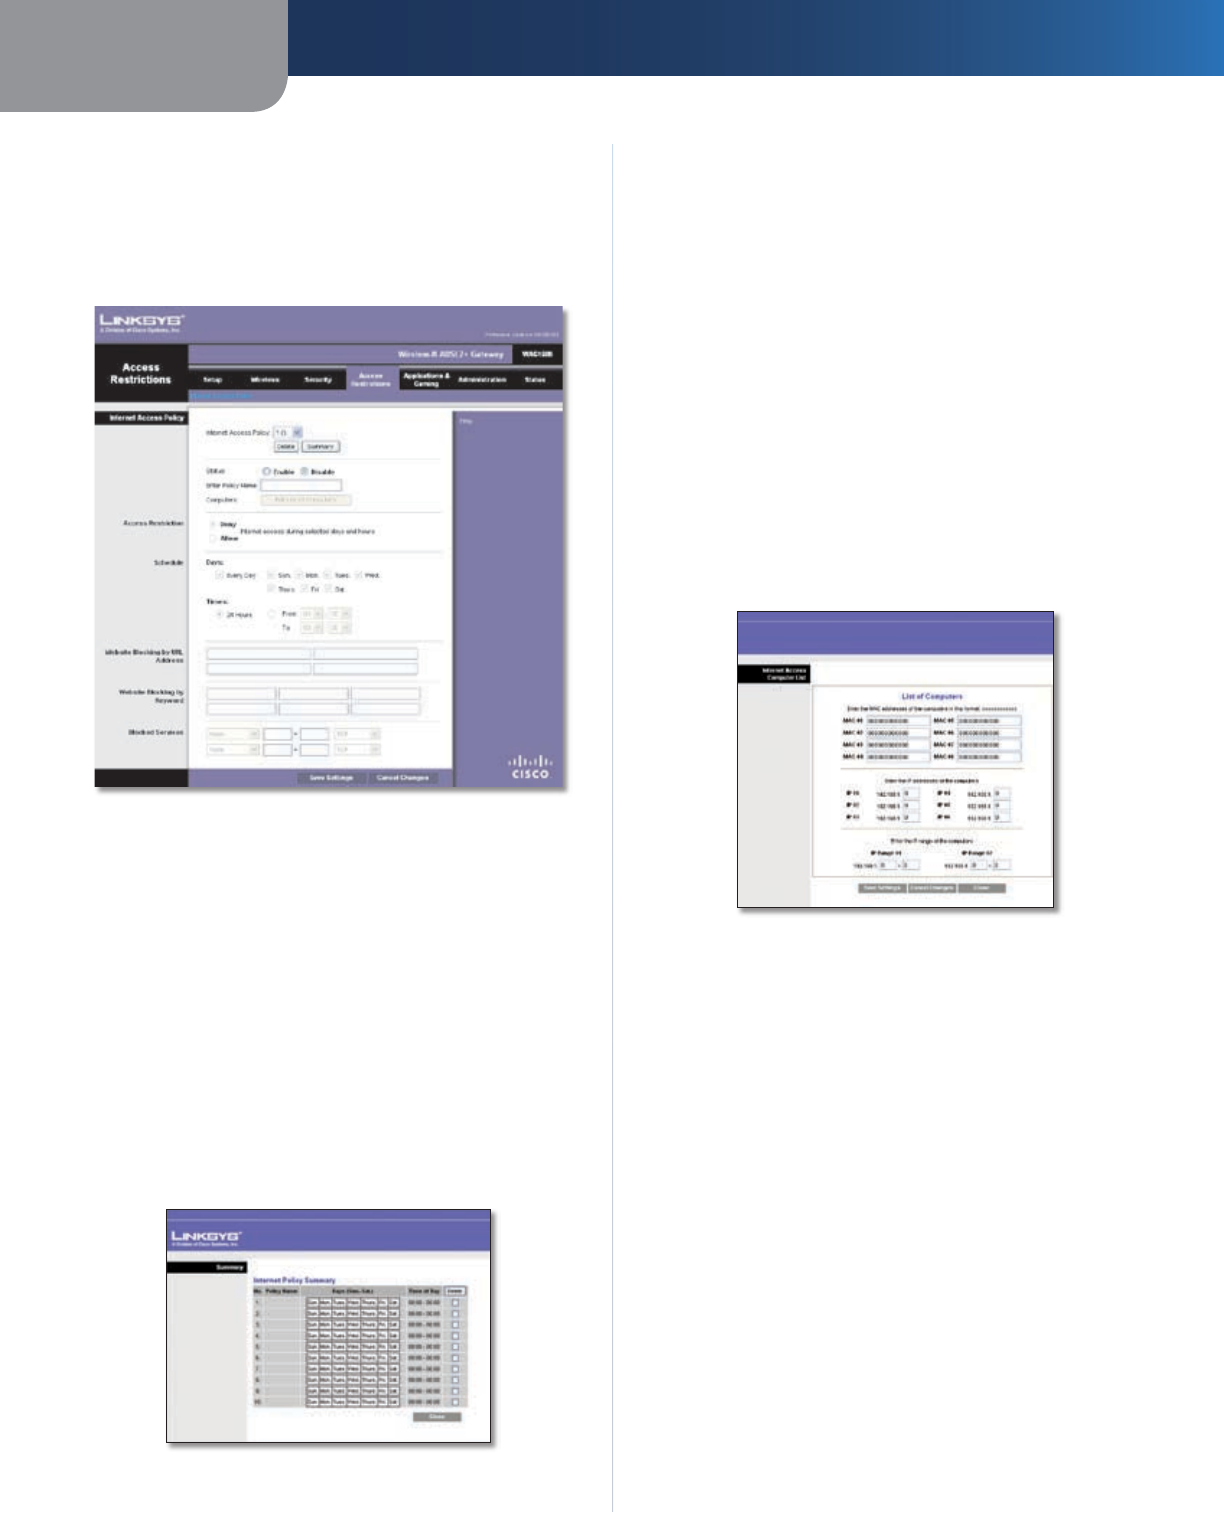
Click Edit List of Computers to select which computers
will be affected by the policy. The Internet Access PC List
screen appears. You can select a computer by MAC
address or IP address. You can also enter a range of
IP addresses if you want this policy to affect a group
of computers. After making your changes, click Save
Settings to apply your changes, or click Cancel
Changes to cancel your changes. Then click Close.
Internet Access PC List
Specify the Access Restriction to apply to the computers
you selected in step 4. Select Deny to block Internet
access, or Allow to allow Internet access.
Specify when this policy will be in effect. Select the
days: individual days of the week, or Every Day. Then
select the time span within each day: specific start and
end times using the From and To fields, or 24 Hours.
To block websites by URL address, enter each URL in a
separate Website Blocking by URL Address field.
To block websites using keywords, enter each keyword
in a separate Website Blocking by Keyword field.
You can filter access to various services accessed over
the Internet, such as FTP or telnet. From the Blocked
Services list, select the service you want to block; the
port numbers and protocol for the selected service are
automatically displayed. If the service you want is not
listed, select User-Defined; enter its port numbers in
the fields provided; then select its protocol: ICMP, TCP,
UDP, or TCP & UDP from the drop-down menu.
Click Save Settings to save the policy’s settings. To
cancel the policy’s settings, click Cancel Changes.
1.
2.
3.
4.
5.
6.
7.
8.
9.
10.