MC-12 Controller Version 4 EQ User Guide
Oak Park Bedford, MA 01730-1413 USA Tel 781-280-0300 Fax 781-280-0490 www.lexicon.com Customer Service Telephone 781-280-0300 Sales Fax 781-280-0495 Service Fax 781-280-0499 email csupport@harmanspecialtygroup.com Product Shipments 16 Progress Road Billerica, MA 01821-5730 USA Lexicon Part No. 070-15993 | Rev 0 | 05/04 Manufactured under license from Dolby Laboratories. Dolby, Pro Logic, Surround EX, and the double-D symbol are trademarks of Dolby Laboratories. Manufactured under license from THX Ltd.
Introduction Lexicon DOCUMENTATION CONVENTIONS This document contains general operation instructions for the MC-12 and MC-12 Balanced Digital Controllers. It is important to read this user guide before attempting to use this product. The following symbols are used in this document: CAUTION Note: Calls attention to a procedure, practice, condition or the like that, if not correctly performed or adhered to, could result in damage to or destruction of part or all of the product.
MC-12 Version 4 EQ Introduction Section 1: Understanding Room Equalization Loudspeaker Sound in a Room . . . . . . . . . . . . . . . . . . . . . . . 1-2 Room Modes . . . . . . . . . . . . . . . . . . . . . . . . . . . . . . . . . . . . 1-5 Surround Sound Issues . . . . . . . . . . . . . . . . . . . . . . . . . . . . . . . . . . . . . . 1-6 Section 2: Configuring the MC-12 for V4 EQ About Automatic Calibration . . . . . . . . . . . . . . . . . . . . . . . . . 2-3 Connecting the Microphones . . . . . . . .
1 Understanding Room Equalization Loudspeaker Sound in a Room. . . . . . . . . . . . . . . . . . . . . . . . . . . 1-2 Room Modes . . . . . . . . . . . . . . . . . . . . . . . . . . . . . . . . . . . . . . . 1-5 Surround Sound Issues . . . . . . . . . . . . . . . . . . . . . . . . . . . . . . . . . . . . . . .
Understanding Room Equalization UNDERSTANDING ROOM EQUALIZATION Sections one and two of this document explain the conditions that create the need for room equalization, how the MC-12 can compensate for room variances, and how to properly set up the microphones to run equalization tests. The theoretical material in this section was authored by Dr. James Muller, Lexicon senior software engineer.
Version 4 EQ User Guide feet, so it will be scattered by any person (or object bigger than 1 foot) in the room. The strength of reflections also depends on the transmission properties of the reflector. For example, depending on its size and stiffness, a wall may have its own resonant frequency. This can happen when a sound wave of sufficient amplitude hits the wall and causes it to resonate. Understanding Room Equalization Figure 1-3. Parallel walls reflect sound multiple times.
Understanding Room Equalization Lexicon MC-12 Controller Designers can correct for some speaker characteristics. For example, a typical cone driver does not radiate all frequencies evenly in all directions. With a floorstanding speaker, designers know how far above the floor each driver in the speaker will be. With this knowledge, they can specify details such as how far from a wall or corner their speaker should be placed. However, they must still design to some typical room.
Understanding Room Equalization Version 4 EQ User Guide Figure 1-5. Tips for arranging your listening room. Ope n can staircas reso e nate Not go spea od unle ke ss to be r was in p book laced tended shel on a f Figure 1-6. Resonance modes along the length of a room. Amplitude bad tion i s o er p er Corn s speak signed s e unle fically d re e i h c e sp placed e b to along its length at wavelengths of 36 ft (31Hz), 18 ft (63Hz), 12 ft (94Hz), and so on.
Understanding Room Equalization Room modes affect the frequency response you hear in several ways. The most pronounced effect of room modes is to make certain frequencies too loud. You can correct this to some degree with an equalizer. Strong resonances have an additional feature: those frequencies linger on. When a speaker creates sound at the frequency of a strong resonance mode, that sound lingers in the room after the speaker has stopped vibrating.
Understanding Room Equalization Version 4 EQ User Guide close to you, its sound will arrive at your ears approximately 5 milliseconds too early. The surround processor distance settings allow the surround sound system to delay the sound from each speaker just enough to realign them all to each other. Levels must also be balanced because a speaker positioned too close to you will be too loud compared to the other speakers.
Understanding Room Equalization work perfectly for everyone if one or more seats are too far away from the “average” position. Any compromise to accommodate remote seats will degrade the audio for everyone. Figure 1-9. If system is optimized for the remote corner seat, the audio will be degraded for all.
2 Configuring the MC-12 for V4 EQ About Automatic Calibration . . . . . . . . . . . . . . . . . . . . . . . . . . . . 2-3 Connecting the Microphones . . . . . . . . . . . . . . . . . . . . . . . . . . . 2-5 Positioning the Microphones for the Microphone Check . . . . . . . . 2-6 Performing the Microphone Check . . . . . . . . . . . . . . . . . . . . . . . 2-8 Repositioning the Microphones for Automatic Calibration . . . . . . 2-10 Performing Automatic Calibration . . . . . . . . . . . . . . . . . . . . . .
Configuring the MC-12 for V4 EQ Version 4 EQ User Guide ABOUT AUTOMATIC CALIBRATION DURING automatic calibration: When running the V4 EQ software, the MC-12 offers automatic calibration of the listening room’s bass response, loudspeaker distances, and loudspeaker output levels. A successful microphone check is required before automatic calibration procedures can be performed. Calibrate the listening room’s bass response BEFORE calibrating loudspeaker output levels.
Configuring the MC-12 for V4 EQ Procedure CHECK MICROPHONES Lexicon MC-12 Controller Description Examines the microphones connected to the rear panel microphone input connectors. Confirms that the microphones are properly connected and functioning. Calculates an average microphone level, allowing the MC-12 to compensate for individual microphone sensitivities. Ensures that microphone levels are consistent, eliminating errors that result from individual microphone level differences.
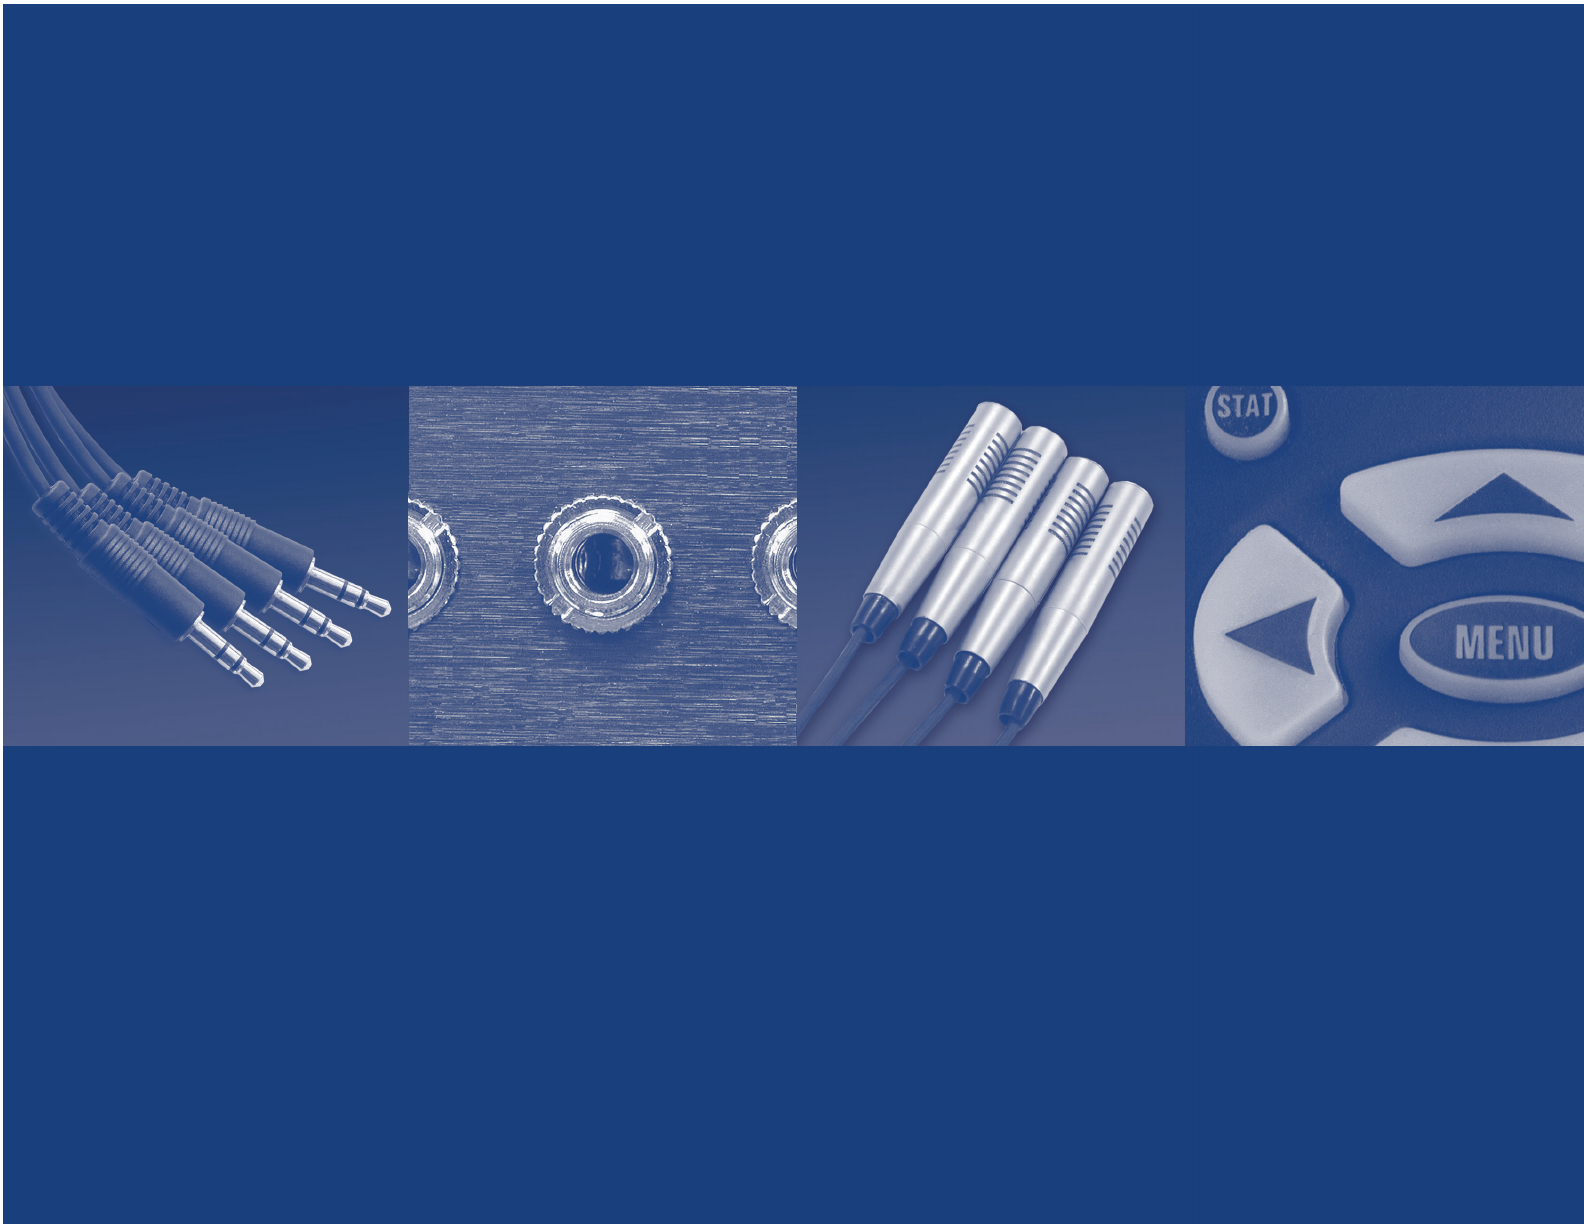
Configuring the MC-12 for V4 EQ Version 4 EQ User Guide CONNECTING THE MICROPHONES Automatic calibration requires the microphones included in the Lexicon Microphone Kit, which is available at authorized Lexicon dealers. Performing automatic calibration with other microphones will produce unknown results. Figure 2-1. Microphone input connectors on MC-12 rear panel.
Configuring the MC-12 for V4 EQ Lexicon MC-12 Controller POSITIONING THE MICROPHONES FOR THE MICROPHONE CHECK Proper microphone placement is essential to achieve the desired automatic calibration results. Refer to the microphone placement examples that begin below to properly position the microphones for the microphone check. PROPER Figure 2-2. Proper microphone placement for the microphone check.
Configuring the MC-12 for V4 EQ Version 4 EQ User Guide IMPROPER Figure 2-3. Improper microphone placement for the microphone check. The microphones SHOULD NOT be positioned: Rear Left Side Left Rear Right in separate locations in locations scattered throughout the listening room in an obstructed line-of-sight path with the loudspeakers in a location obstructed by furniture and other fixtures within 2 feet (0.61m) of loudspeakers and walls more than 30 feet (9.
Configuring the MC-12 for V4 EQ Lexicon MC-12 Controller PERFORMING THE MICROPHONE CHECK MAIN MENU MODE ADJUST AUDIO CONTROLS SETUP SETUP INPUTS SPEAKERS REAR PANEL CONFIG DISPLAYS VOLUME CONTROLS TRIGGERS LOCK OPTIONS SPEAKER SETUP SET CROSSOVERS CHECK MICROPHONES AUTOMATIC MANUAL SET CROSSOVERS BEFORE CALIBRATING 1. Open the SPEAKER SETUP menu as shown above. 2. Press the and arrow buttons to highlight the CHECK MICROPHONES procedure. Then, press the arrow button to begin this procedure. 3.
Configuring the MC-12 for V4 EQ Version 4 EQ User Guide The CHECK MICROPHONES results screen (shown to the right) opens on the on-screen display when the MC-12 finishes checking the microphones. This screen provides the results for each microphone. (The MC-12 refers to the microphones as 1, 2, 3, and 4 based on the microphone input connector to which the microphone is connected.
Configuring the MC-12 for V4 EQ Result Lexicon MC-12 Controller Troubleshooting Description (MICROPHONE) OK The microphone detected calibration noise signals without error. N/A (MICROPHONE) NOT DETECTED The MC-12 did not detect the microphone during the silence check. • Examine the microphone input connection to ensure that the microphone is properly connected to the MC-12. Make sure the microphone cable plug is fully inserted for a solid connection. • The microphone may be damaged.
Configuring the MC-12 for V4 EQ Version 4 EQ User Guide Refer to the microphone placement examples that begin below to properly position the microphones for all automatic calibration procedures. PROPER Figure 2-4. Proper microphone placement to achieve the best results for a single listening postion.
Configuring the MC-12 for V4 EQ Lexicon MC-12 Controller PROPER Figure 2-5. Proper microphone placement to achieve the best results for several listening positions in a single row.
Configuring the MC-12 for V4 EQ Version 4 EQ User Guide PROPER Figure 2-6. Proper microphone placement to achieve the best results for several listening positions within the listening room.
Configuring the MC-12 for V4 EQ Lexicon MC-12 Controller IMPROPER Figure 2-7. Improper microphone placement for automatic calibration. The microphones SHOULD NOT be positioned: Rear Left Side Left Rear Right Front Left Microphone along the perimeter of the listening positions or listening area in spots where listeners’ heads will not be during listening in an obstructed line-of-sight path with the loudspeakers in a location obstructed by furniture and other fixtures within 2 feet (0.
Configuring the MC-12 for V4 EQ Version 4 EQ User Guide IMPROPER Figure 2-8. Improper microphone placement for automatic calibration.
Configuring the MC-12 for V4 EQ Lexicon MC-12 Controller PERFORMING AUTOMATIC CALIBRATION MAIN MENU MODE ADJUST AUDIO CONTROLS SETUP SETUP INPUTS SPEAKERS REAR PANEL CONFIG DISPLAYS VOLUME CONTROLS TRIGGERS LOCK OPTIONS SPEAKER SETUP SET CROSSOVERS CHECK MICROPHONES AUTOMATIC MANUAL AUTO SPEAKER SETUP EQ DISTANCES LEVELS ROOM EQ DISTANCES OUTPUT LEVELS SET CROSSOVERS BEFORE CALIBRATING PLACE MICROPHONES AROUND PREFERRED LISTENING POSITIONS AUTO SPEAKER SETUP !CAUTION! HIGH AUDIO LEVELS AUTO SPEAKER
Configuring the MC-12 for V4 EQ Version 4 EQ User Guide SETTING DISTANCES FRONT LEFT CENTER FRONT RIGHT SIDE RIGHT REAR RIGHT REAR LEFT SIDE LEFT SUB (MONO) SUB RIGHT LFE 0.0ft 0.0ft 0.0ft 0.0ft 0.0ft 0.0ft 0.0ft 0.0ft N/A N/A AUTO DISTANCES FRONT LEFT 12.0ft CENTER 10.5ft FRONT RIGHT 12.0ft SIDE RIGHT 4.5ft REAR RIGHT ERROR 0.0ft REAR LEFT 6.0ft SIDE LEFT 4.
Configuring the MC-12 for V4 EQ AUTO DISTANCES FRONT LEFT 12.0ft CENTER 10.5ft FRONT RIGHT 12.0ft SIDE RIGHT 4.5ft REAR RIGHT ERROR 0.0ft REAR LEFT 6.0ft SIDE LEFT 4.5ft SUB (MONO) N/A SUB RIGHT N/A LFE N/A AUTO LEVELS FRONT LEFT CENTER FRONT RIGHT SIDE RIGHT REAR RIGHT REAR LEFT SIDE LEFT SUB (MONO) SUB RIGHT LFE Lexicon MC-12 Controller -2.0dB ERROR 0.0dB -2.0dB -4.5dB -3.0dB -3.0dB -4.
Configuring the MC-12 for V4 EQ Version 4 EQ User Guide DISTANCES and OUTPUT LEVELS Results Result Description Troubleshooting The MC-12 calibrated the distance or output level of the selected loudspeaker without error. N/A (SPEAKER) IS NOT ENABLED The selected loudspeaker is not present in the loudspeaker setup according to the CUSTOM or THX SETUP menu. • Use the CUSTOM or THX SETUP menu to add the selected loudspeaker to the loudspeaker setup.
Configuring the MC-12 for V4 EQ SET DISTANCES AUTO DISTANCES ORIGINAL DISTANCES R 0.0ft SR RR 0.0ft 0.0ft C 0.0ft M SUB 0.0ft Step L 0.0ft SL 0.0ft RL 0.0ft AUTO DISTANCES FRONT LEFT ERROR CENTER 0.0ft FRONT RIGHT 0.0ft SIDE RIGHT 0.0ft REAR RIGHT 0.0ft REAR LEFT 0.0ft SIDE LEFT 0.0ft SUB (MONO) 0.0ft SUB RIGHT N/A LFE N/A DISTANCES or OUTPUT LEVELS Lexicon MC-12 Controller SET LEVELS AUTO LEVELS ORIGINAL LEVELS R 0.0dB SR RR 0.0dB 0.0dB C 0.0dB M SUB 0.0dB L 0.0dB SL RL 0.0dB 0.
Configuring the MC-12 for V4 EQ Version 4 EQ User Guide Note: Once automatic calibration has been performed, use the BASS PEAK LIMITERS menu to set amplitude limits for low-frequency signals sent to the Main Zone audio output connectors labeled Subwoofer L/R and LFE and redirected to other output connectors. ROOM EQ ON, OFF Activates and deactivates the room correction that was applied to the loudspeakers during the EQ DISTANCES LEVELS or ROOM EQ procedure.
Configuring the MC-12 for V4 EQ REMOTE CONTROL COMMANDS The table below lists remote control commands that can be used to adjust the ROOM EQ and ROOM EQ LEVEL parameters when the Zone 2 Command Bank is activated. These commands are additions to the remote control command matrix in the MC-12 User Guide. Button Zone 2 Command Sets the ROOM EQ LEVEL parameter to LOW. Sets the ROOM EQ LEVEL parameter to MEDIUM. Sets the ROOM EQ LEVEL parameter to HIGH. Sets the ROOM EQ LEVEL parameter to MAX.
Configuring the MC-12 for V4 EQ Version 4 EQ User Guide V4 EQ MENU TREES When the MC-12 is running V4 EQ , the menu trees shown in this section replace the AUTO SPEAKER SETUP and AUDIO CONTROLS menu trees shown in the MC-12 User Guide (Rev 2).
Configuring the MC-12 for V4 EQ Lexicon MC-12 Controller EQ DISTANCES LEVELS MAIN MENU MODE ADJUST AUDIO CONTROLS SETUP SETTING ROOM EQ FRONT LEFT CENTER FRONT RIGHT SIDE RIGHT REAR RIGHT REAR LEFT SIDE LEFT SUB (MONO) SUB RIGHT LFE SETUP INPUTS SPEAKERS REAR PANEL CONFIG DISPLAYS VOLUME CONTROLS TRIGGERS LOCK OPTIONS ----------------N/A N/A SETTING DISTANCES FRONT LEFT CENTER FRONT RIGHT SIDE RIGHT REAR RIGHT REAR LEFT SIDE LEFT SUB (MONO) SUB RIGHT LFE SPEAKER SETUP SET CROSSOVERS CHECK MICROPHONES
Configuring the MC-12 for V4 EQ Version 4 EQ User Guide ROOM EQ MAIN MENU MODE ADJUST AUDIO CONTROLS SETUP SETTING ROOM EQ FRONT LEFT CENTER FRONT RIGHT SIDE RIGHT REAR RIGHT REAR LEFT SIDE LEFT SUB (MONO) SUB RIGHT LFE SETUP INPUTS SPEAKERS REAR PANEL CONFIG DISPLAYS VOLUME CONTROLS TRIGGERS LOCK OPTIONS ----------------N/A N/A SETTING ROOM EQ FRONT LEFT CENTER FRONT RIGHT SIDE RIGHT REAR RIGHT REAR LEFT SIDE LEFT SUB (MONO) SUB RIGHT LFE SPEAKER SETUP SET CROSSOVERS CHECK MICROPHONES AUTOMATIC MANU
Configuring the MC-12 for V4 EQ Lexicon MC-12 Controller DISTANCES or OUTPUT LEVELS MAIN MENU MODE ADJUST AUDIO CONTROLS SETUP SETUP INPUTS SPEAKERS REAR PANEL CONFIG DISPLAYS VOLUME CONTROLS TRIGGERS LOCK OPTIONS SETTING DISTANCES FRONT LEFT CENTER FRONT RIGHT SIDE RIGHT REAR RIGHT REAR LEFT SIDE LEFT SUB (MONO) SUB RIGHT LFE OK R SR RR 0.0ft 0.0ft C 0.0ft M SUB 0.0ft 2-26 L 0.0ft SL 0.
3 Oak Park, Bedford, MA, 01730-1413 USA | Telephone: 781-280-0300 | Fax: 781-280-0490 | www.lexicon.com Customer Service: Telephone: 781-280-0300 | Sales Fax: 781-280-0495 | Service Fax: 781-280-0499 Product Shipments: 16 Progress Road, Billerica, MA 01821-5730 USA Part No.