
User's Manual


HMa
LECTROSONICS, INC.
8
Operating Instructions
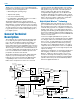
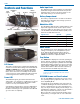
AUDIO
Button
FREQ
Button
Modulation
LEDs
PWR LED
UP Arrow
DOWN Arrow
Power Up and Boot Sequence
1) Ensure that good batteries are installed in the unit.
2) Simultaneously press and hold the AUDIO and
FREQ buttons. Continue holding the buttons until
On and the characters 1, 2, 3 have appeared. The
boot sequence will then initiate.
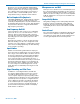
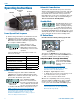
Initial Power On
Timer Screen
As the unit turns on, the
Modulation LEDs and PWR
LED all glow red, then green,
and then they revert to normal
operation.
The LCD displays a bootup sequence which con-
sists of five screens:
Category: Example
Company Name: Lectro
Frequency Band (XX) and
Firmware Version (rX.XX):
A1 r1.00
Compatibility Mode: CP 400
RF Power Output: 100
Operating Frequency 482.875
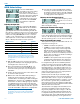
Power Down
Simultaneously press and hold the AUDIO and
FREQ buttons. Continue holding the buttons until
OFF and the countdown characters 3, 2, 1 have ap-
peared. The unit will then power down.
Initial Power Off
Timer Screen
If the AUDIO and FREQ
buttons are released before
the LCD goes blank at the end
of the countdown, the unit will
not turn off. Instead, it will stay
on and the LCD will return to the previous screen.
NOTE: If batteries are removed or reach the end
of life while the unit is turned on, the unit will turn
back on with a brief, simultaneous press of the
AUDIO and FREQ buttons. The counting sequence
will not be displayed in this instance.
Automatic Power Restore
The firmware will remember the power on/off state
and the settings when batteries reach their end of life
or are removed. When fresh batteries are installed,
the unit will reboot and return to the previous set-
tings without the need to press any buttons. This only
works when the unit is fully on and transmitting. It
does not work in the Standby Mode.
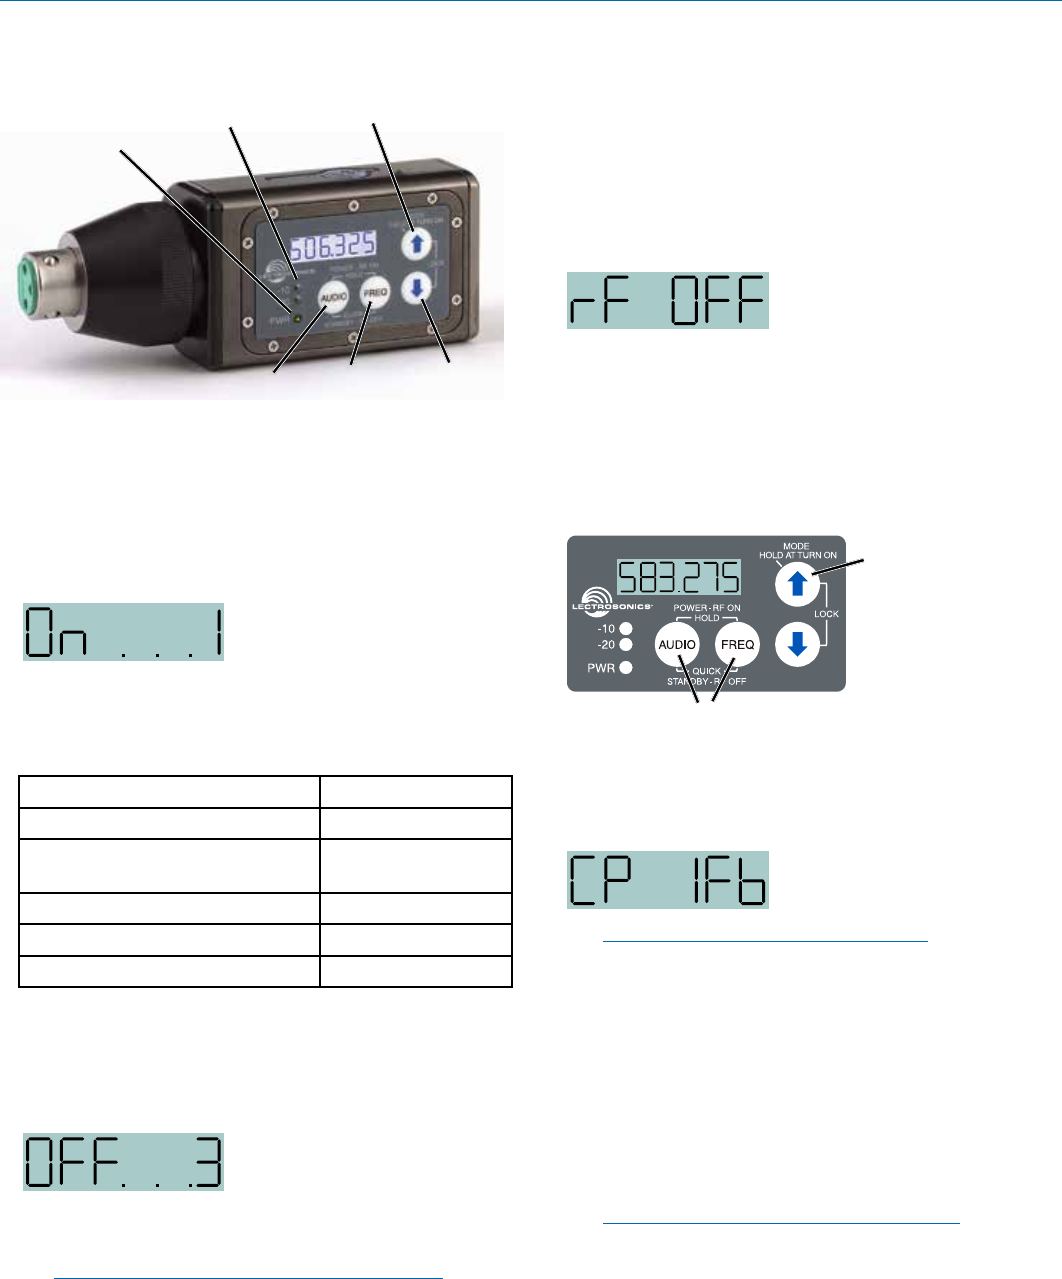
Standby Mode
Standby Screen
Standby Mode allows you to
verify or change the trans-
mitter’s operating frequency
or audio input level without
transmitting a signal. Quickly press and release both
the AUDIO and FREQ buttons simultaneously to enter
and exit this mode. The characters rF OFF will appear
on the LCD while the unit is in the standby mode.
UP Button Menu
Hold the UP button while powering up the unit.
Hold
Then press both
Then press the AUDIO button repeatedly to scroll
through the settings. Use the UP and DOWN arrow to
select the available options under each setting.
Compatibility Mode Screen (Up Button Menu)
CP (Compatibility Mode);
press the UP and DOWN
arrows to select one of the
following:
Note: RF transmission is prevented while
selecting Compatibility Modes. Also, the HMa
exits this screen to the Standby Mode.
• Nu Hybrid - Digital Hybrid receivers
• 3 - (Mode 3) For non-Lectrosonics analog receiv-
ers. Contact the the factory for details.
• IFB - For Lectrosonics IFB receivers.
While in the compatibility mode screen, pressing
either the AUDIO or FREQ button exits to standby
mode. To power off from the compatibility mode
screen, press and hold AUDIO and FREQ together.
NOTE: If your Lectrosonics receiver does not
have Nu Hybrid mode, use Euro Digital Hybrid
Wireless® (EU Dig. Hybrid).