
User manual
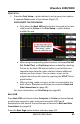
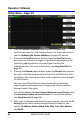
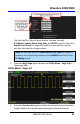

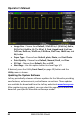
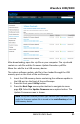

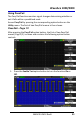
Table Of Contents
WaveAce 1000/2000
WA1K2K-OM-E RevB 85
PRINT SETUP
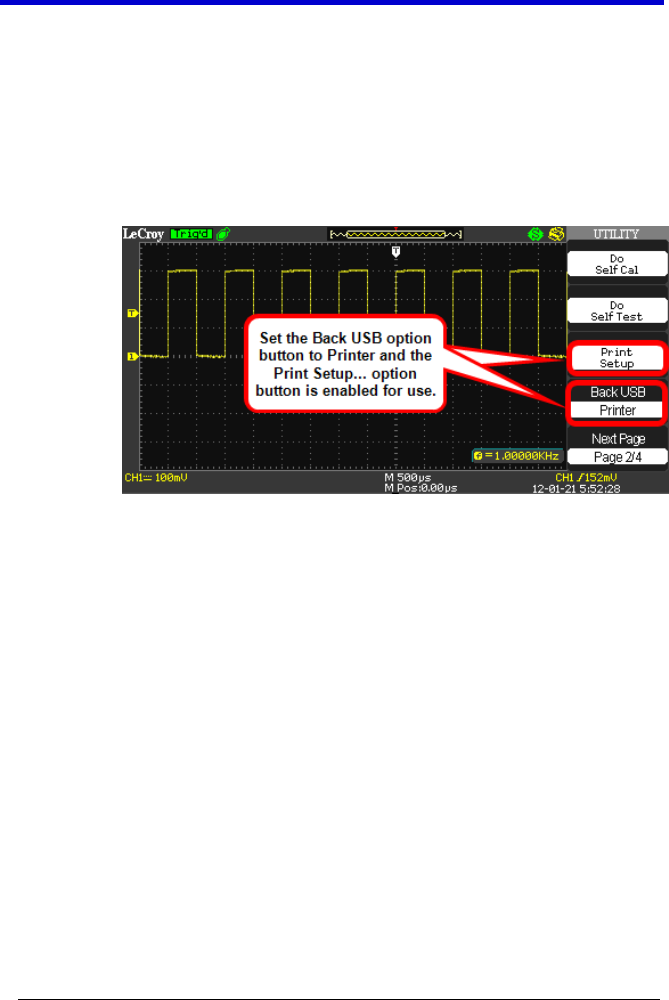
1. Press the Print Setup... option button to set up your print options.
A separate Print screen is then shown (Page 1/2).
PLEASE NOTE THE FOLLOWING:
Only when the Back USB option button (covered in the next
step) is set to Printer is the Print Setup... option button
enabled for use.
After using corresponding option buttons to choose Do Self
Cal, Do Self Test, or Print Setup (when enabled by selecting
Printer on the Back USB option button), you're taken to a
separate menu based on your selection where additional
options are then shown. You can always return to the
original menu from this menu by pressing the UTILITY front
panel button.
When printing, make sure your printer is connected to the
back of your WaveAce oscilloscope as covered in Back and
Side Connections (on page 10).
For more information, see Print Setup (on page 88).
BACK USB
Press Back USB and choose either Computer or Printer as desired based
on what you connect to your instrument using the USB Type B
Receptacle on the back of the oscilloscope as covered in Back and Side
Connections (on page 10).
Press the Next Page option button to display page 3/4.