
UBox USB Device Server User Guide UBX4100
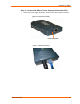
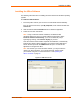

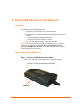

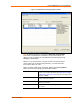
Table Of Contents
- Contents
- Using This Guide
- Introduction
- Installing the UBox
- Using USB Devices on the Network
- Changing the UBox's Settings
- Overview
- Viewing UBox Settings
- Editing Server Settings: Access Tab
- Editing Server Settings: Network Tab
- Editing Server Settings: USB Device Configuration Tab
- Applying, Canceling, or Removing Server Settings
- Restoring Default Settings
- Updating the UBox's Firmware
- Overriding Server Network Settings
- Refreshing Data
- Changing Local Software Settings
- Troubleshooting
- Status Light Behavior
- Configuring the Windows XP Firewall
- Compliance
- Lantronix Software License Agreement
- Lantronix Warranty
Installing the UBox
Installing the UBox Software
The following instructions are for installing the UBox software for Windows operating
systems.
To install the UBox Software:
1. Insert the product CD into your CD drive. The CD should start automatically.
If the CD does not auto start, open My Computer, locate and then double-click
Launch.exe.
2. Click the UBox Software Installation button to install the application.
3. Follow the on-screen instructions.
Note: During or after the software installation, the Windows New
Hardware Wizard may ask you to install software several times. Select
Install the software automatically. If you see an additional prompt
regarding logo testing, click Continue Anyway to proceed.
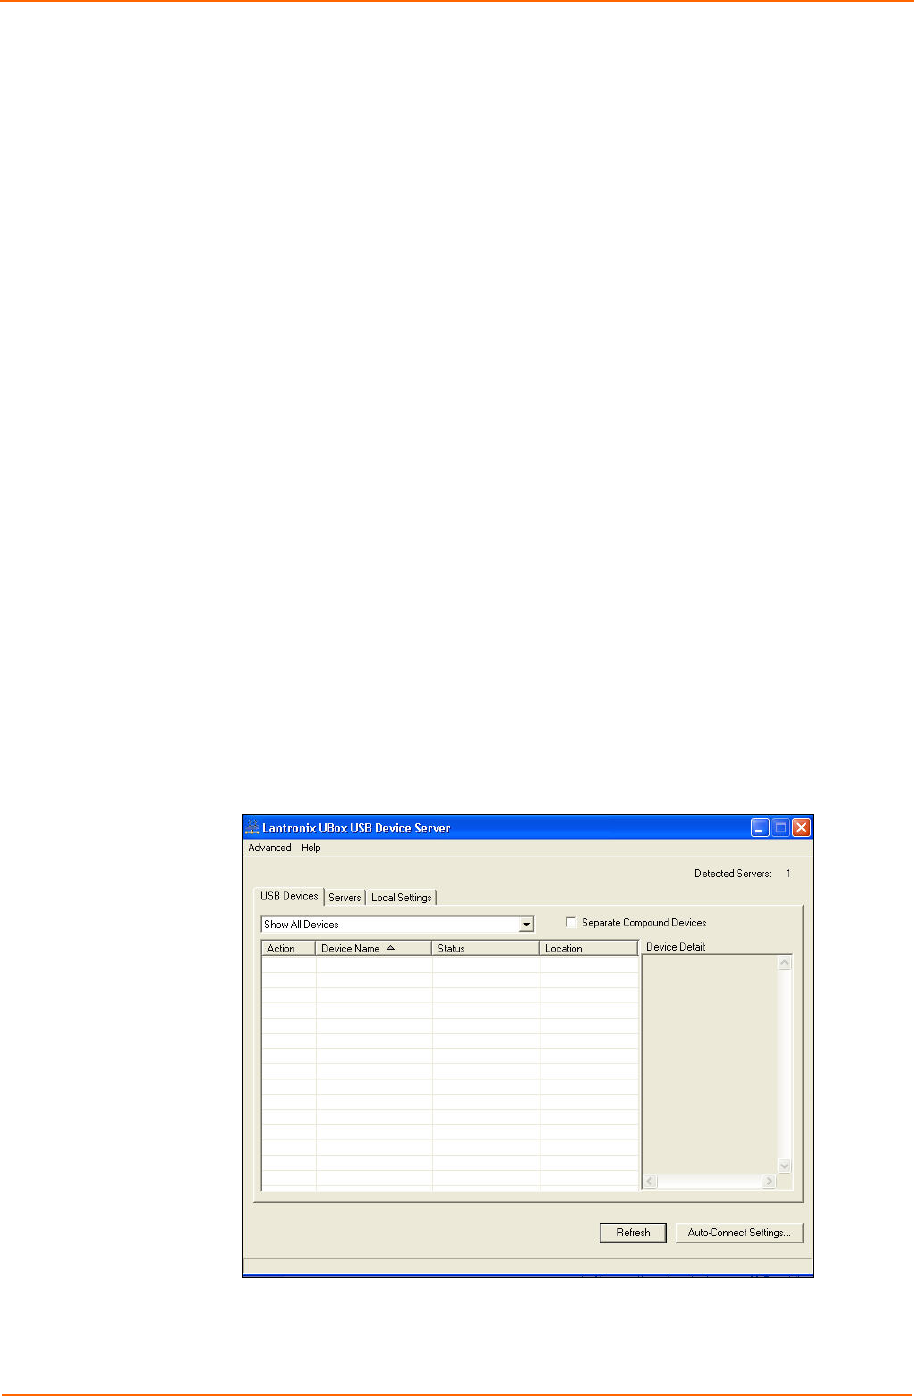
Once the Lantronix UBox Installer completes the installation, it automatically
launches the Lantronix UBox application. The Lantronix UBox USB Device
Server window opens with the USB Devices tab open. You will use this
application to configure the UBox.
Note: The first time you launch the UBox software, you may be asked to
update your UBox’s firmware. If you get this message, please update
your firmware using the on-screen instructions or see Updating the
UBox's Firmware on page 40.
Figure 3-5. USB Devices Tab
UBox User Guide 13