
Operation Manual


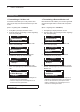

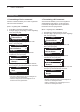
Table Of Contents
- IMPORTANT
- Section 1 ACCESSORIES
- Section 2 PREPARATION
- Section 3 BASIC OPERATION
- Section 4 ADVANCED OPERATION
- Section 5 SCAN OPERATION
- Section 6 MENU SCREEN
- Section 7 NXDN™ OPERATION
- NXDN™ system operation
- Transmitting a call
- Receiving a call
- Roaming function (For Multi-site Trunking operation)
- Site Lock function (For Multi-site Trunking operation)
- Site Select function (For Multi-site Trunking operation)
- Incoming list
- Outgoing list
- Encryption function
- Over The Air Programming (OTAP) function
- Section 8 MDC 1200 SYSTEM OPERATION
- Section 9 BIIS 1200 SYSTEM OPERATION
- Section 10 VOICE RECORDER FUNCTIONS
- Section 11 Bluetooth® OPERATION
- Bluetooth® Wireless Technology operation
- Turning ON the Bluetooth® function
- Pairing with a headset or a data device
- Headset settings
- Accepting a pairing request from a Bluetooth® device
- Disconnecting from a Bluetooth® device
- Deleting a Bluetooth® device from the pairing list
- Resetting the installed Bluetooth® unit
- The maximum number of paired devices
- Section 12 OTHERS
- Section 13 OPTIONS
7
NXDN™ OPERATION
7-5
D Transmitting a Status message
You can transmit a preset simple message� You
cannot transmit a voice signal at the same time�
(Menu > Signaling/Call > Call Menu)
1� Push [Menu] to display the Menu screen�
2� Push [P2 (Up)] or [P1 (Down)] to select “Signaling/
Call,” then
push [OK]�
Channel/Scan ►
Signaling/Call ►
Menu
3� Push [P2 (Up)] or [P1 (Down)] to select “Call
Menu,” then
push [OK]�
Call List Select ►
Call Menu ►
Signaling/Call
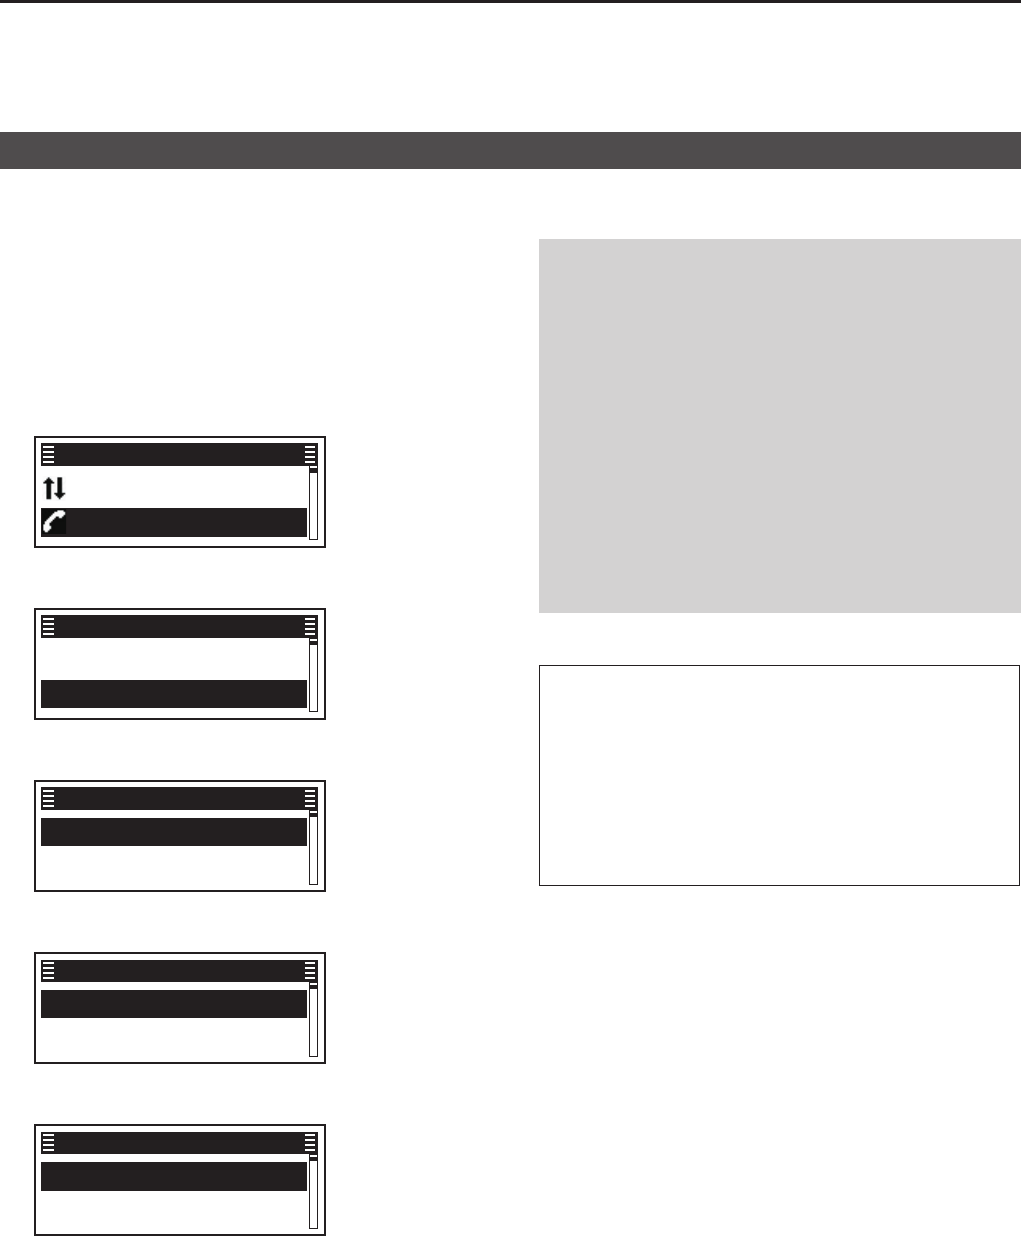
4� Push [P2 (Up)] or [P1 (Down)] to select the
Individual or Group ID, then push [OK]�
✔ Station 1 ►
✔ Group 1 ►
Call Menu
5� Push [P2 (Up)] or [P1 (Down)] to select “Status,”
then push [OK]�
✔ Status ►
✔ Message ►
Station 1
6� Push [P2 (Up)] or [P1 (Down)] to select a Status
message, then push [PTT] to transmit it�
✔ TX Status 01 ►
✔ TX Status 02 ►
Status
• “Success” is displayed when an acknowledgment is
received from the targeted station�
• “Failed” is displayed if an acknowledgment is not
received from the targeted station�
TIP:
• You can also transmit a Status message through
Status�
(Menu > Signaling/Call > Status)
• Push [Status] to directly display the “Status” screen
in step 6 to the left�
• Hold down [Status] for 1 second to transmit the
preset Status message that is set in the “Status”
screen�
Transmitting a call
NOTE: If the following settings are congured using
the CS-F52D programming software, the Status
message can be automatically transmitted when:
• The transceiver is turned ON or OFF
L Set the Status message to be transmitted in Power ON
Status or Power OFF Status, respectively�
L Set the target station ID in Power Status ID, Power
Status ID for Single-site Trunk or Power Status ID
for Multi-site Trunk�
( Digital > Status > Status Setting)
• After sending a voice message
L Set Send with Voice Call to “Enable�”
L Set the Status message to be transmitted in Send
Status Number�
( Digital > Status > Status Setting)