
User Manual


Table Of Contents
- About this Manual
- Chapter 1: Product Overview
- Chapter 2: Installation
- Chapter 3: Getting Started
- Chapter 4: Using the DVR
- Chapter 5: KGUARD Web Client
- 5.1 Login
- 5.2 The Interface
- 5.3 Live Viewing
- 5.4 Searching and Playing Recorded Videos
- 5.5 Remote Settings
- 5.6 Local Settings
- Chapter 6: Using KView Series Software
- Chapter 7: Troubleshooting & FAQ
- Appendix: Specifications
ENGLISH
Chapter 4: Using the DVR
DVR User’s Manual
53
Note:
• Obtain these informaon from your network administrator or your Internet Service Provider (ISP).
• If you cannot use the either of the two default ports, 80 or 9000, the specied port may be occupied by other
programs or it is being blocked by your service provider. Enter other port number. In this case, you need to
add the port number aer the IP address. For example, if you set the HTTP Port as 85, you need to enter the
IP address as “192.168.3.103:85”.
5 Enter other parameter sengs (if applicable).
• If your network connecon is Stac, specify the stac IP address, Subnet Mask, Gateway, and DNS 1/DNS 2 IP
addresses.
• If your network connecon is PPPoE, enter the User Name and Password that you setup with your DSL service
provider. Then, specify the DNS 1/DNS 2 IP addresses.
Note:
The system supports two DNS server input opons: DNS Server1 for main server and DNS Server2 for sub server.
Please contact your local ISP (Internet Service Provider) to obtain the correct DNS Server parameter.
6 To enable Auto Port Forwarding (UPNP) feature, select Enable.
Note:
Not all routers support the Auto Port Forwarding feature. If this funcon does not work, you must manually open
the ports in your router.
7 Aer all sengs are complete, click Apply.
8 When data saving is complete, click OK.
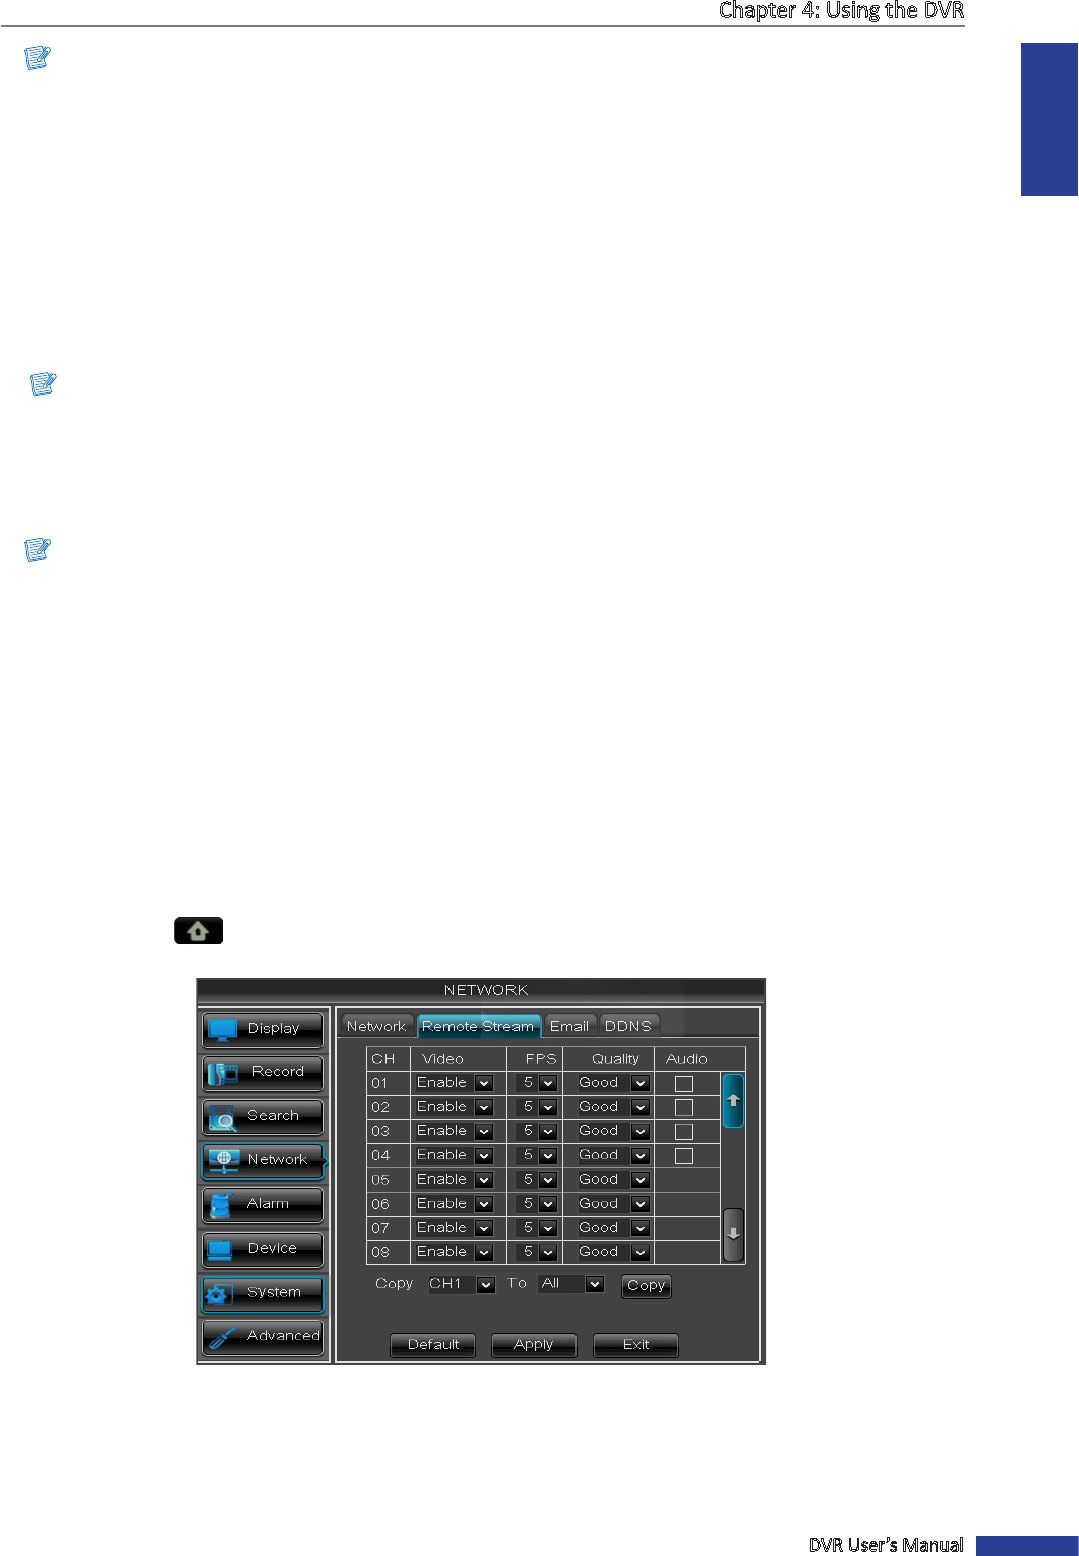
4.4.2 Remote Stream Setup
The Remote Stream page allows you to enable or disable video output of a parcular channel if the channel is being
viewed via remote access.
1 In preview mode, right-click on the mouse to display the Pop-up menu.
2 Select Main Menu > NETWORK, select the Remote Stream tab. The remote stream framerate sengs are
displayed on a table.
3 Select the channel and adjust the corresponding sengs such as Video, FPS, and Quality.
4 Check the Audio box to enable audio.
5 To copy the current sengs to all channels or one specic channel. Click the arrow on Copy and To to select an
opon and then click Copy.