
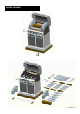
Product Warranty


26·146.48591710
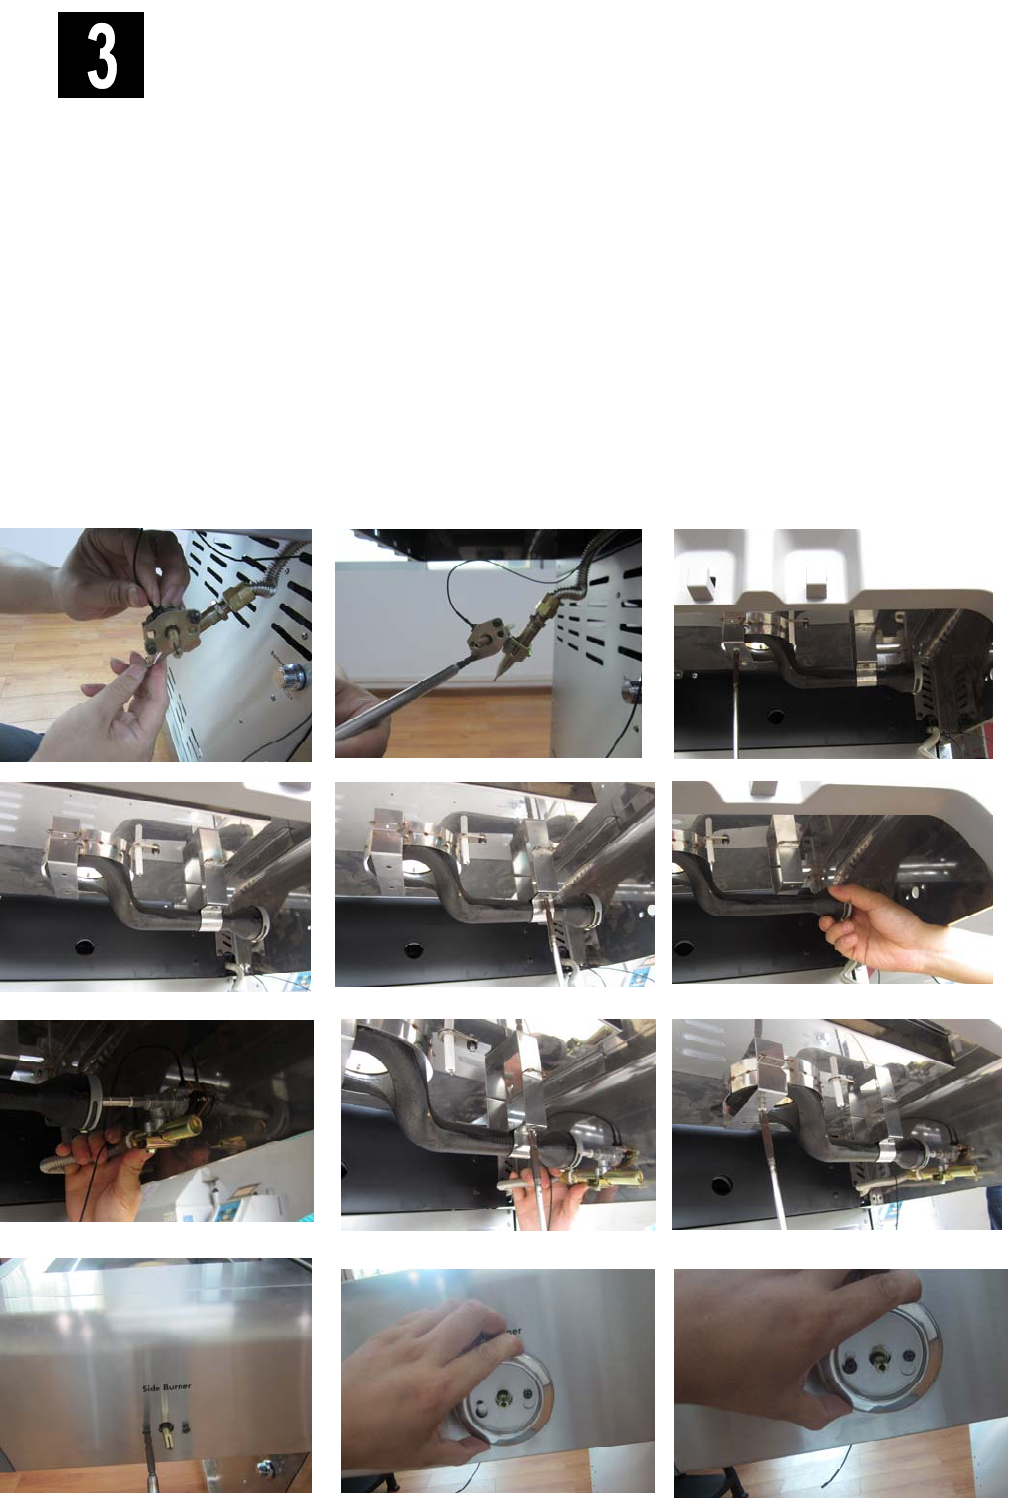
Left Side burner
□ Remove plastic packaging from side burner valve. Remove side burner grate from within side
burner shelf.
□ Connect flat igniter wire tip to the igniter pin on the side burner valve. (A)
□ Remove the 2 pre-installed screws from the valve control stem and set them aside. (B)
□ Remove the two screws on rear bracket. (C&D)
□ Loosen the front bracket screws.(E&F)
□ Insert the gas valve into the side burner (G), and insert the valve control stem through the hole
in shelf fascia. (J)
□ Replace side burner front bracket and tighten in place with 2 previously removed screws. (H)
Tighten screws on back bracket. (I)
□ Install previously removed 2 screws. Note: Do not tighten these 2 screws until the bezel is
attached to fascia and valve face.((J)
□ Attach bezel to fascia and valve face with the installed screws. First attach one side key hole
of bezel to the screw, then attach the other one to the other screw. Make sure the black mark
faces up.(K&L&M)Tighten the 2 screws.(N&O).
□ Push control knob onto side burner valve stem. (P&Q) Replace side burner grate. (R)
□ Connect the round igniter wire tip to the pin on the white electrode protruding from the
bot
tom of the side burner shelf. (
S&T
)
A B
C
D E
F
G
H I
J
K L