
User Guide
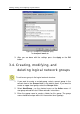

Viewing, creating, and configuring a logical network 47
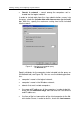
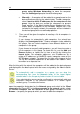
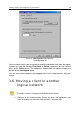
To rename a group:
Select a group in the console tree or the details panel and click
Properties on the shortcut menu or the Action menu. On the General
tab of the <Group title> Properties dialog box, change the group name
(Figure 14).
You cannot rename the Groups folder because it is a built-in element
of the Administration Console.
In order to delete a group from the logical network,
select the corresponding folder in the console tree or in the results panel
and use the Delete commands of the shortcut menu or in the Action
menu.
A group can only be deleted if it does not contain slave servers, nested
groups or client computers.
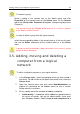
3.5. Adding, moving and deleting a
computer from a logical
network
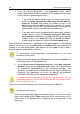
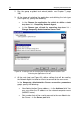
To add a computer/computers to your logical network:
1. In the Groups folder, select the group to which you want to add a
new client. To add a client to the upper hierarchical level, select the
Groups folder.
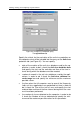
2. Open the shortcut menu and click select New/Workstation (or
choose this command on the Action menu) to start a wizard.
Follow wizard’s instructions.
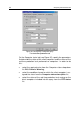
3. At first, specify one of the methods of adding a computer:
• Automatically – A computer will be added to a group based on
the results of queries sent by the administration server over
your Windows network. Select I want to add computers to a